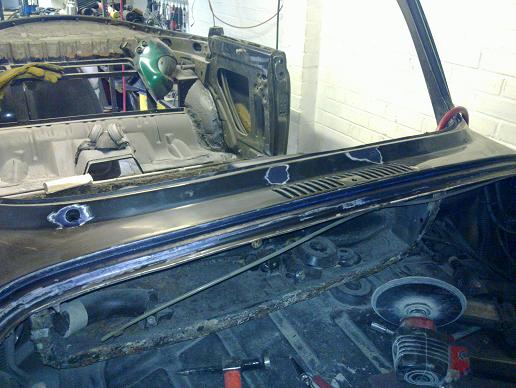
Original rear seat belt panel plug welded back in to the new tunnel |
I modified the bulkhead to give a bit more pedal travel in case it is needed... |
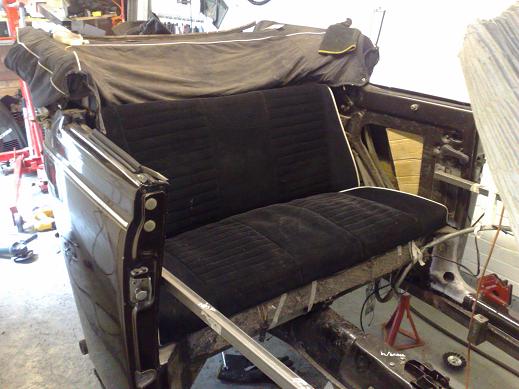
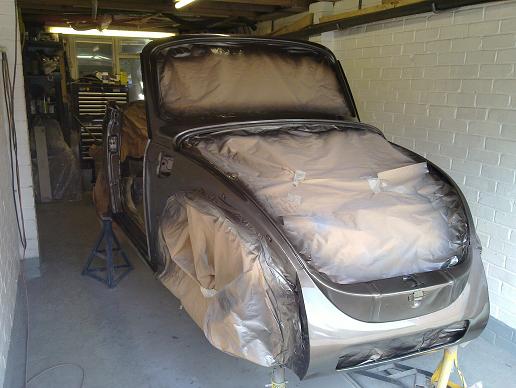
Rear seat just about fits with some minor mods, I'll do a bit more once the covers are stripped off... |
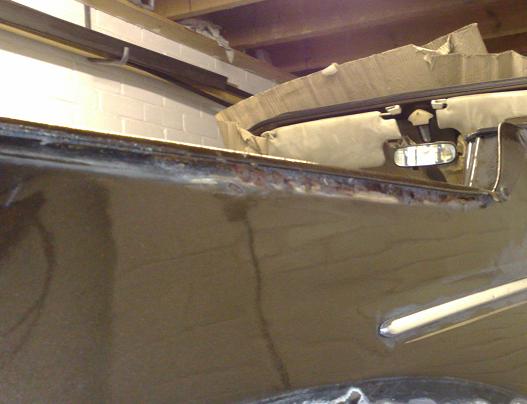
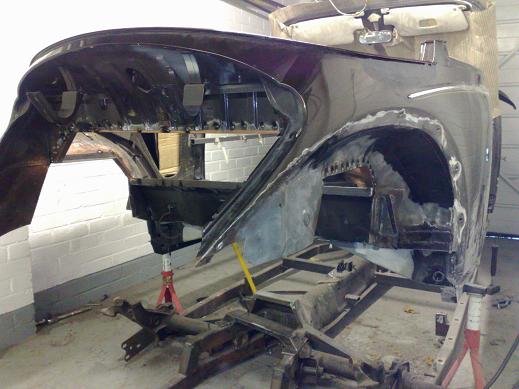
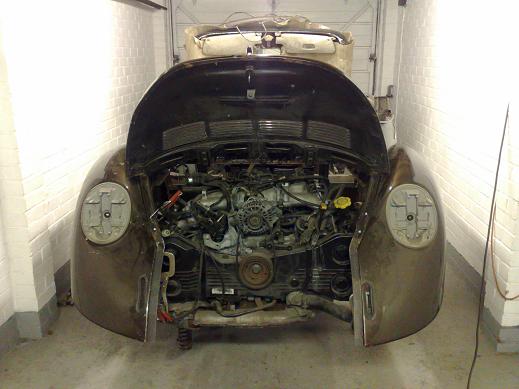
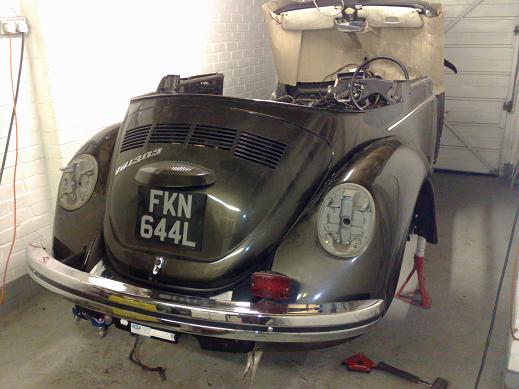
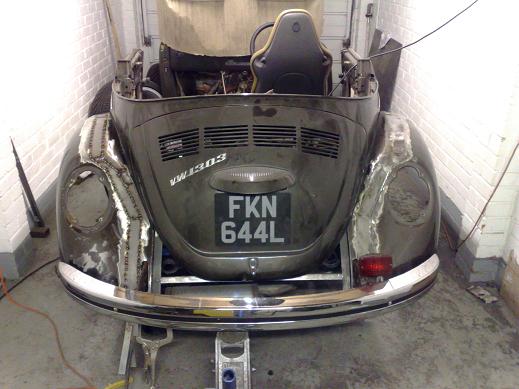
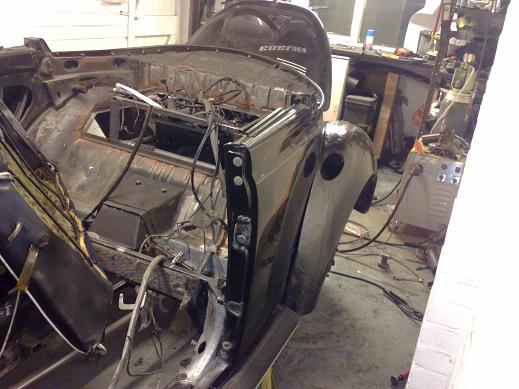
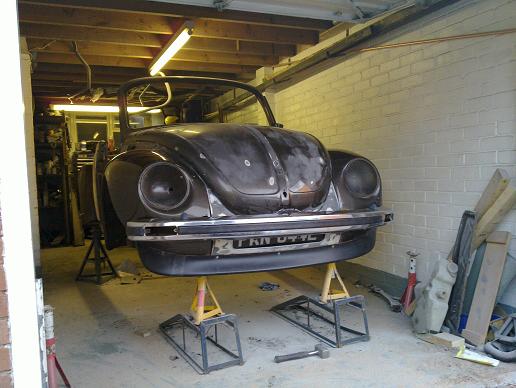
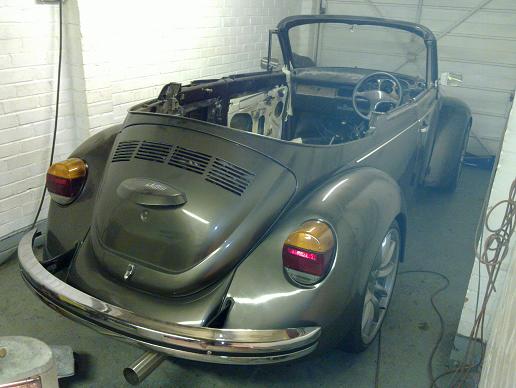
Roof off to start re-designing the back end, you can see the rust holes on the left! |
Roof retention lip was very rusty too.... |
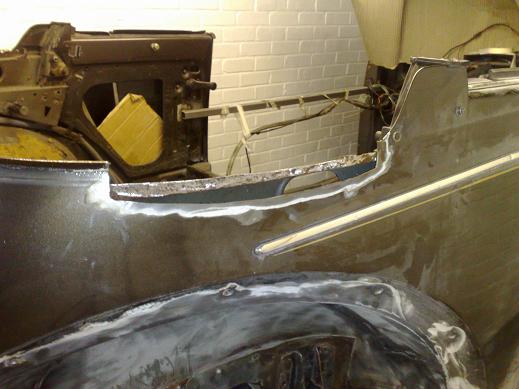
The lip was cut off and then the inner and outer sheet metal was cut back to good metal |
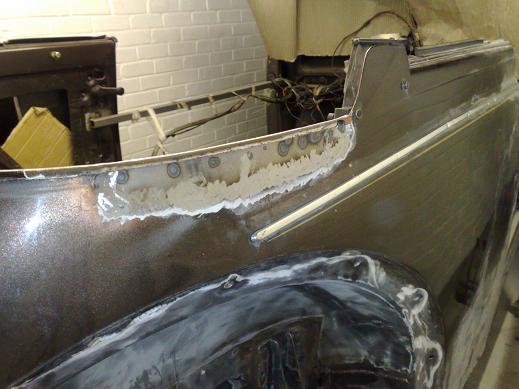
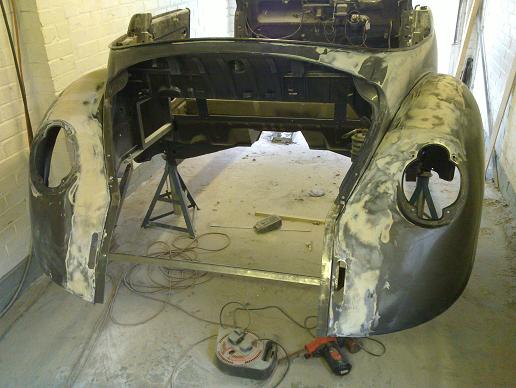
All 3 skins repaired and all solid again! |
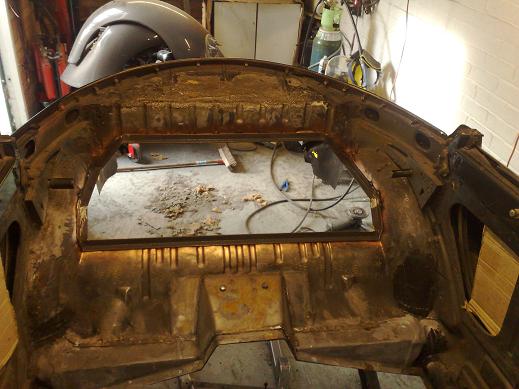
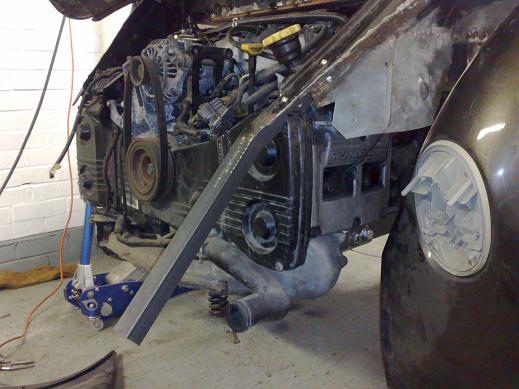
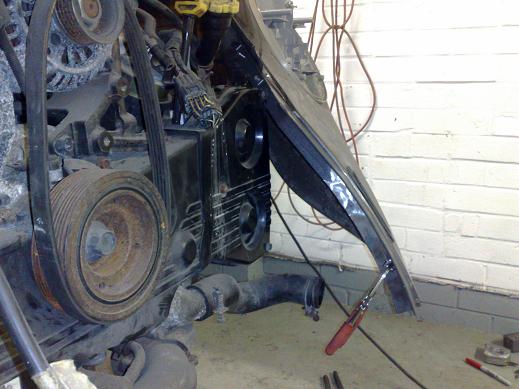
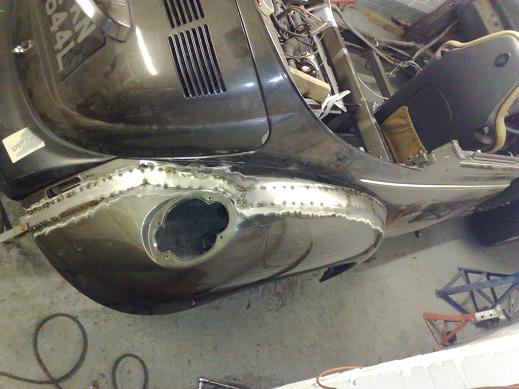
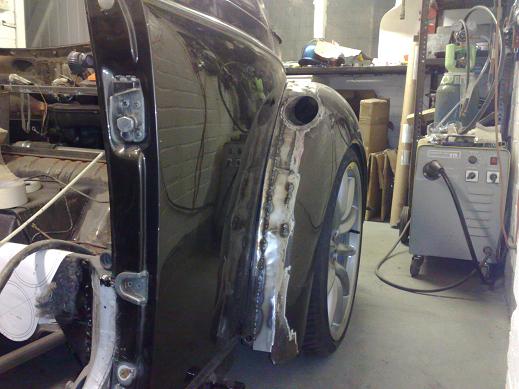
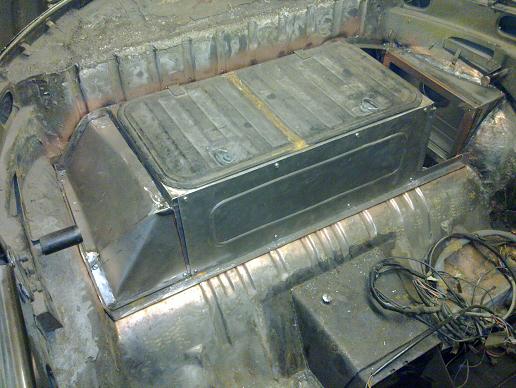
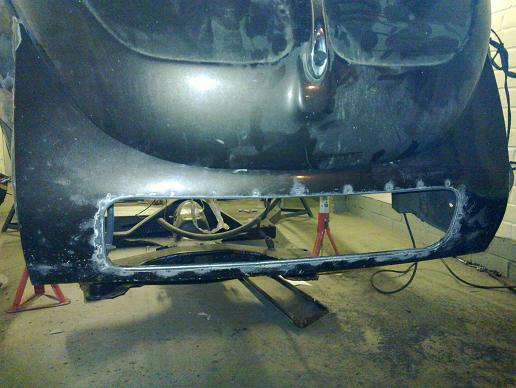
Rather than repair the rust I decided to cut it all out and make access to the engine much easier. |
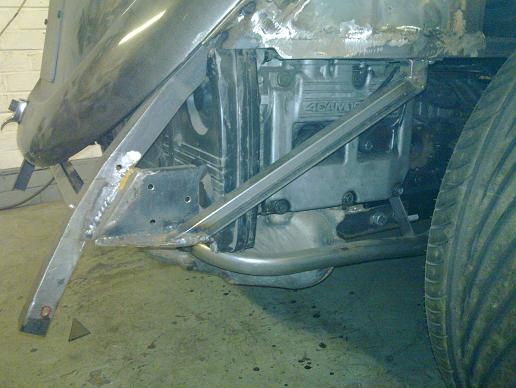
Frame first made up of angle then plug welded to the body panels. This will also give me more options if I decide to relocate the coilovers for more axle space. |
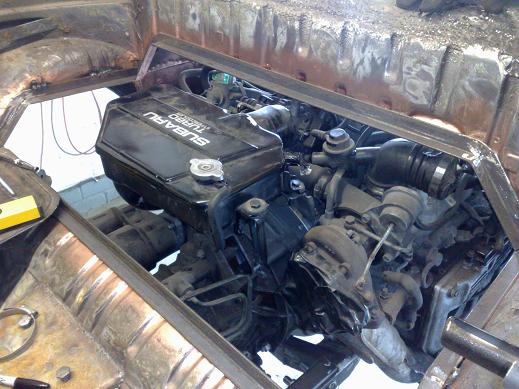
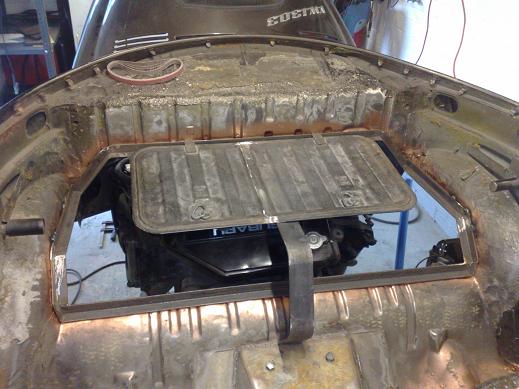
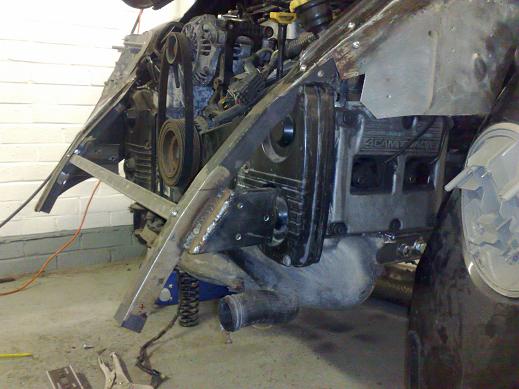
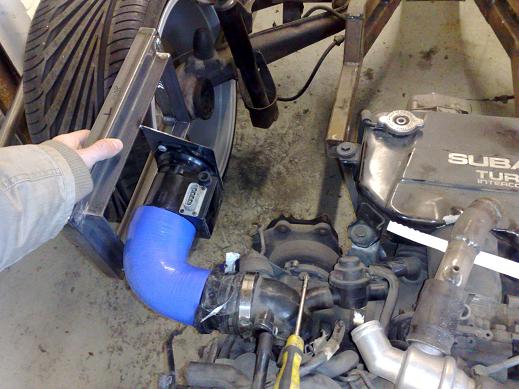
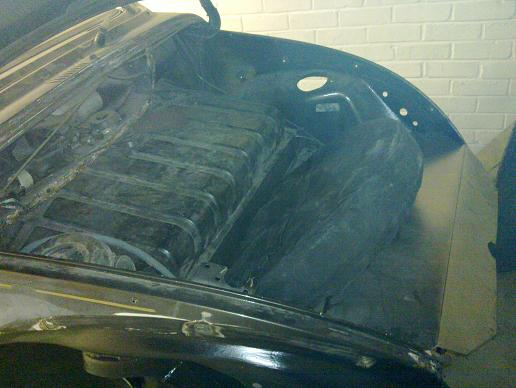
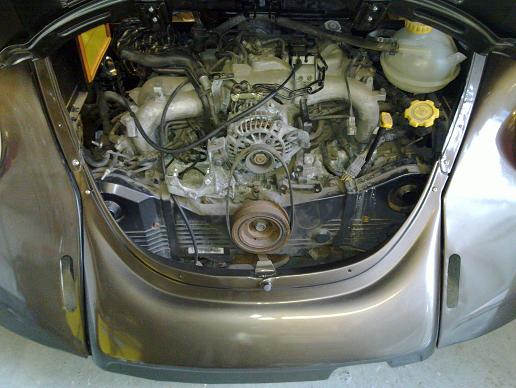
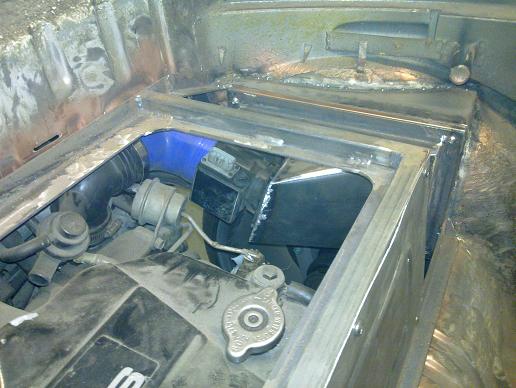
Before I can make the framework for the inspection panel, I needed to finalise the position of the chargecooler. I've positioned it a bit flatter to keep it low and had to make the third 'strut' mounting that you can see in the foreground as well as fitting a longer silicone pipe to the throttle body.. |
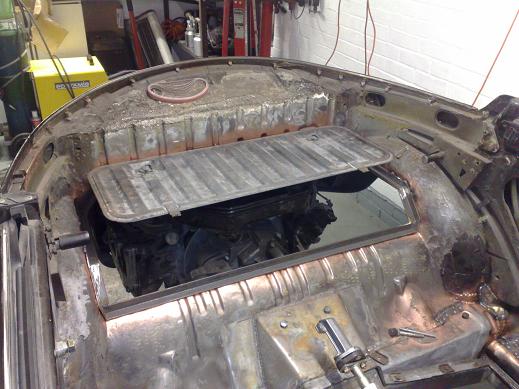
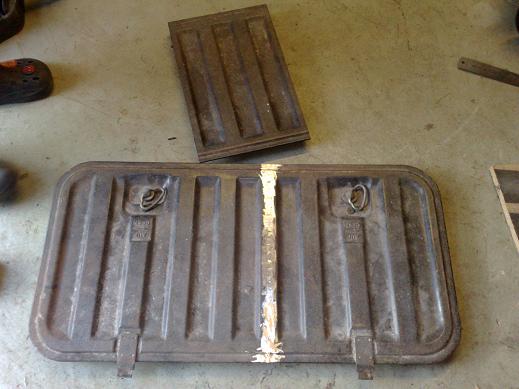
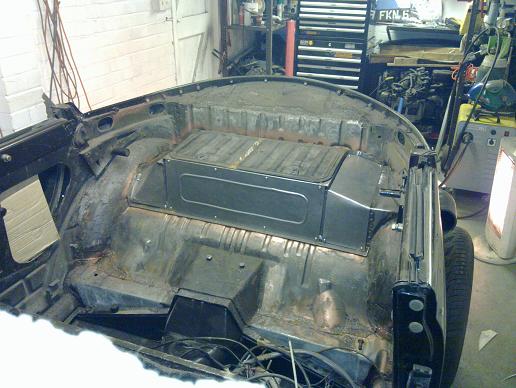
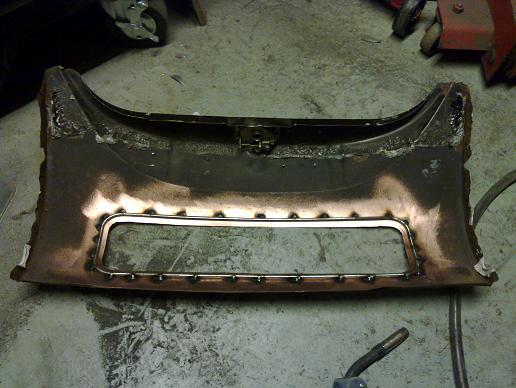
Late bay engine access panel, should look nice and factory but needs shortening first. |
|
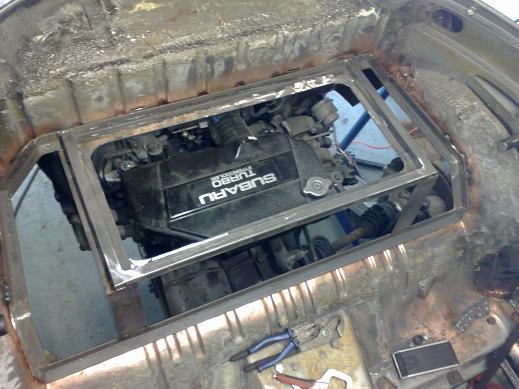
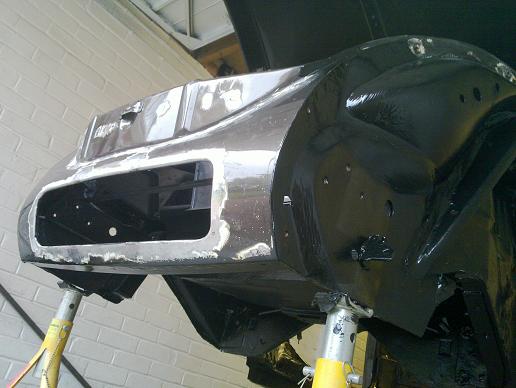
Easier to make a framework around now... |
Framework made now. |
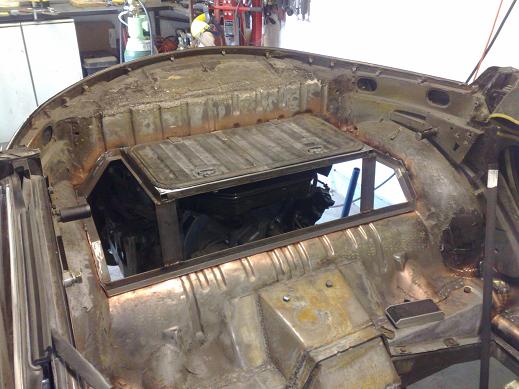
I'll probably make the remaining panels bolt in. |
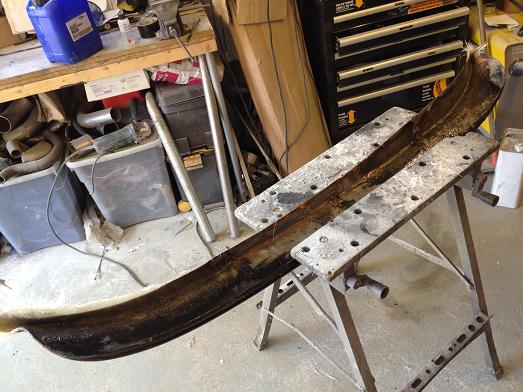
Beginnings of framework to support the rear body panels and rear bumper. |
It bolts in at the top and I had to put a curve into it to follow the wing line (actually a bit much, I'll make it better). I'll also weld in captive nuts for the wing to bolt on to. |
Both sides in and curvatures correct. I'll make a bridging piece to go in between leaving as much space as possible under the 'bubble' late valance for a big magnaflow muffler and to make the assembly a bit more rigid. Unfortunately due to the way it attached to the body all pieces will have to be bolted together rather than being one welded assembly. |
Rear bumper brackets and a cross piece added |
Quick test fit-up, needs a bit more rigidity as I thought so it will have another support tube from the inner wing down to the bumper bracket. |
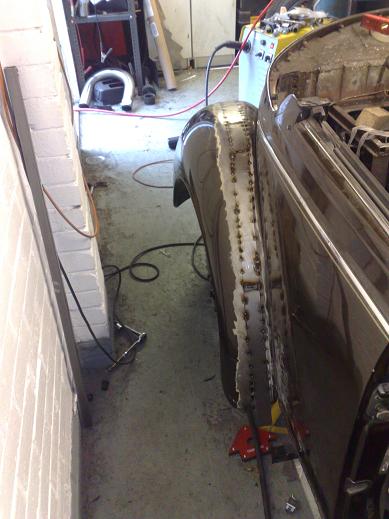
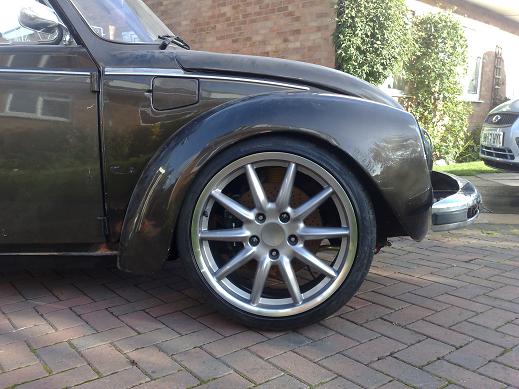
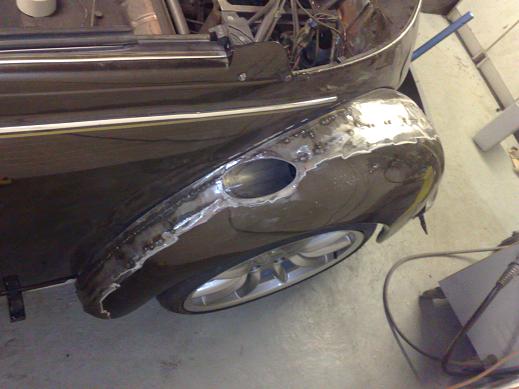
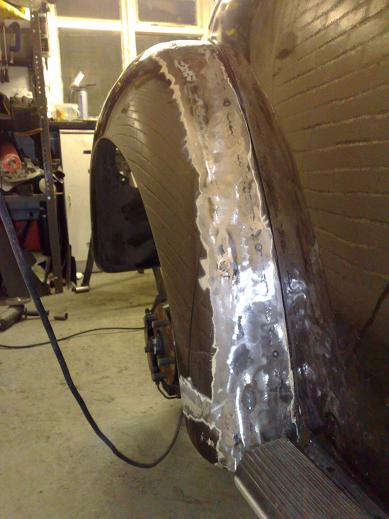
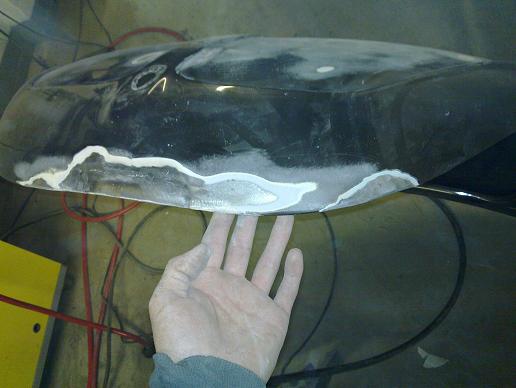
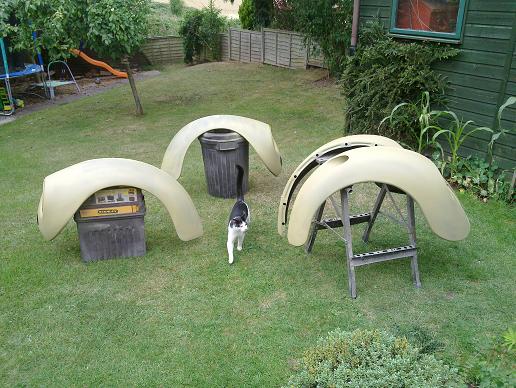
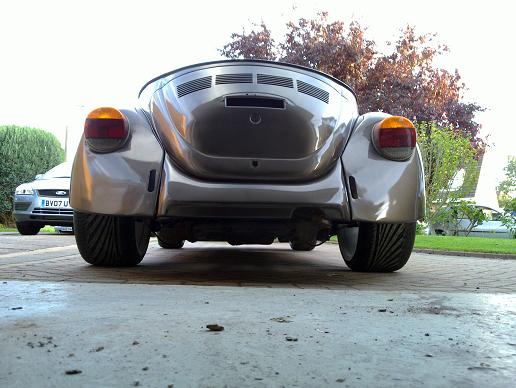
Rear wings in process of being widened 45mm. I wanted to widen the wings so they would look as close to stock as possible and keep the additional width to an absolute minimum. The end result is that I have clearance down to the bumpstops with no excess coverage. Note the bottom edge lines up much better now, it has slipped on the grippers slightly in this pic. |
Wing is pulled into shape to minimise the amount of bodywork needed. There won't be much filler needed at all on these... |
Rolled edge will be finished off after I take the wing off the car. |
Right side wing welds now ground down and left wing all tacked together. I also tried on the stock rear bumper to check for fit, it just needs spacing back about 30mm.. |
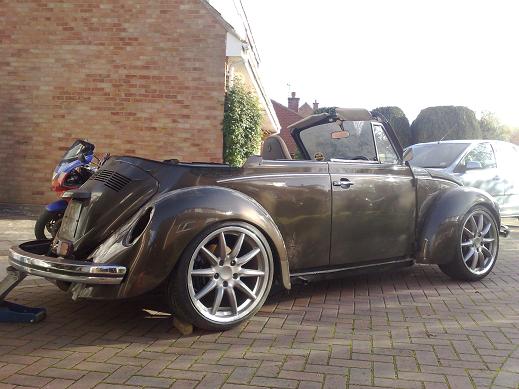
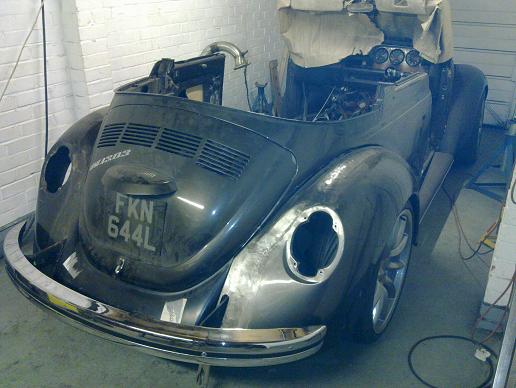
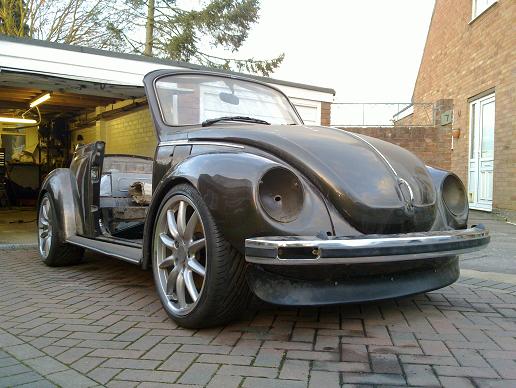
I had to throw the door and bumpers on to see the final look! |
I was able to manually pull the wing out slightly to cover the front wheels once I had moved the top strut mount inboards and adjusted the suspension arm as short as it would go. |
 |
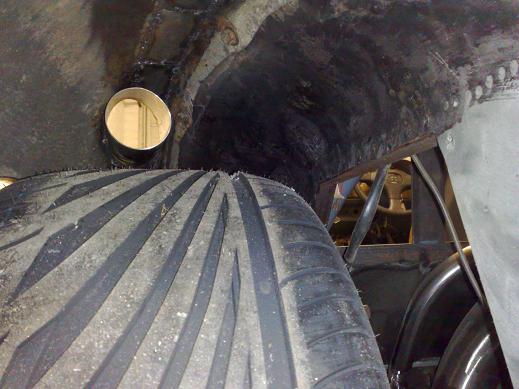
My problem now is that the tyre rubs the wing at the back and I also need more caster. I have two options: 1: move the anti-roll bar mounts forwards to centralise the wheel in the wing 2: reshape the rear of the wing, this would give more clearance everywhere |
|
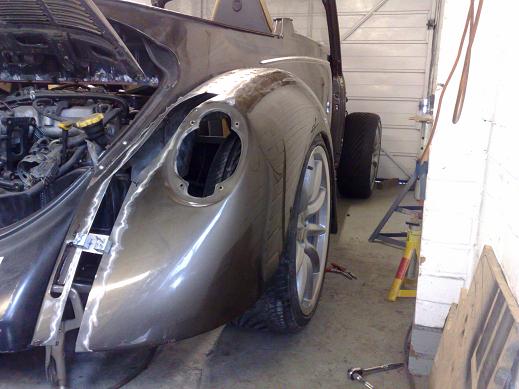
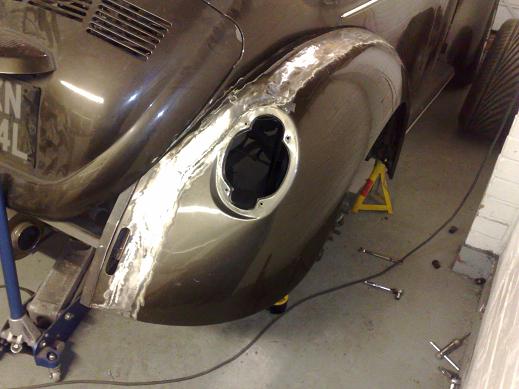
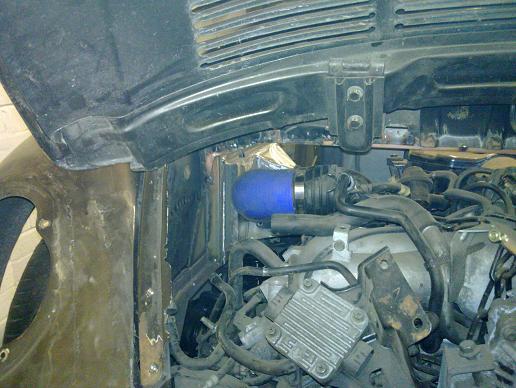
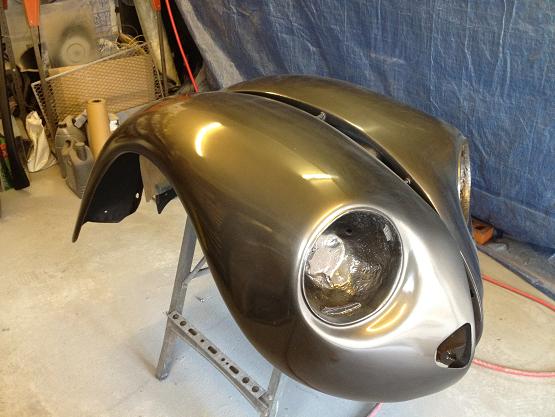
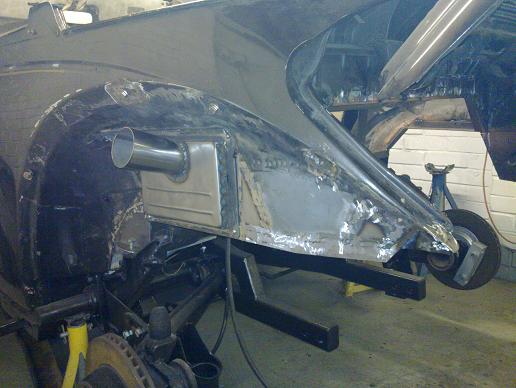
After hearing excellent reports of how well a cold air intake works fed from the front of a rear wing, this is how I have done mine. |
Kind of looks like a Ruf 911 intake now... |
Made from 3" pipe, it will feed in to a custom airbox that I am building in to the inner wing panel. |
Most of the metalworking done on one wing, return lips remade and lots of metal-bashing to get the panels as close to the final shape as possible to absolutely minimise the amount of filler required. |
| I had to shorten the outside section of the rear wings to line up vertically with the bottom of the running boards. |
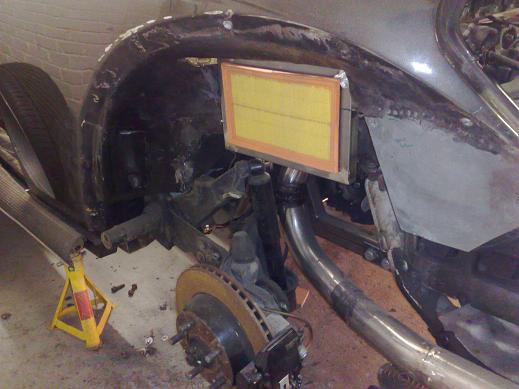
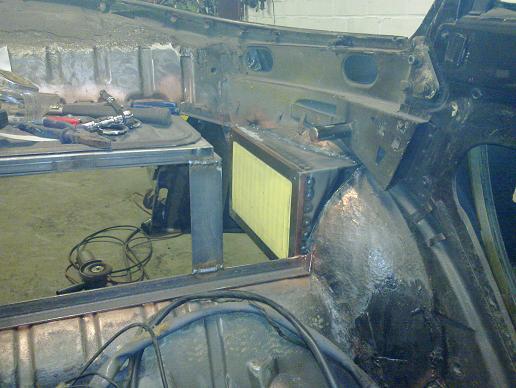
Inner wing cut away to make space for the panel airfilter |
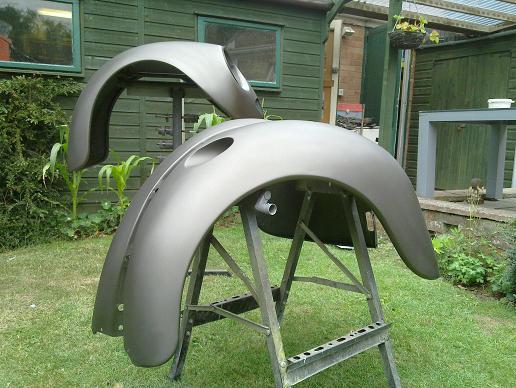
Both wings now done apart from final paint prep which I'll do in the summer, bit of paint on them to stop rusting |
Had to see what the intake will look like! |
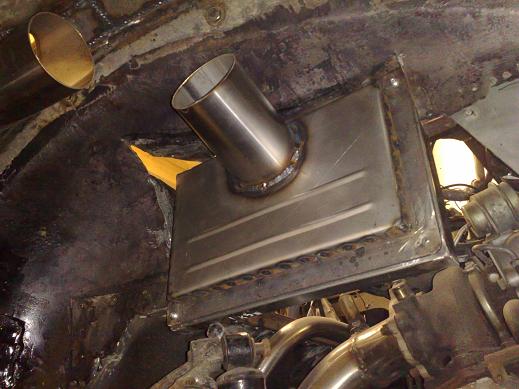
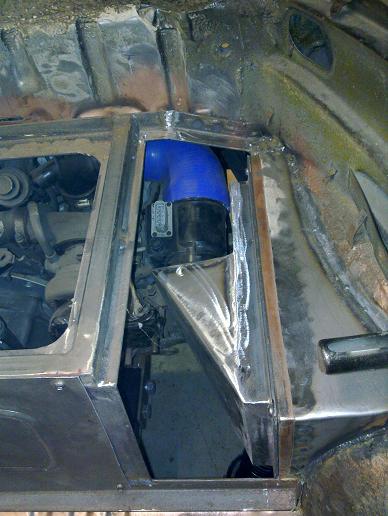
Filter housing to wing intake made up of angle to make a framework which compresses the panel filter perimeter seal, then some beadrolled sheet metal to fill in the gaps. Just need a 90 degree silicone bend now to join them up. |
I managed to find a suitable reducing elbow to go between the MAF and turbo intake and started making the framework for the MAF side of the filter assembly. I'll have to wait until the body and chassis are together again before finalising the positions. |
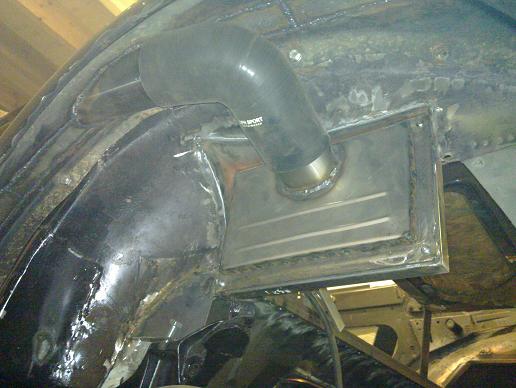
Filter frame now welded into the body |
Hooks up to the wing pipe nicely |
Inner wing finished off, note angle along bottom edge for strength, I will make a brace off this down to the bumper mount on each side to strengthen the back end |
 |
Paneling now done, might add another few fixings depending on how it they are with a foam seal in place |
|
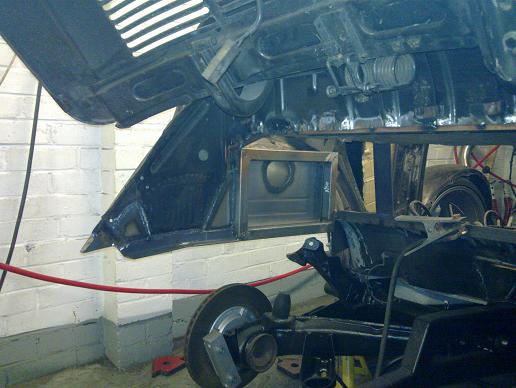
MAF side of the air filter assembly done! |
 |
MAF bolts on to the side of the housing, reducing elbow connects to original Subaru turbo intake pipe. |
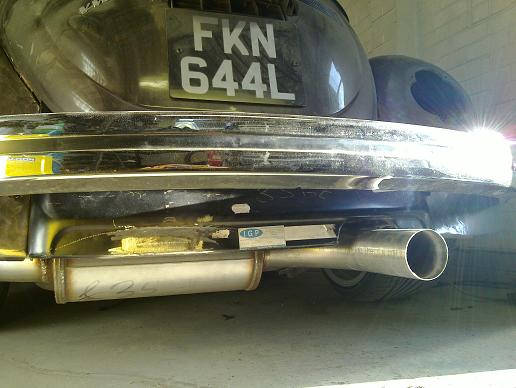
Additional brace to support the rear bumper mount. It is now strong enough that I can lift the body off the chassis with no flexing. |
rear bumper mounts extended by 35mm to clear wider wings |
Now everything is at ride height and, a quick mock-up of the kamei spoiler to my set ground clearance. I will trim this back to the bottom of the valance/wings and flush mount it, this will make it much more subtle and less 'plasticy' and keep the radiator intake clear. |
Another mock-up of spoiler showing better how the wing intake looks |
Spoiler now trimmed to fit and roughly clamped to bottom of body panels. This gives me 120mm of ground clearance which is about level with my lowest chasssis point. |
 |
It tucks back much more than it would as standard (which is bolted to the underside of the bumper) and looks much less like it's doing an impression of a snow-plough!. |
Left exhaust hole filled, right one widened for 3" pipe. |
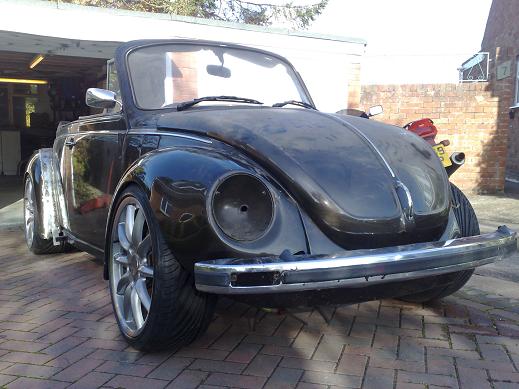
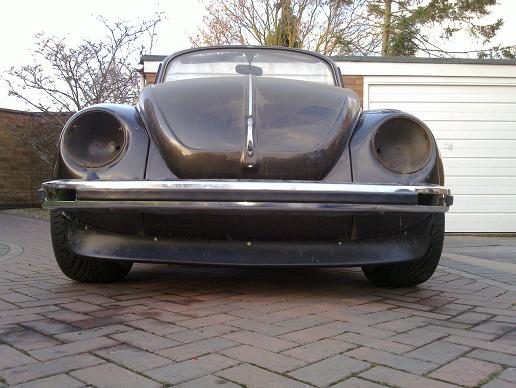
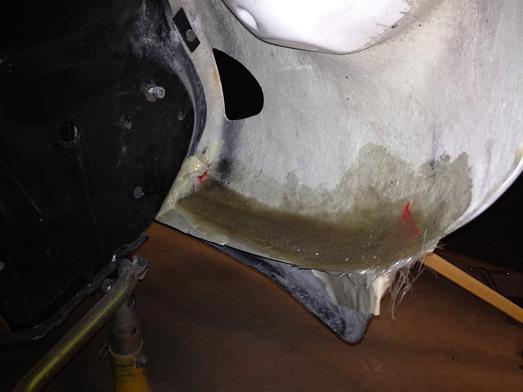
Finally on to the radiator intake! Due to yet more bodged repairs on both front bumper mounts I cut the valance off and cut out this hole (same size as the license plate). I've shaped a bar hoop the same shape but a bit bigger and will tack weld that on the back side, I will then hammer form a nice rolled edge to keep it looking 'right' and will also weld on some captive studs so I can fit some mesh. I'm also considering bonding some letters to the mesh so it can be the numberplate and not restrict air flow. |
Here's the bar tacked on to the back of the panel after baremetalling both parts and applying some weld through primer. |
I then hammered the metal around the bar, it has created a really rigid panel now and looks much better than a plain cut edge. |
I took a gamble on a 996/boxster spacesaver wheel fitting and it does with loads of space to spare in a variety of positions! For interest, the tyre size is 105/95R17. |
I cleaned up the rear of the front valance and welded on some bolts for the intake mesh, all edges prepped for plug welding on. |
50x3mm strip with captive nuts welded on to the bottom between the inner wings to give a rigid mounting face for the air dam. |
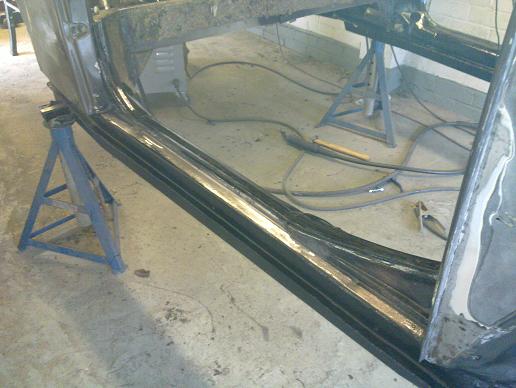
Front valance plug welded back on along the sides and bottom and then painted up in the epoxy. It's made the whole front end incredibly rigid! You can see I also painted the whole underside of the body in epoxy. |
Carpet strip plug welded back on to the top of the heater channel. |
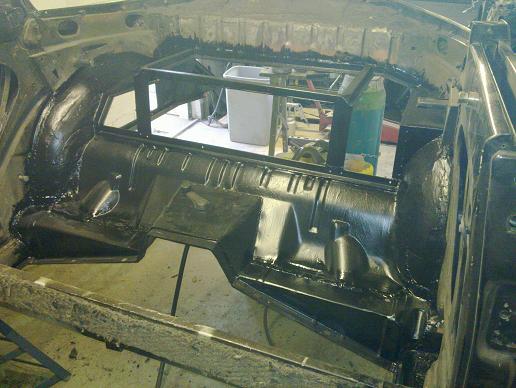
Rear interior modified bodywork given a good epoxy coating |
Rear end also got the epoxy treatment. Just about ready to start on the external paint prep now! |
|
Bonnet needed a few sections replaced due to poor previous repairs rusting |
Kamei mocked up again, luckily there is a suitable double bend on the bottom of the front wings to mount to. I plan to make a mould out of the cut down Kamei piece and a metal strip that will be bolted up on to the body, I'll then make up a fibreglass part. |
All mocked up to see the final effect. I don't think I'll get away with running the numberplate there unfortunately! |
Bodyworking the rear wings now... |
Rear quarter panel skimmed and smoothed... |
More sanding! |
I cut a metal flange piece which was bolted to the body, the remains of the Kamei was then bolted in place and the two bonded together with fibreglass filler. The ends will be reshaped and the whole thing smoothed before I use it as a master to create a mould for a new fibreglass part. |
|
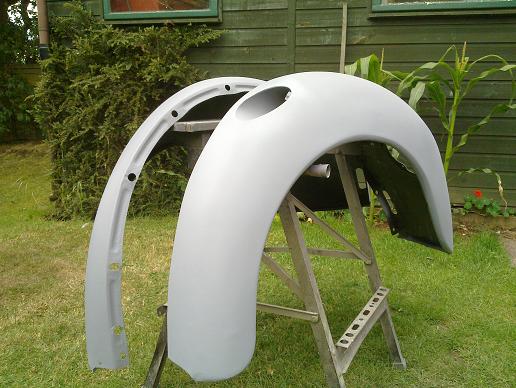
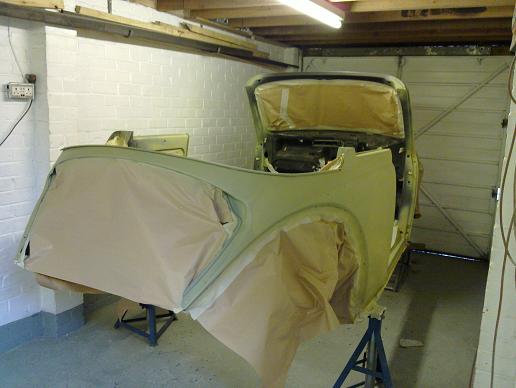
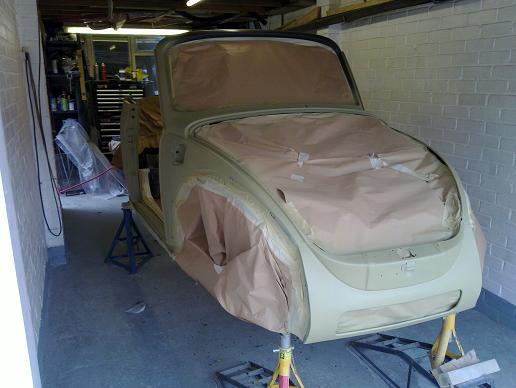
and two coats of high build primer... |
First colour coats! I'll do the final coats and clear with them loosely attached to the body, this is more to just cover the primer so I can put them out of the way while I prep the main body... |
I decided to just finish the wings, the metallic particles are so small I can't see them being painted separately from the body making any difference. I put on some wetter coats of the cellulose metallic and finished off with 3 coats of 1K acrylic clear. |
For information, I used a cheapo spray gun for the etch and primer coats, then an Iwata AZ3 HTE2 spray gun with a 1.3mm tip for the colour and clear coats. This was all running from my 3hp 150l compressor that I made up a short copper section with water drain. It has actually given a really nice finish out of the gun with not a single run! A couple of small bits of dirt got in one wing but should easily polish out when it has fully cured. I had to paint the wings in two lots under my workshop porch bit as it was threatening to rain... |
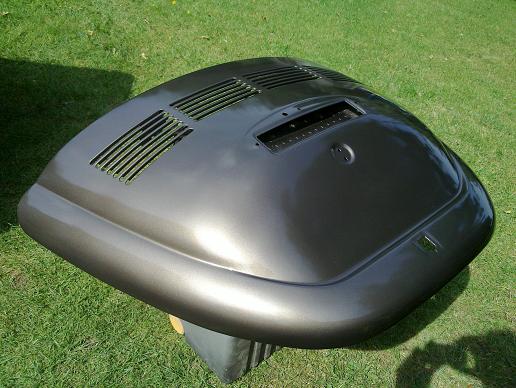
Decklid painted, no real problems, although I did sandblast the slats as they were too fiddly to sand nicely. |
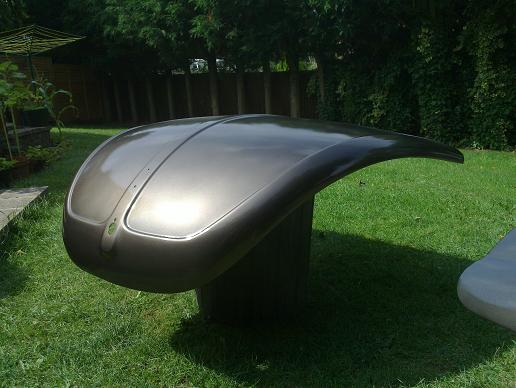
Bonnet finally painted. I've done this 3 times now! First time there was some striping visible in the colour coat as the passes weren't wet enough to flow into each other nicely. Then I got a really good second colour/clear coat and left it in the sun for a few hours to dry before putting it on some cushions in the conservatory just to have it out of the way but they left imprints all over the bonnet! I had to wet sand it all back and paint for a third time, I'm not doing it again!! |
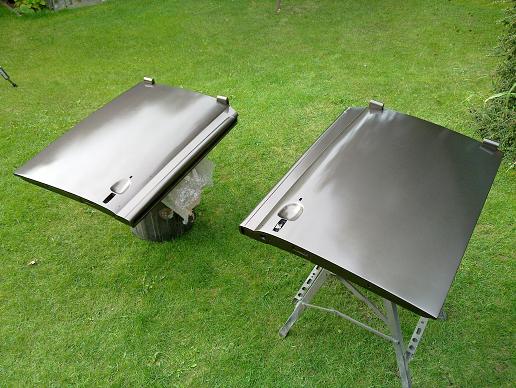
Doors painted... |
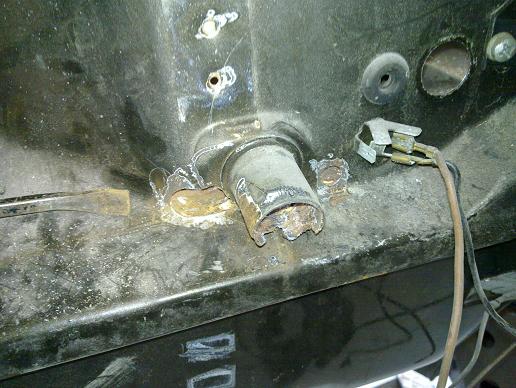
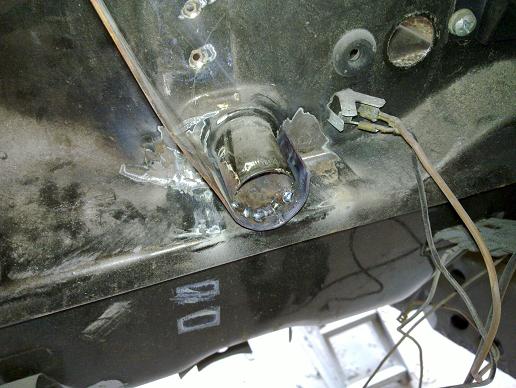
More rust uncovered! This is the drain tube from the scuttle area by the wipers, it's a well known rust trap in 1303s so I wasn't too surprised. Repair from the inside of the car was the easiest way to go. Here I have opened out the rusty areas ready to weld new sections in. |
To repair the tube I decided to use another trick I saw, bend some copper strip around the part and weld straight onto the strip creating the new section. |
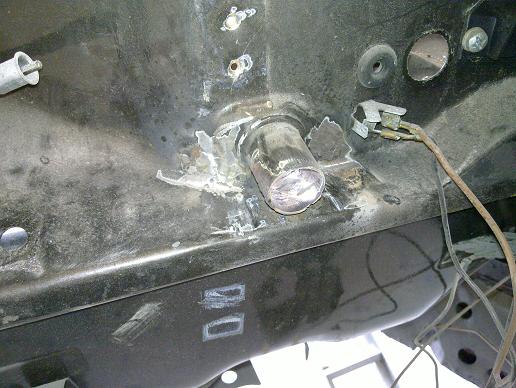
The outside surface is smooth (as it went straight on to the copper surface) but the inside needed some work with the die grinder . All good in the end though! |
 |
|
and two coats of high build primer! |
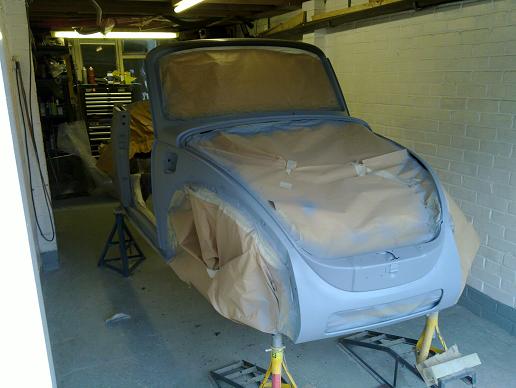
next job to wet sand this back ready for colour... |
Body done! Now I just have to restrain myself for a while to let it FULLY cure... |
|
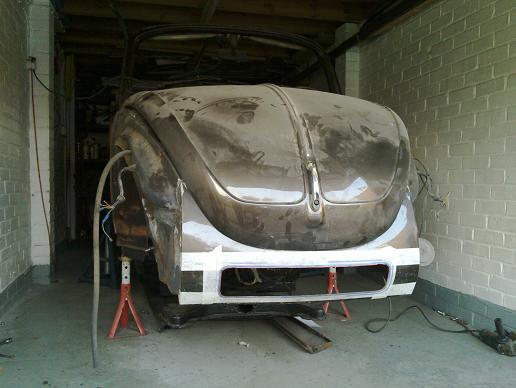
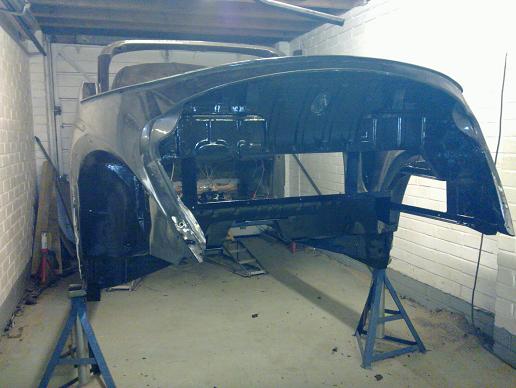
Body on! I also mounted the bonnet as it was taking up far too much space in my workshop. |
The rear frame will get stripped/painted, but that's for another time. it makes a very good carry handle when lifting the body about... |
|
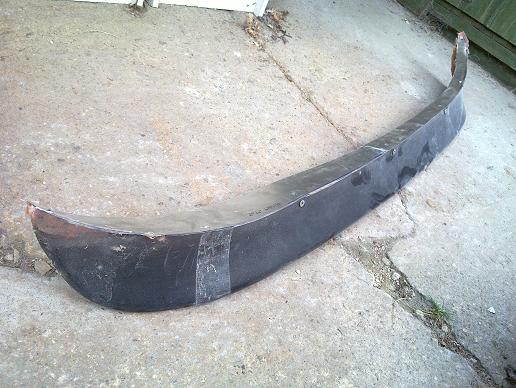
Rear valance panel needed extending at the top to meet what was left of the body neatly. It bolts in place at the top and is then clamped between the body and wings down each side. |
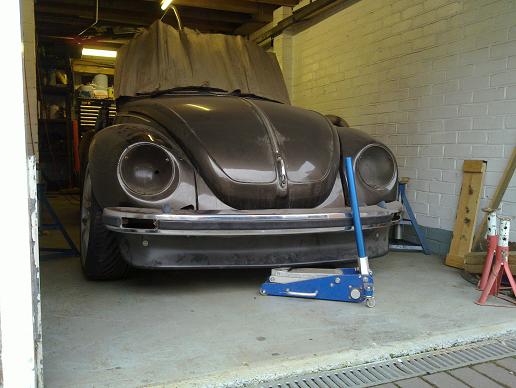
Plenty of ground clearance! |
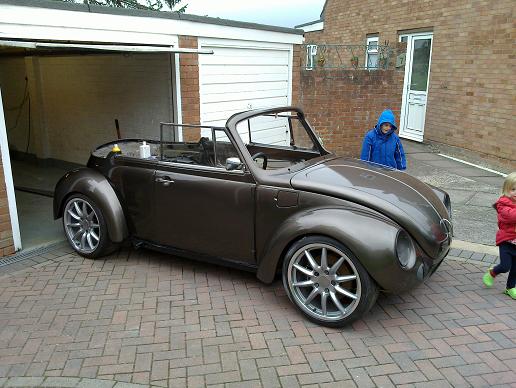
Body panels all 'thrown' on for the moment as my wife was sick of them spread out everywhere, lol! |
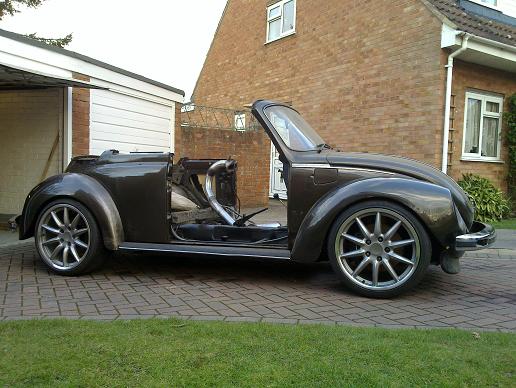
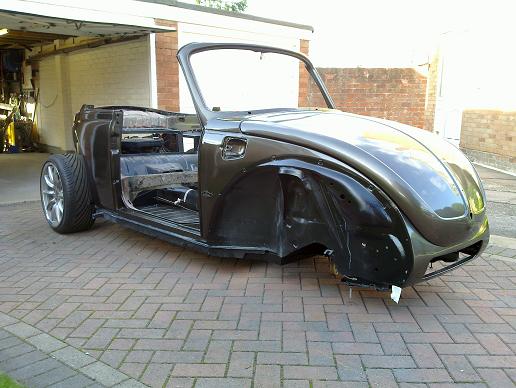
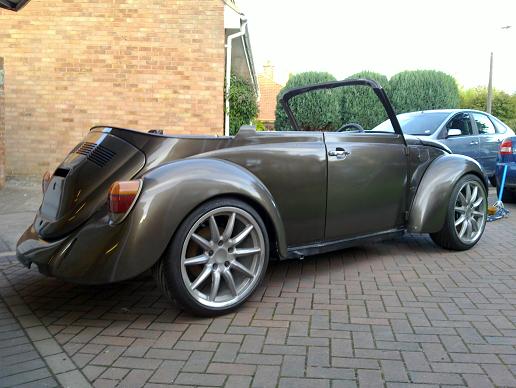
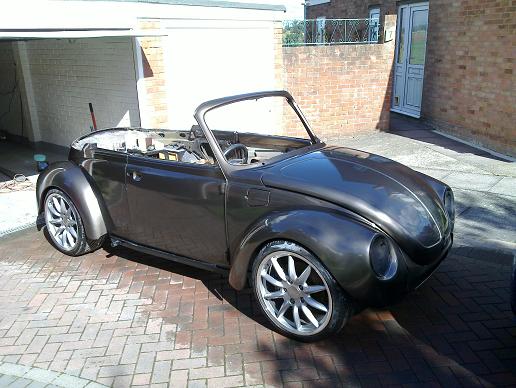
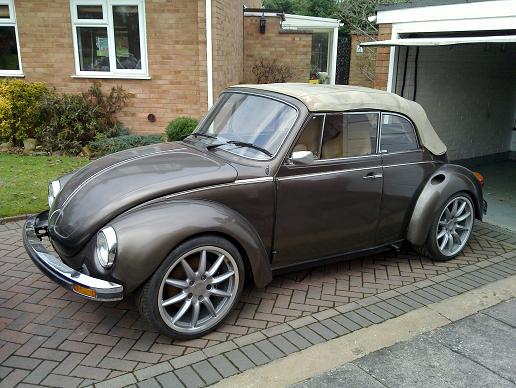
I'm happy with how it's all sitting... |
If anybody else had a feeling that the doors didn't look quite right in the previous pictures I was having the same thoughts! In the end after repainting and then re-clearing they have come out right. I also wet-sanded and machine polished the whole car so I can start refitting brightwork and other fittings... |
Much better! |
Door windows in, it was like doing a 3D jigsaw puzzle that would only go together in a particular sequence! |
Definitely getting there! All glass now in after spending a small fortune on various rubber seals which were too far gone to re-use. |
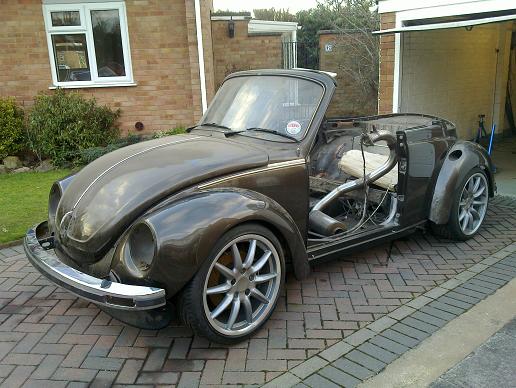
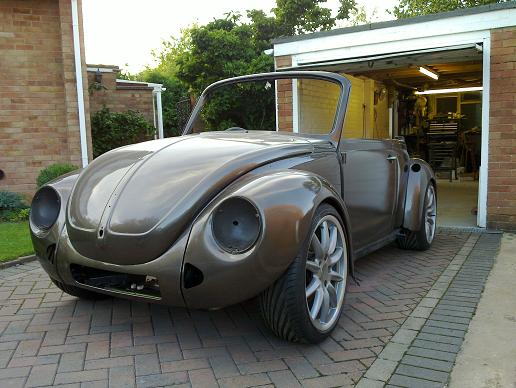
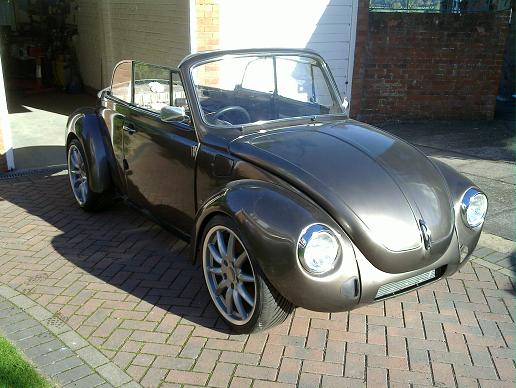
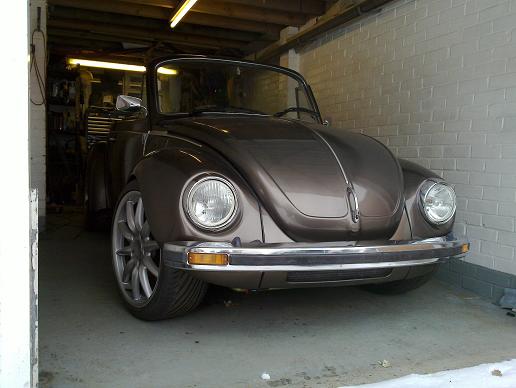
Al body trim now fitted, you can just about make out mesh in the radiator opening, I'll sort out the airdam later.. |
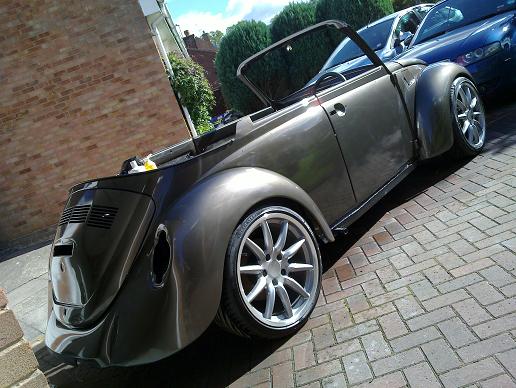
Just to give an idea of how the intake looks. |
I painted the rear light housings sating black which I think gives the lights a slightly darker look without looking aftermarket.. |
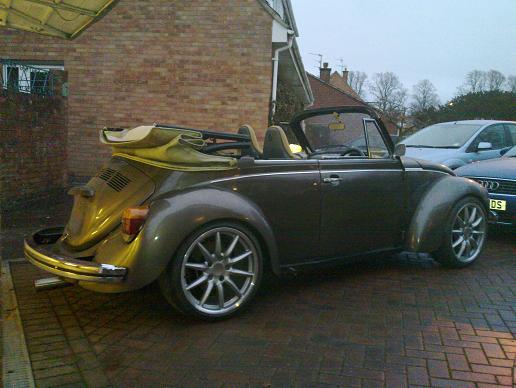
Roof and interior loosely fitted for the house move... |
Just the running boards and front air dam to finish off the look... |
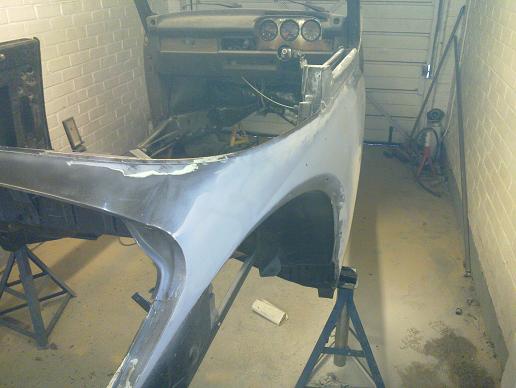
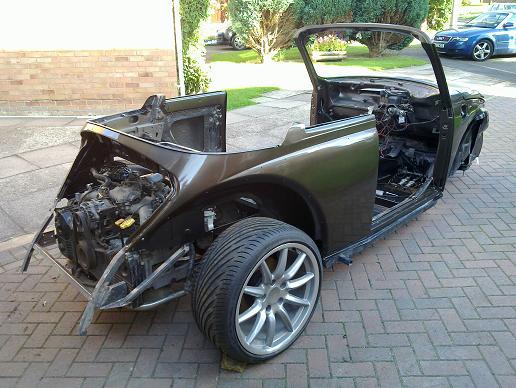
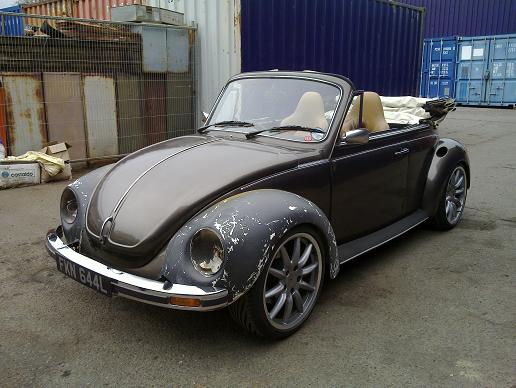
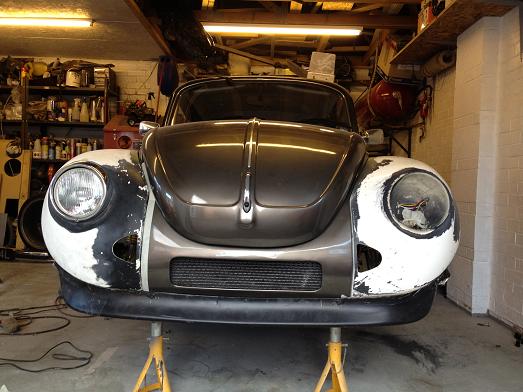
I finally had enough of the restricted steering, tyre rubbing and compromised steering geometry so found a set of wider front wings in conjunction with some concentric wheel spacers. I also plan to rebuild the steering rack with adjustable end stops to maximise the lock available. They will need modifying to provide a better mounting surface for the air damn. From a quick drive around it is significantly better.. The front bumper brackets will need to be extended slightly to give a bit more space to the wings too but I think it will end up looking better with more flowing lines. |
I have no idea of the origin of these wings but they have been sitting around for a while and have become slightly distorted but this is fixable! Here I have filed down the bottom edge of the wing and extended it to make a god solid mounting for the air damn. |
The air damn is being reshaped to suit the new lower wing profile and fibreglassed back together using CSM rather than fibreglass filler and it works much better... |
Still more work to do but you can see that it is nearly there... |
Plenty of stone chip was sprayed on underneath the wings and then high build primer, final colour and clear before letting the paint settle for a week or so and then refitting them. I actually got some stonechip overspray on the air damn so ended up giving that a full cat along wiht satin black paint as it could do with the protection anyway. |
All re-fitted! I don't think the car looks noticeably different but with the wheel spacers and re-done steering rack with adjustable end stops I now have a lot more steering lock as well as a much more predictable and nice feeling balance to the car.There was far too much negative scrub radius with everything forced inboard to fit under stock width wings. Another mod I've done is switch to smaller 5/8" brake master cylinders along with a calculated balance bar position and this has made the brakes MUCH more confidence inspiring with less pedal effort and a bit more travel! |
|