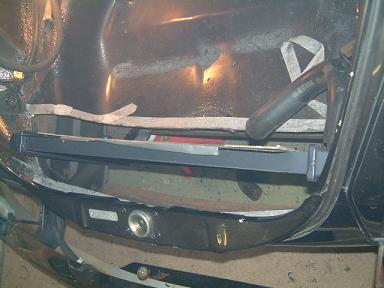
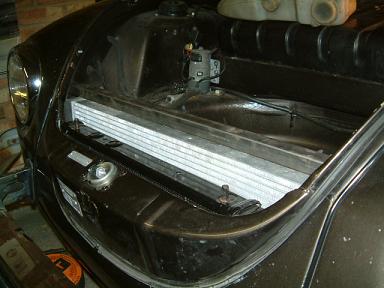
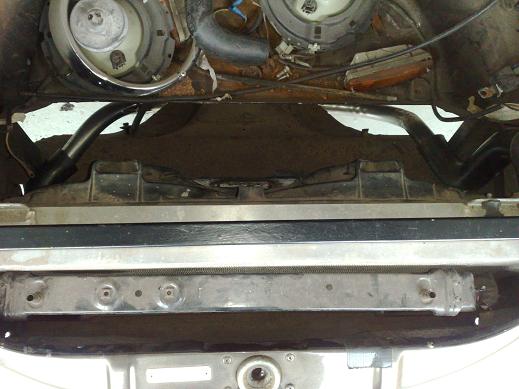
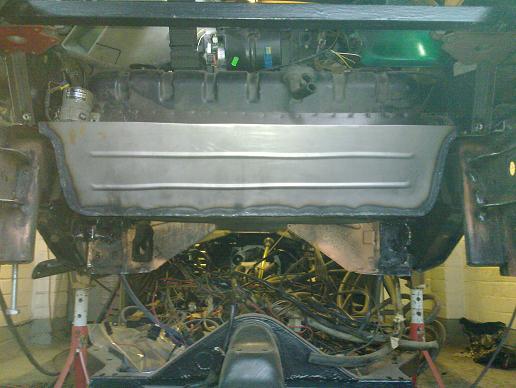
Here's the Ford sierra radiator in its approximate final position. I will make up a frame for it to mount to, which will pick up on some existing holes at the front of the chassis. |
I will have to do some more cutting so that the pipes have more room and the air can escape more easily. |
|
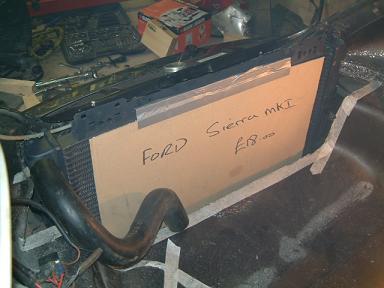
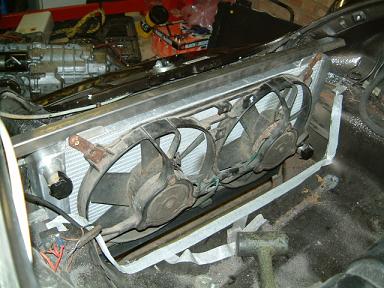
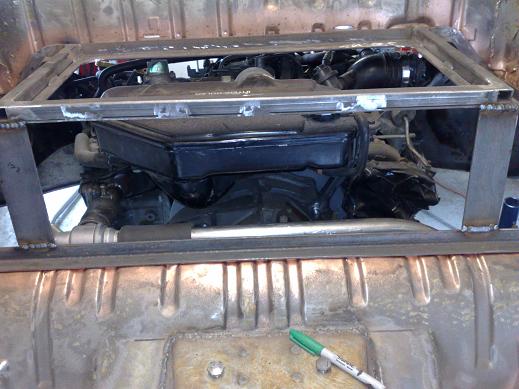
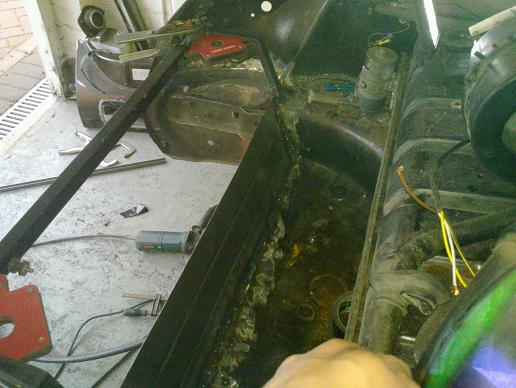
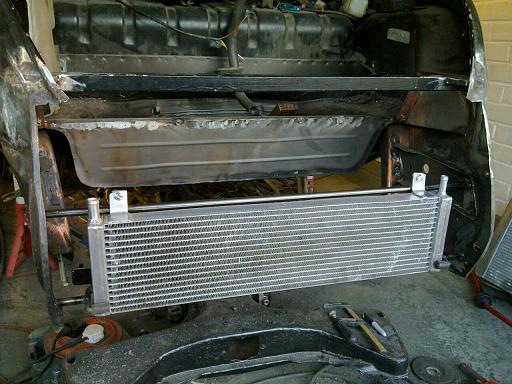
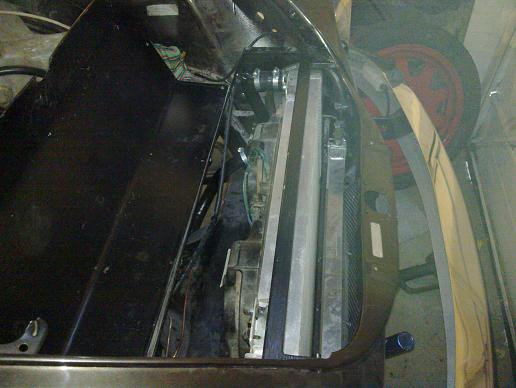
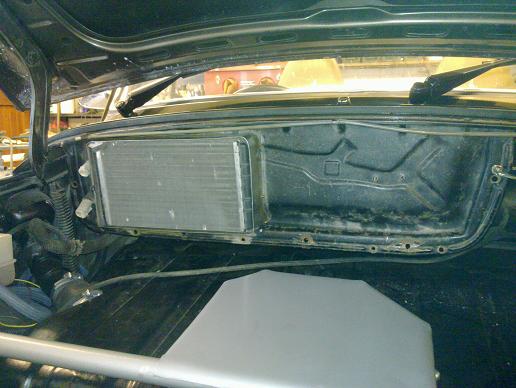
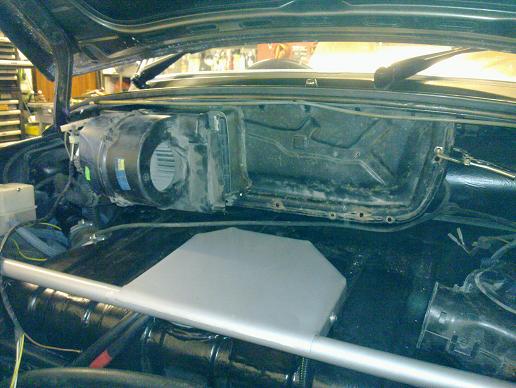
Change of plan to a bigger radiator! The Pace radiator is a very tight fit in there! |
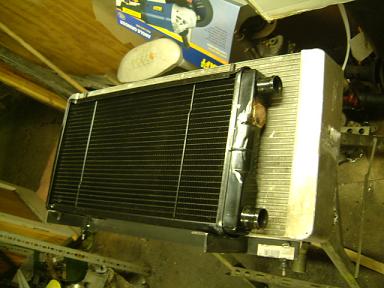
I bought this unknown radiator at a kit car show for £5, it will make an ideal chargecooler rad! |
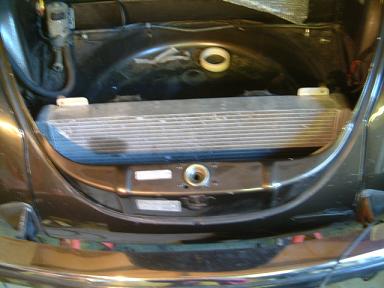
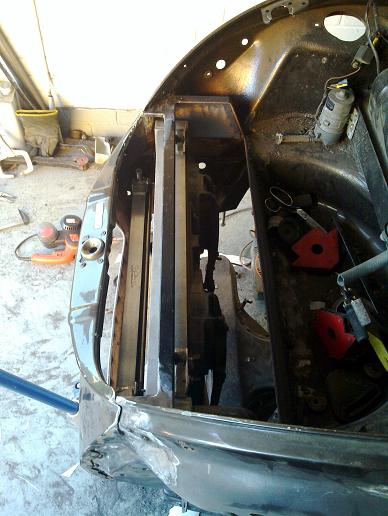
The chargecooler rad fits snugly in front of the Pace main one. I'm welding in an upper bar across the inner wings for the top mounts. |
Nice big fans came wiht the radiator and are stock Ford Sierra Cosworth. |
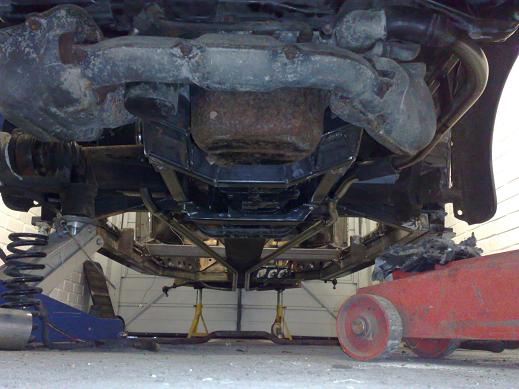
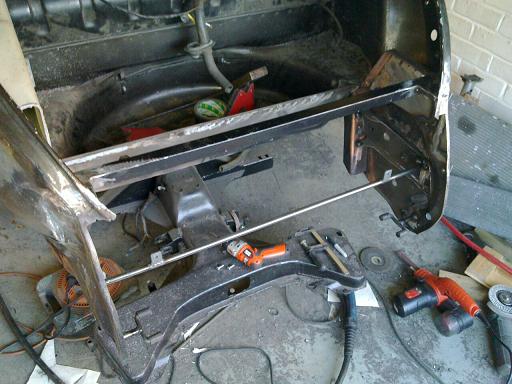
The lower mounts are welded up from steel angle and have 'bobbin' rubber bushes that fit through a pair of existing holes in the chassis. I will be fully welding/neatening it all up and rubber mounting the chargecooler rad. |
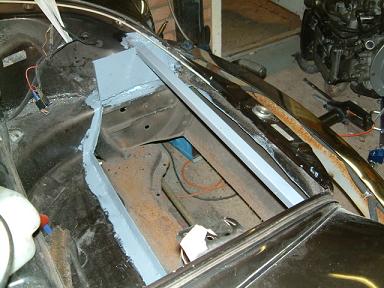
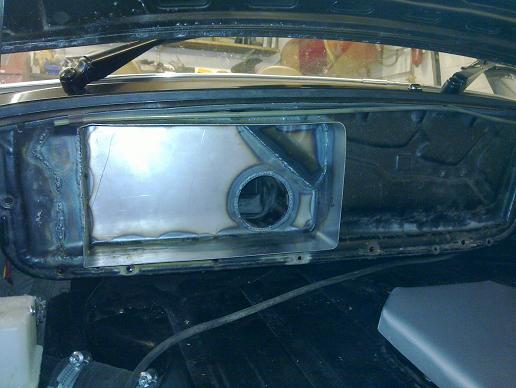
Where I cut out the spare wheel well for the radiator I flanged the edges. I'll insert rivnuts along the edge to screw on an aluminium top cover. |
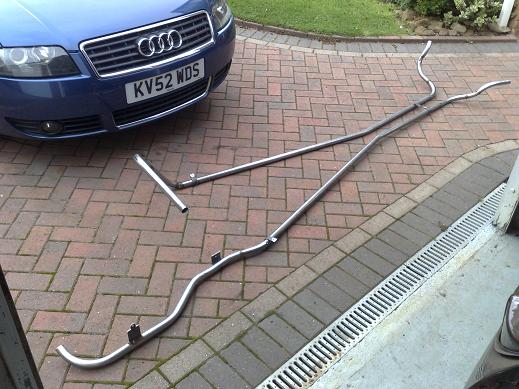
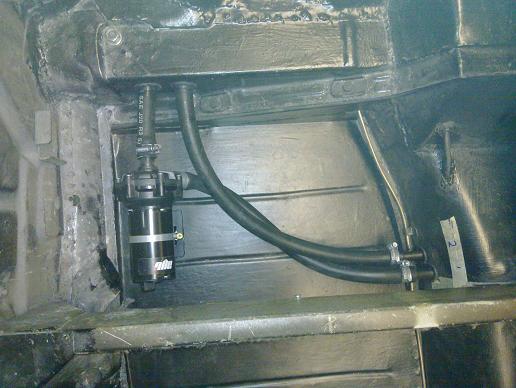
After lots of thinking I have decided to go with steel coolant lines. They are cheap to build, easy to weld together and bend in any format, bleeding points are relatively easy to install and they can have fixing brackets welded straight on to them. I am thinking about getting them galvanised to last longer. Here you can see the initial tacked together complete runs. After my speedster I was not keen to use the stock subaru thermostat again, I used an external thermostat on my libra and it worked very well so I am using the same one here. |
Here you can see the full runs under the car |
lines loop up nicely to the radiator |
access to the suspension bolts is still fine |
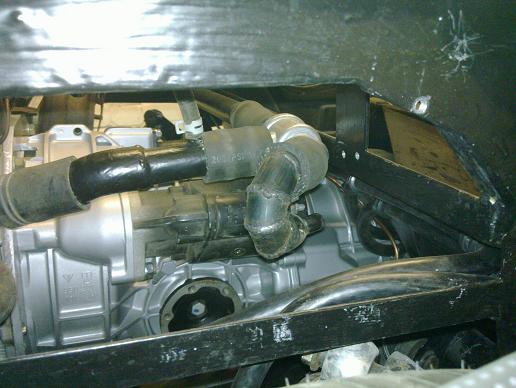
Thermostat acts in place of a bend on the reveresed coolant manifold of the engine, then across to the coolant line which runs down the left side of the floor. |
Adapter piece from the manifold converts from the engine's 38mm pipework down the thermostat and main line size od 32mm, it also incorporates a bleed line which will go back to the coolant header tank. You can also see how I mounted the return rigid section to the engine with a piece of flex to account for engine movement. |
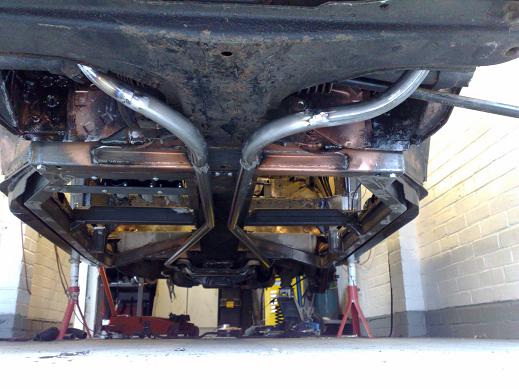
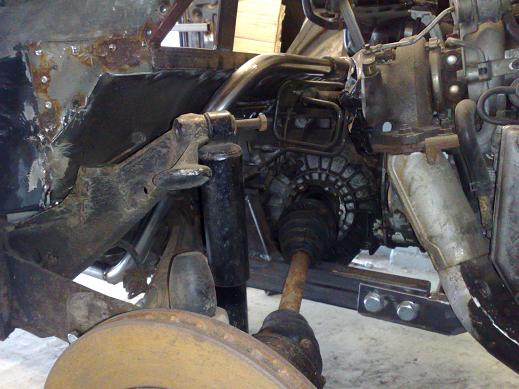
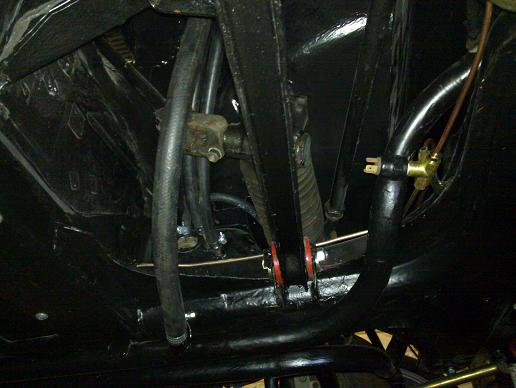
Here's how the outlet pipe drops down just infront of the trailing arm. I mounted them high enough so that they will not get in the way of a 944 anti-roll bar. |
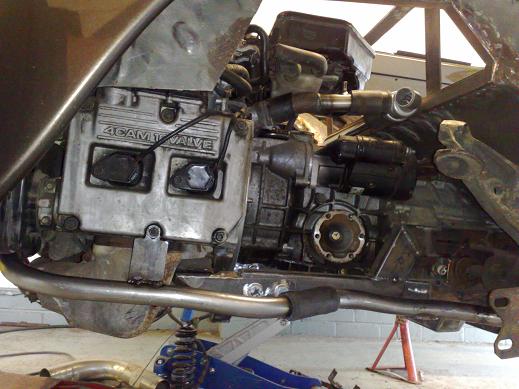
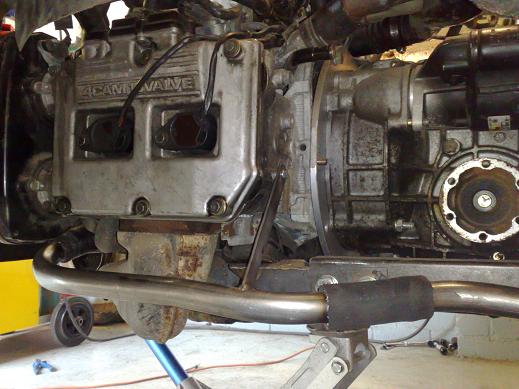
I decided against the coolant support as in the above picture after experiencing some oil seepage from the rocker cover. There was a handy unused boss on the engine block so I used that instead... |
Front section of spare wheel well filled in with new beadrolled panel and framework is now being made up with captive nuts so a removable cover can go over the top. |
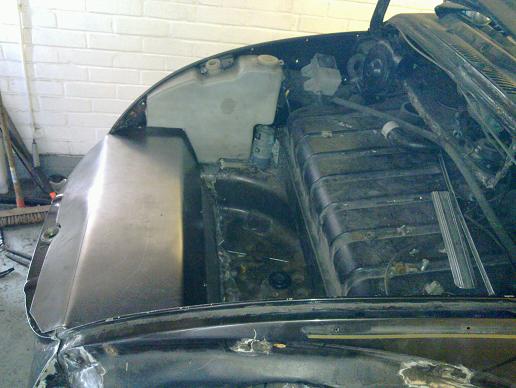
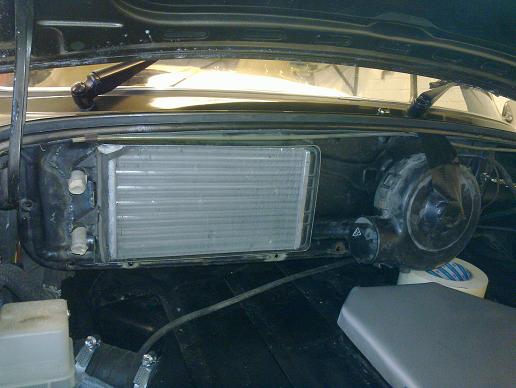
I added some fillet pieces at the top and filled in the sides to seal off the radiator from the underbonnet area. |
The pace chargecooler only had mounts at the top, so I've welded in a tube with tabs for the top mounts and a Y shaped piece at the bottom of each side that the radiator drops into. The tube is covered with some rubber tube to give a nice cushioned mounting. |
and all mounted... |
Steel cover to go over the radiators made up and all edges folded back on themselves to avoid sharp edges and scratching the body later on. It also stiffens up the panel nicely. Once I've welded on the front valance panel I'll add an extra couple of fixing points at the front. |
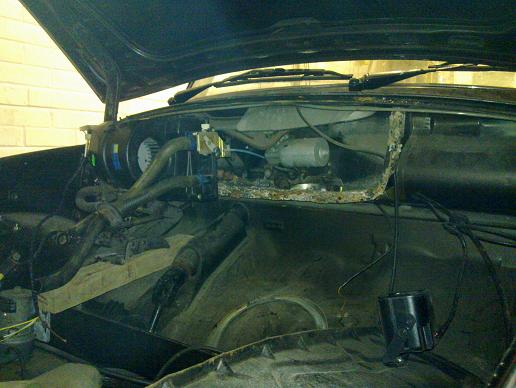
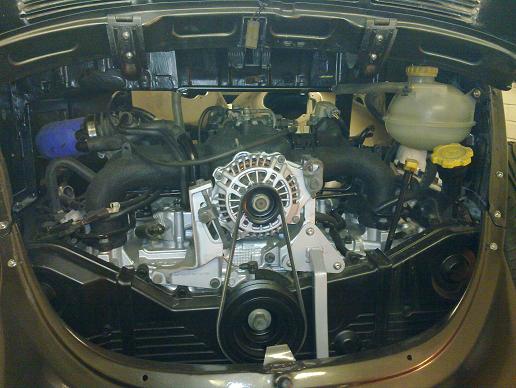
New turbo coolant pipe hardline was made up and bolted on to the top of the bulkhead to neaten things up a bit. |
The thermostat bypass will be used as the heater supply in my installation so I made up this adapter to go down to the smaller pipe size. |
Radiators in and piped up, you can just about make out a steel pipe I made which incorporates a bleed point at the top which connects to the header tank at the back via the original fuel line. |
I welded on a heater return pipe and also connected up the fuel lines |
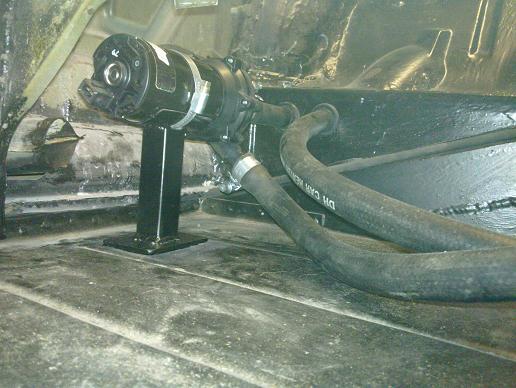
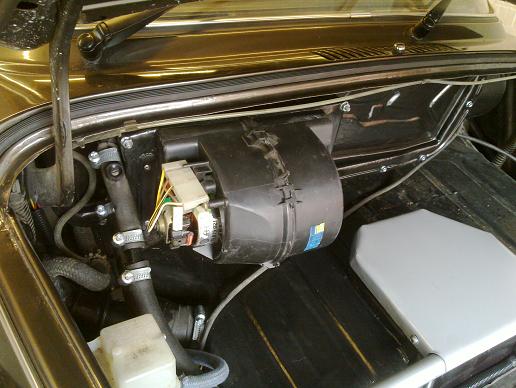
Chargecooler pump is a bosch one and is said to be very quiet and efficient, I think it's the same one as used in the Ford Focus RS. It fits with plenty of space under the back seat. Luckily the 16mm heater hose just stretched over the pipe fittings (which are 17mm on the chargecooelr and 19mm on the pump) with the heat gun and a bit of lubrication. |
I made a small stand for the pump which is bonded on to the floor, depending on how noisey it turns out to be I may wrap some rubber around the pump for better isolation. |
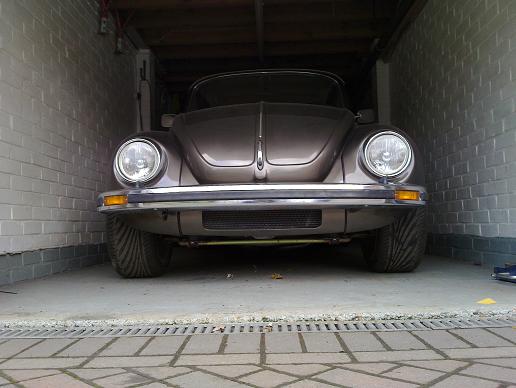
Ground level view shows that there is a decent direct flow area available for the radiator. |
|
I've cut into the wiper box cover to build a housing for the heater matrix. The corner piece had to be clearanced for the wiper mechanism and the tube connects straight up to the stock air ducting so all the stock dash controls can still be used. |
Fiat cinquecento heater matrix in place, note the neat positions of the connections down the side of the car. |
I initially planned to fit the stock fresh air blower fan roughly in the position shown but when connecting it up to a spare battery it was more a breeze than a decent flow. |
This is the polo heater blower which gave much better flow and will also be easier to mount up to the matrix. |
|
Just to confirm the flow would be sufficient before finally plumping with the polo blower fan. |
Here's the back face of the reworked bulkhead panel, the silicone pipe fits straight over the stock interface for the old fresh air blower motor. It was all given a good coat of epoxy mastic 121 as it will be very exposed to the elements... |
All in and works very well! I fitted a short section of Rover 100 heater pipe as it has a neat moulded in bleed screw. |
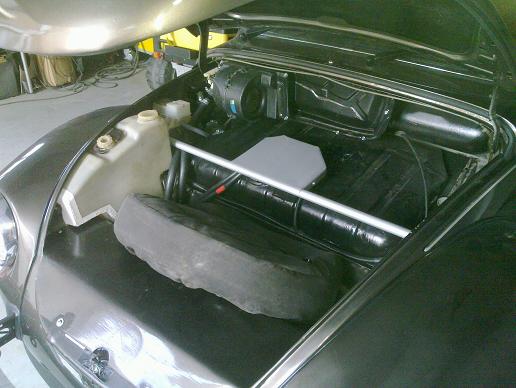
Under-bonnet parts all done now. I had to modify the windscreen.headlight washer tank to fit over the radiator cover. I will probably also make some finishing panels before carpeting this area. |
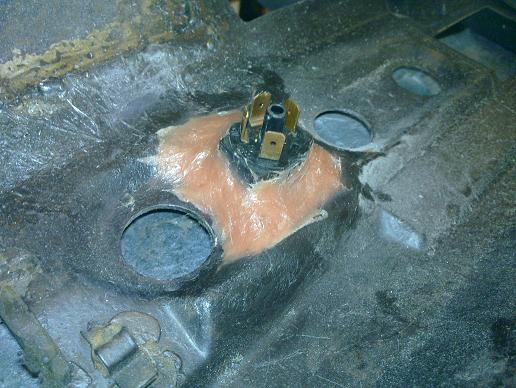
A functional solution for how to fit the VW t25 heater switch to the dash. It has tiny features to try to make up some sort of retaining bracket and even those wouldn't clear properly, the rear end of it was also extremely close to the heater control cables so using some fibreglass filler was an acceptable solution for me. I was able to use the stock VW plug on the back of it and the wire colour coding matched the blower so all good... (the original switch was only a 2 speed which is why I changed it) |
|
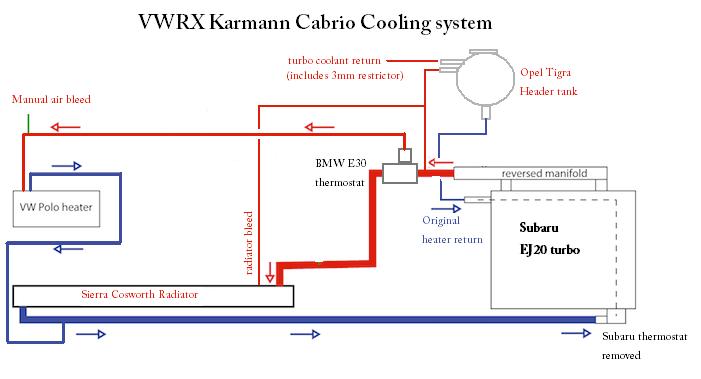
I've been asked so many times about my cooling system I've finally modified a schematic to show how it is all plumbed up. This system works perfectly, gets up to temperature fast and stays at a constant temperature. The other bonus is that I don't even have to bleed the system from an empty fill as it is completely self bleeding! |
|
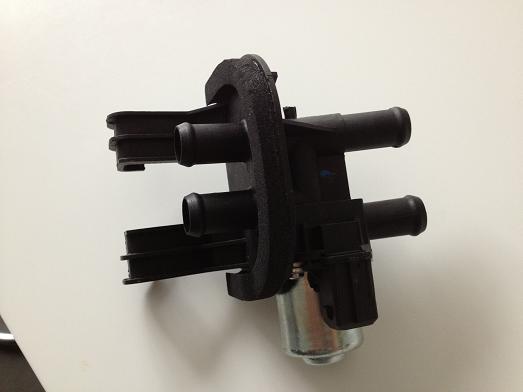
A problem I had on a previous kit car was that the heating system was ducted so efficiently with the intake in a high pressure zone that I would always get warm air coming through the system into the car. I couldn't have the fans on with ambiant temperature air as the heater matrix was part of the thermostat bypass flow. This was a particular problem during some heavy summer rain where I needed a good amount of air flow to keep the screens de-misted and my only option was hot heated air which turned the interior into a steam room! The solution is to fit a valve which can bypass the matrix but still enable constant flow, handily Ford fit one to many of their small cars so I bought one.
|
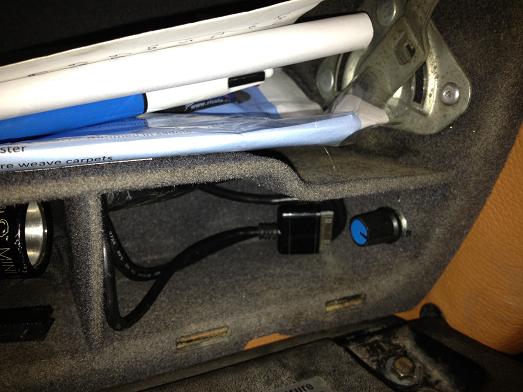
The valve could be connected up to an on/off switch but a better solution (as well as how it is used in Fords) is to use a low frequency PWM controller, this gives proper temperature control by cycling the valve on and off depending on demand of a rotary switch which I have fitted in the glovebox. Mine came from ebay as a generic part but was modified by the seller to reduce the frequency to something more suitable. The valve connector was a generic mini timer type that was also from ebay.
|
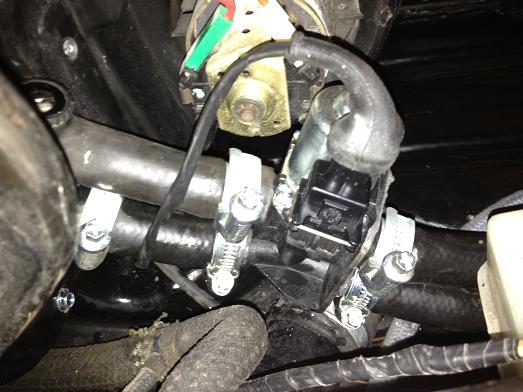
Finally getting around to fitting the valve in the car after cutting off superfluous brackets, a quick test of the electrics to make sure it was fitted the correct way around and it's in!
A test in the car and I'm extremely happy with how it works, the temperature is easily adjusted and changes surprisingly quickly. |
|