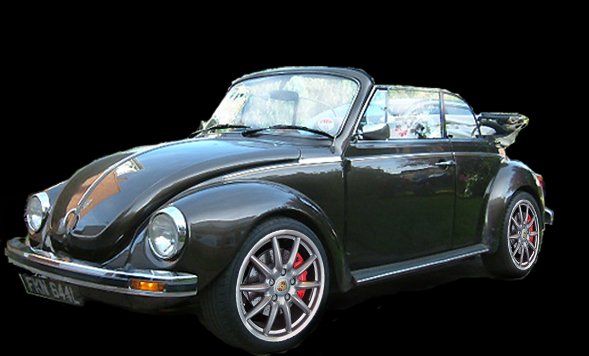
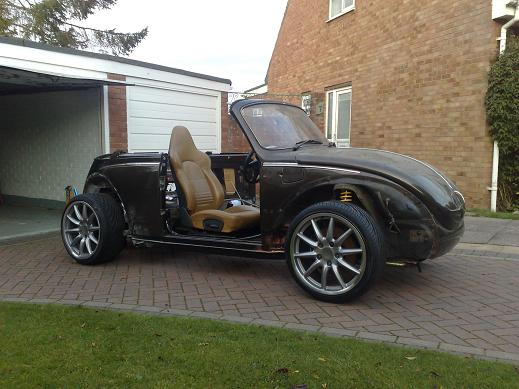
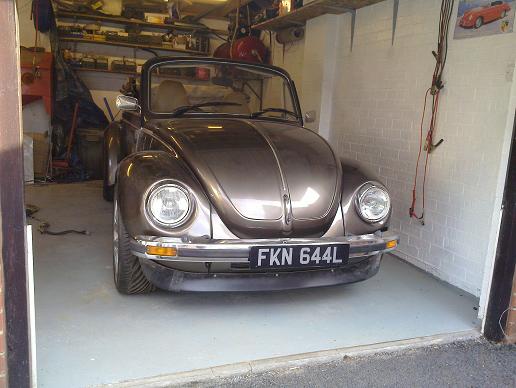
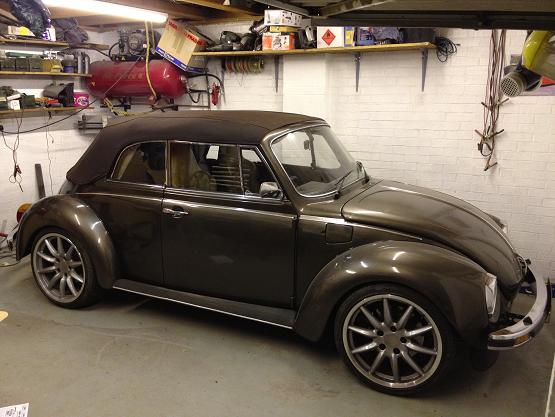
The bug is finally driving! Not for long as none of the gauges are wired up yet but it's a big step in the build...
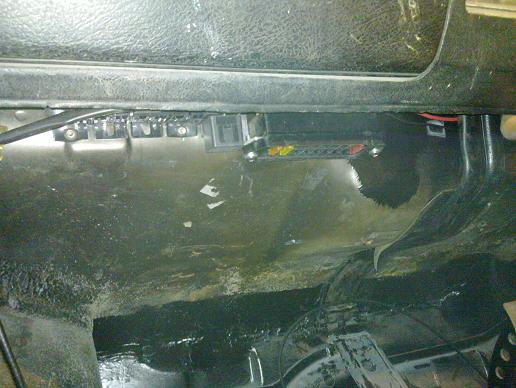
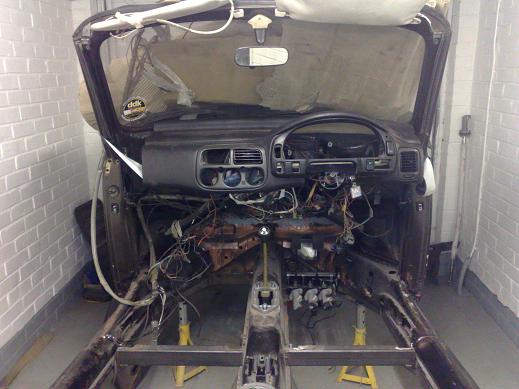
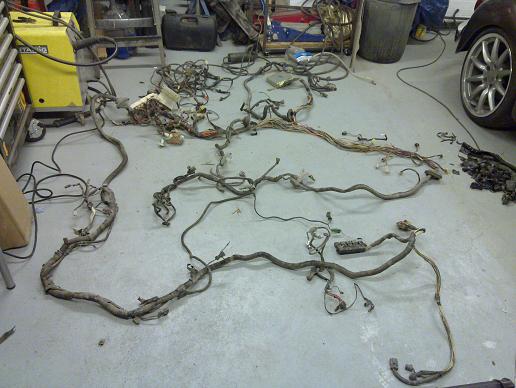
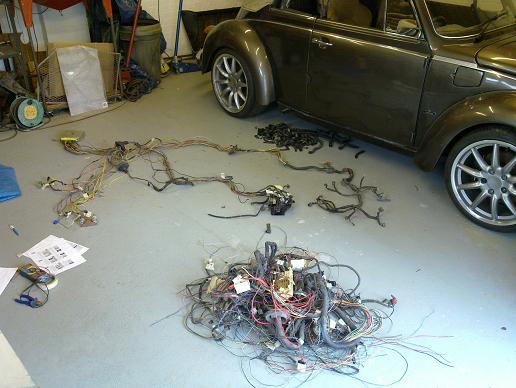
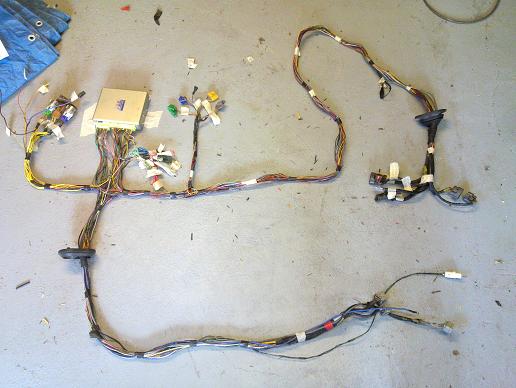
Here's the main section of the wiring, bank of 20 blade fuses and 5 relay sockets, when you are sitting in the car they aren't visible, they sit flush with the bottom of the dash.
|
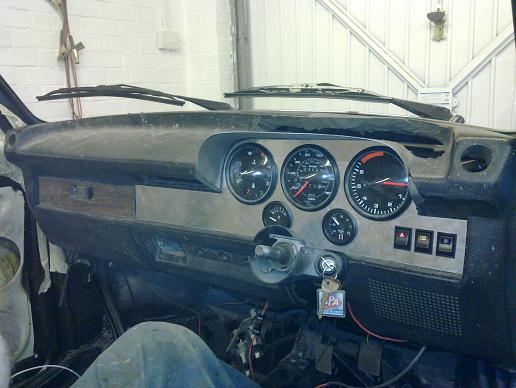
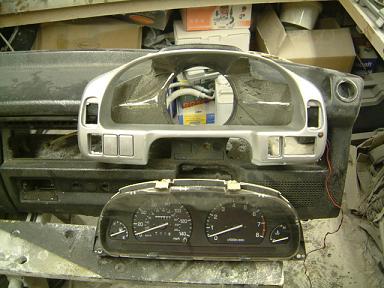
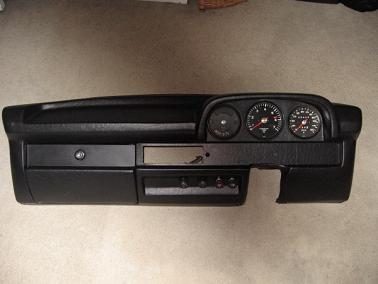
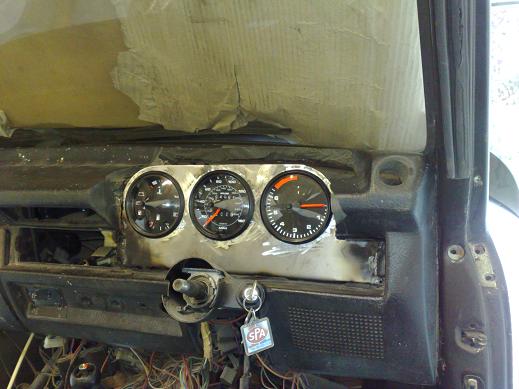
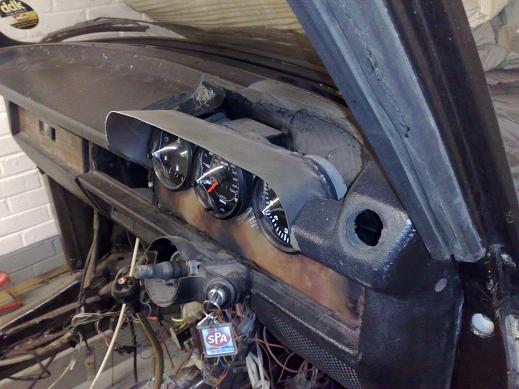
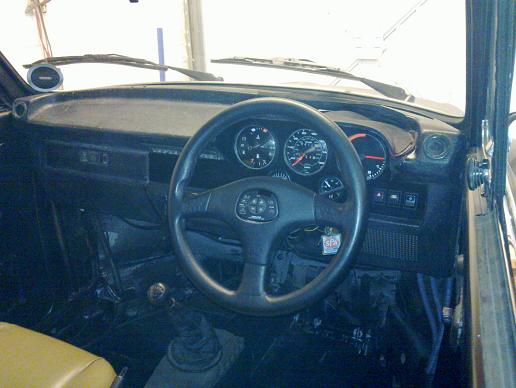
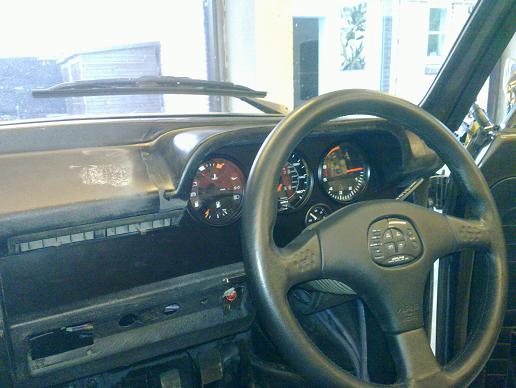
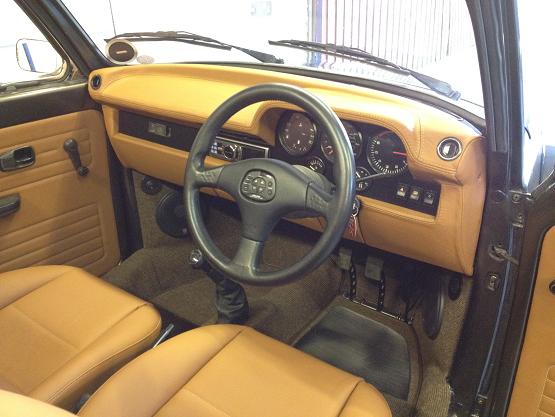
New dash finishing panel and the stack oil pressure and boost pressure gauges fitted in place. As I'm re-doing all the wiring I decided to source some switches that took a proper plug on the back rather than the VW ones that are separate lucar connections. I ended up with classic mini ones as they are cheap to source and in keeping with the rest of the car.
|
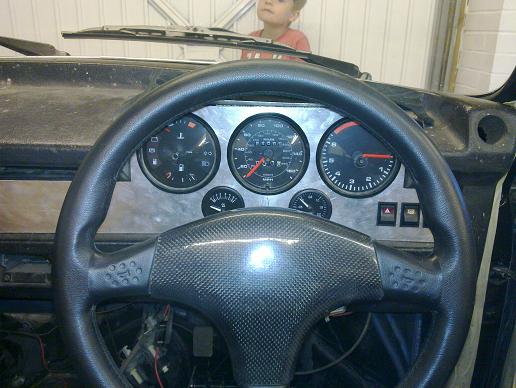
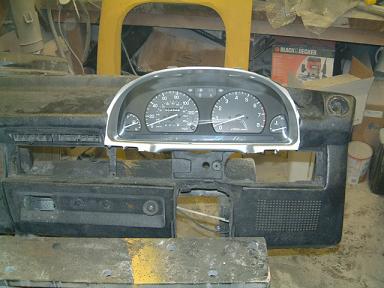
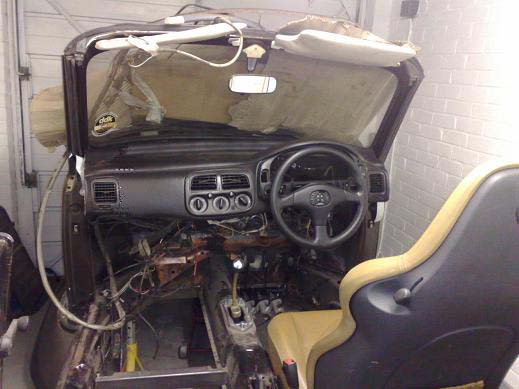
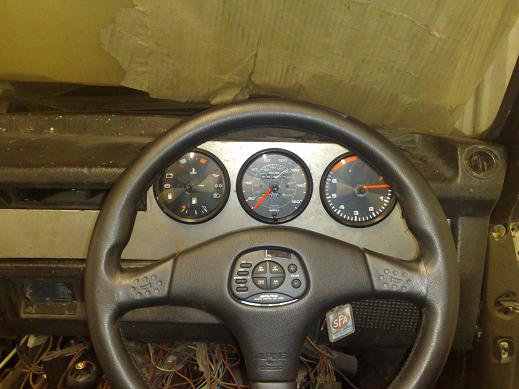
View through the steering wheel shows that everything is visible!
|
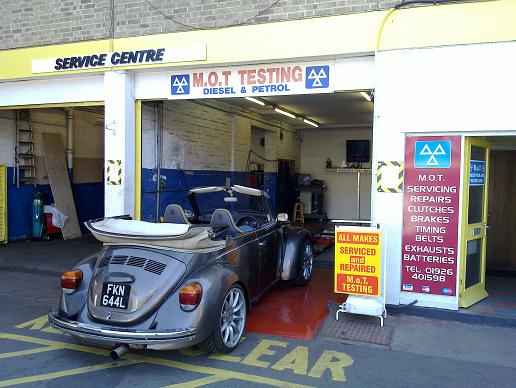
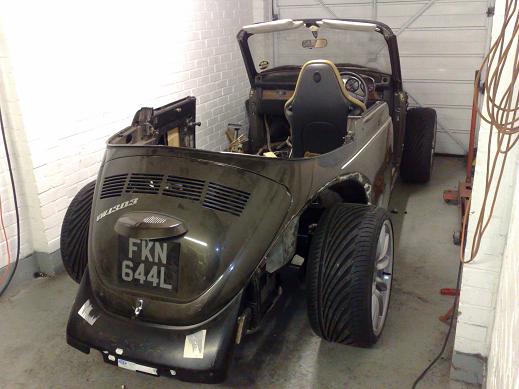
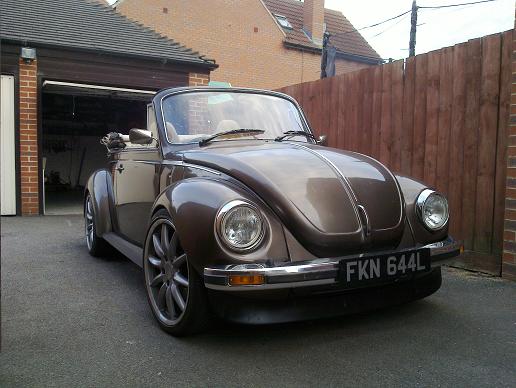
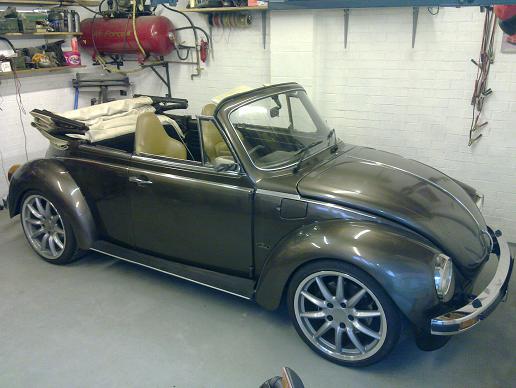
Finally road legal! Time for some de-bugging and then the trimmer...
|
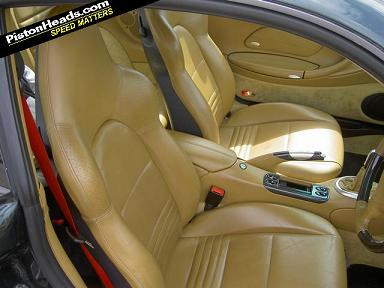
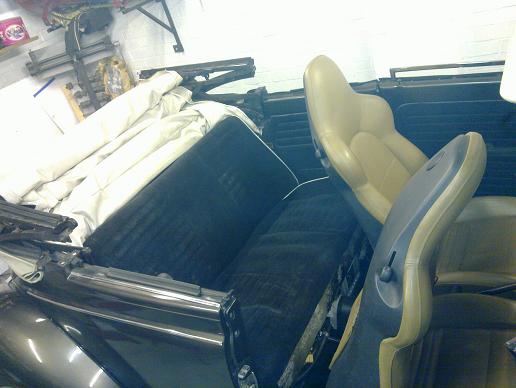
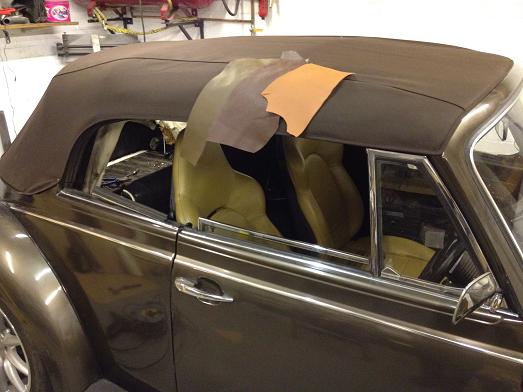
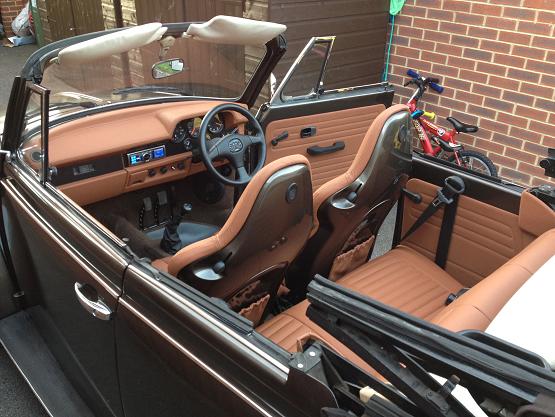
This is how the interior looks at the moment and gives a better idea of how it will look when finished. I have to reshape the foam area over the gauges properly before it can be trimmed.
|
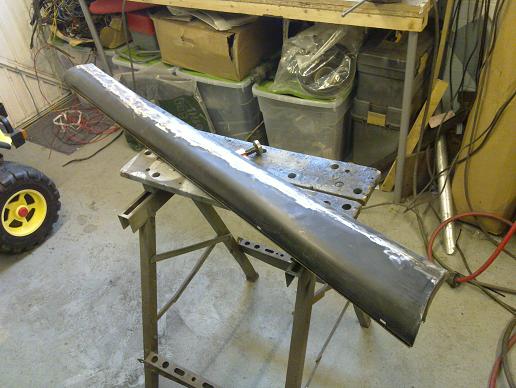
The running boards have now been pie-cut and widened at the rear to match the new width of the rear wings. I've bought some ribbed rubber sheet so they will be re-covered to look stock and help disguise the rear wing width.
|
Running boards now painted and covered in original style ribbed rubber trim. I'll think about refitting the lower chrome trim piece as the ones I had aren't in very good condition so I'd need new ones anyway..
|
|
| |

Sump full of bearing debris..
|
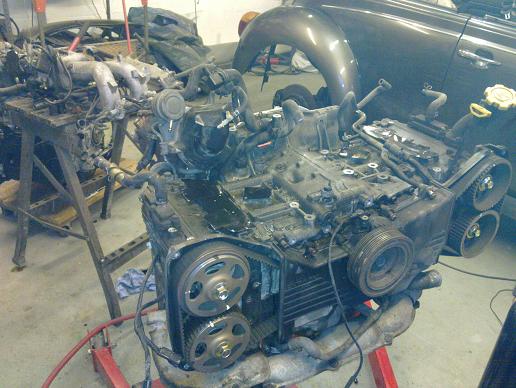
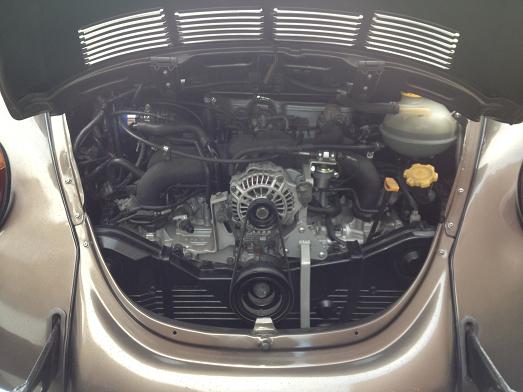
Engine no. 2. Need to double check but it looks like I've lucked out and got another closed deck block! This one has done about 50k miles...
|
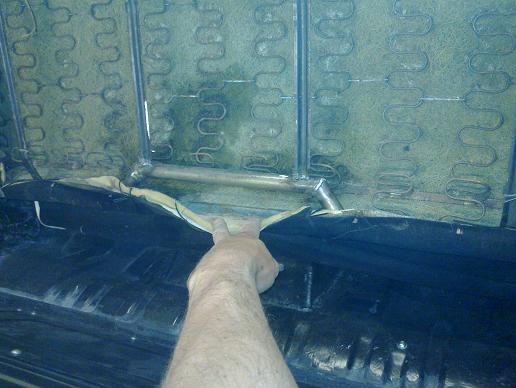
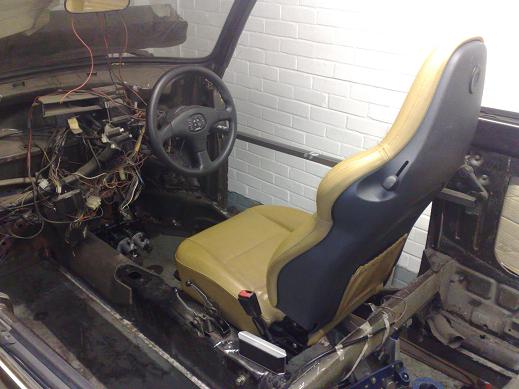
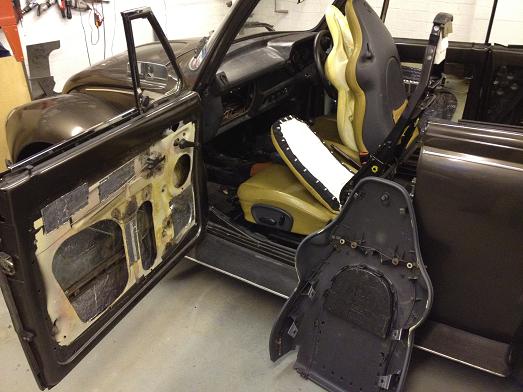
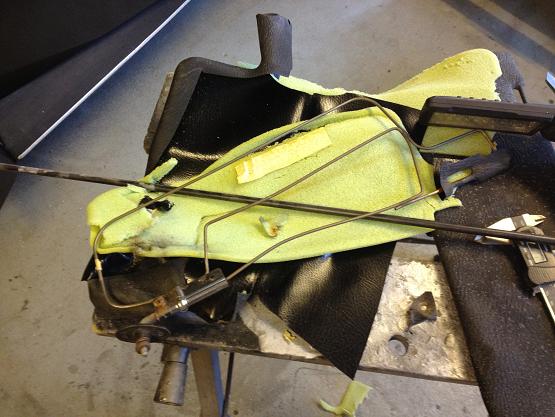
I wanted the rear seat to look stock over the transmission tunnel so modified the seat framework to clear it.
|
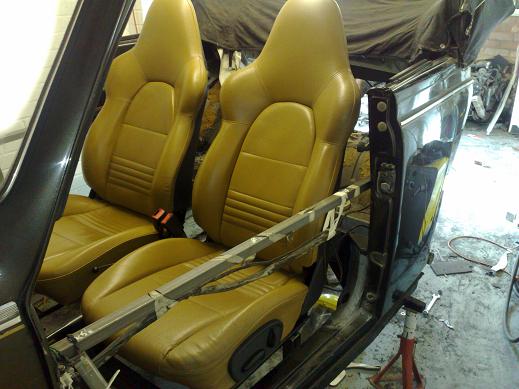
All in and no evidence of what's underneath!
|
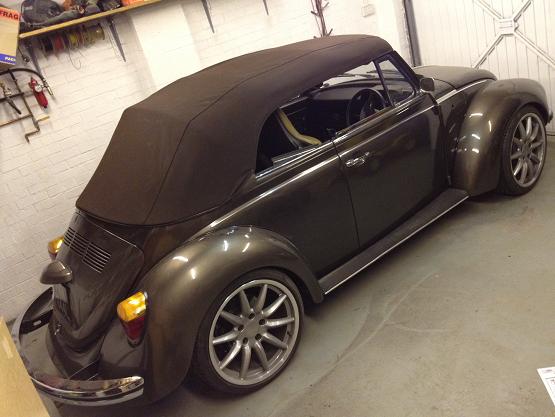
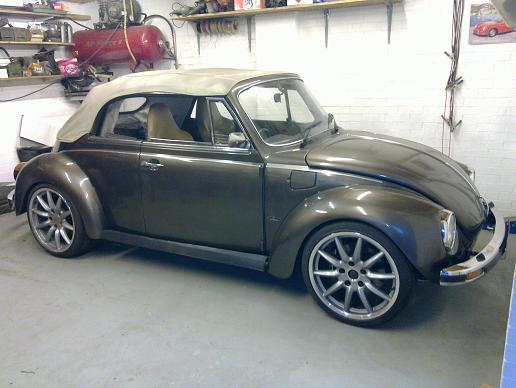
I wanted to try out the spoiler before putting all the time into making a mould and a new part. Glad to say it helps a lot with high speed stability.
|
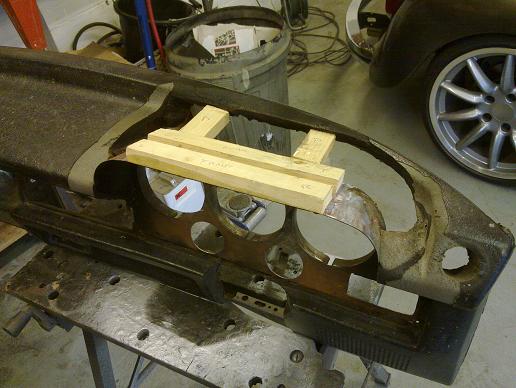
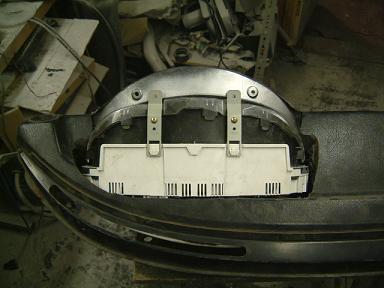
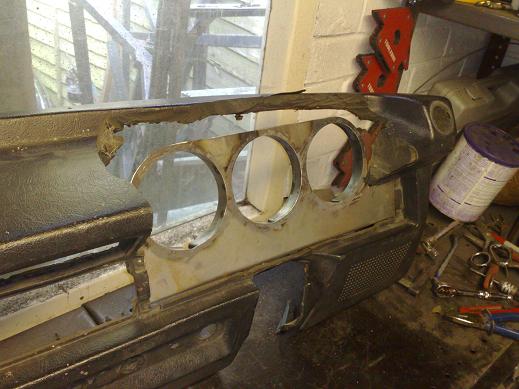
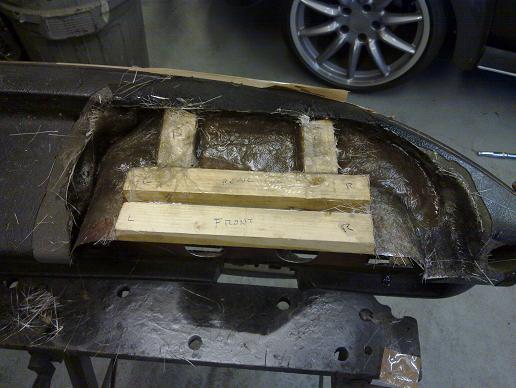
Time to finish off the dash... Some wooden strips were used as a guide to keep a constant thickness of the binnacle over the instruments
|
I then filled in the gaps frm underneath with some fibreglass matting
|
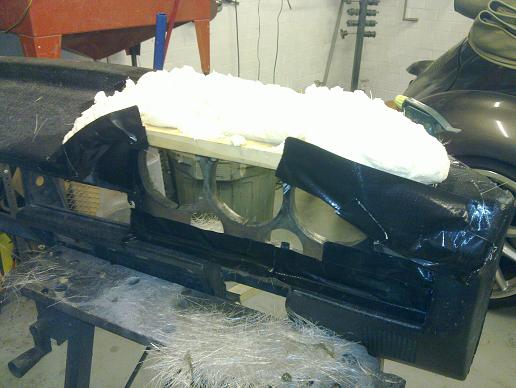
Cavity builders expanding foam was then used to build up the volume without adding too much weight, it is very easy to sculpt to about the right shape too
|
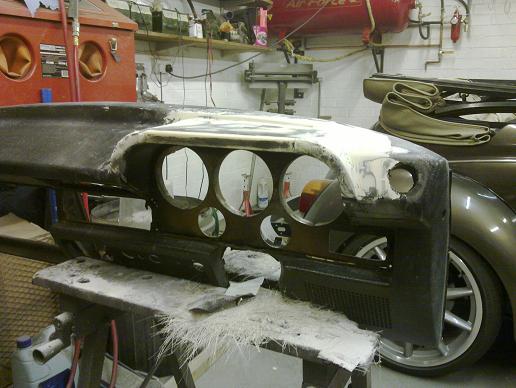
Then skimmed with filler. I just need to radius off all the edges and do some final finishing now..
|
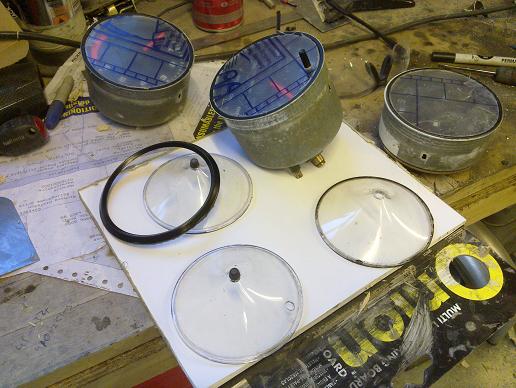
I really wasn't keen on the Porsche 'nipple' lenses so after carefully picking the surrounds off I was able to remove the lenses and make up some new flat ones from polycarbonate sheet. While they were apart I sandblasted and repainted the rims and they look brand new now.
|
All back in the car I'm happy with how it's all looking. I painted the dash binnacle as a temporary measure until it's re-trimmed in leather.
|
I also re-fitted the running board chrome trim and I think it finishes them off nicely.
|
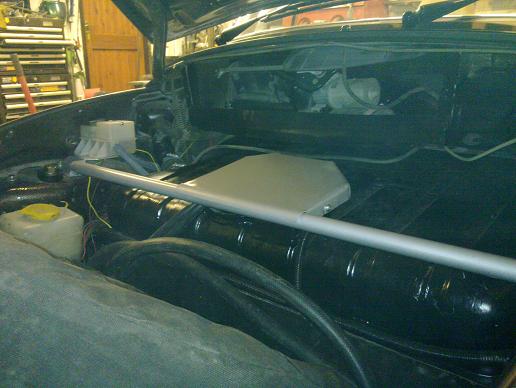
I also made up a strut brace. Coming off it are a brake reservoir bracket and also a cover to protect the fuel pump and fuel level sender.
|
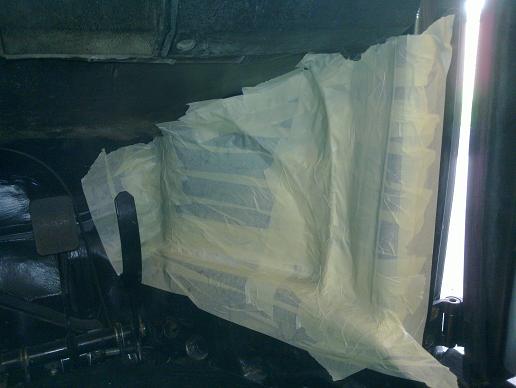
I've decided to make some fitted sealed enclosured for the front speakers similar to the Memminger panels. First job is to tape it all up..
|
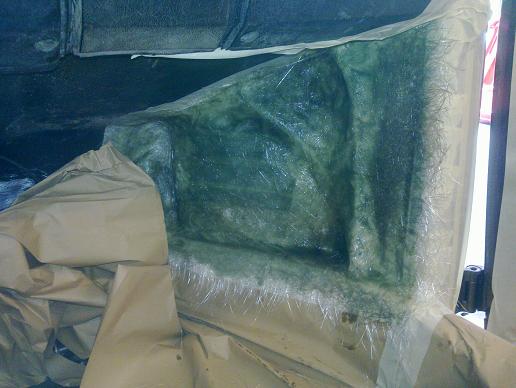
then apply a first few layers to create the back of the enclosure. Now I need to buy some speakers to make sure the volume and spacing is correct before I make up the other walls.
|
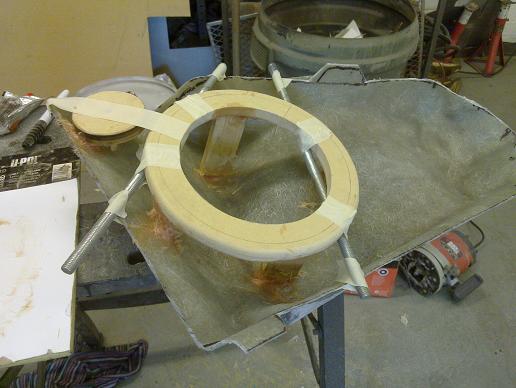
MDF rings held in position with some fibreglass filler and short lengths of wood, tweeter mounting is angled up to get imaging correct.
|
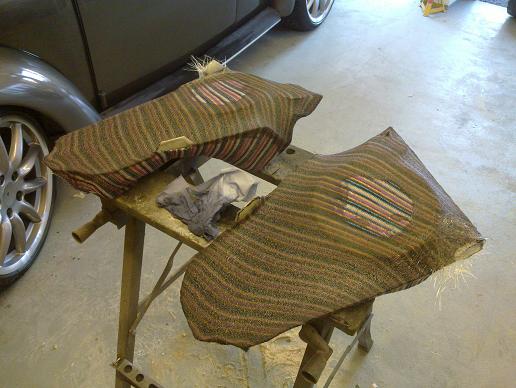
Material is then stretched over the skeleton frame to form an organic shape, then soaked with resin, then a few layers of fibreglass matt and finally a bit of filler to make the panels less curvey so when I carpet them it won't wrinkle up.
|
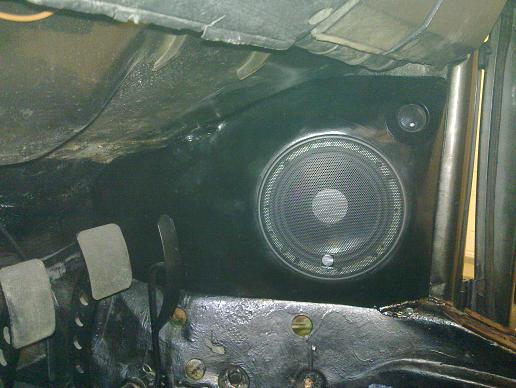
Rainbow SLX 265 component speakers fitted. I had to make some tweeter cups as they were not with the speakers when I got them (second hand). You can just about make out the mounting screws holding the panels in position at the two tabs.
|
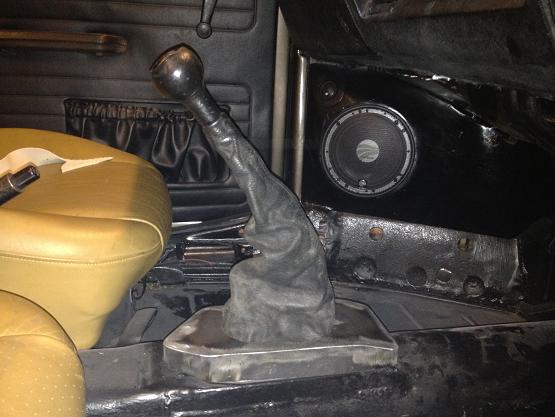
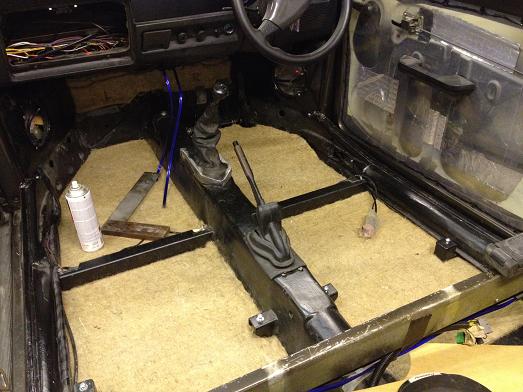
I made up this metal cover to cover the shifter base and allow trimming, still not sure how I will do it but it's a start.
|
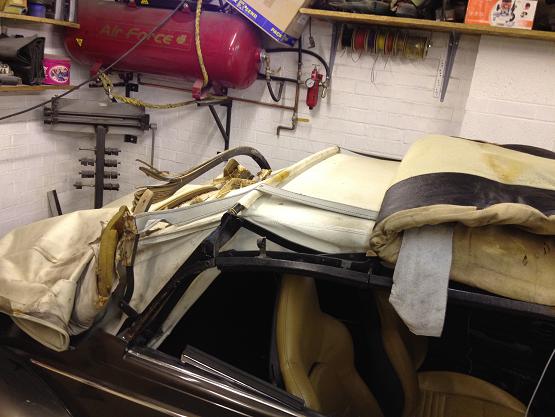
I've been putting this off for a while... The old vinyl roof shrunk whilst in storage folded up so when I came to close it on the car the stress broke the wooden bow over the rear window. This meant a new bow and roof!
|
Bow from the original tooling was sourced from Germany along with a new roof outer skin, in Sonnenland (similar to mohair) this time around and a change of colour. A fair amount of repair of sound deadening material as well as repainting sections of the roof frame were done at the same time.
|
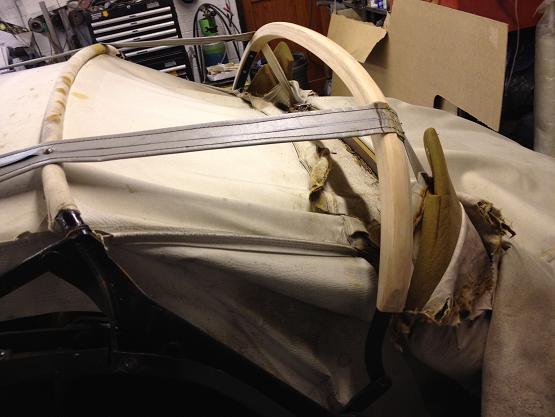
Here's the roof ready for it's new outer skin. The foam strip over the bow is to cover up the staples holding fabric to the bow and stop wear on the outer hood.
|
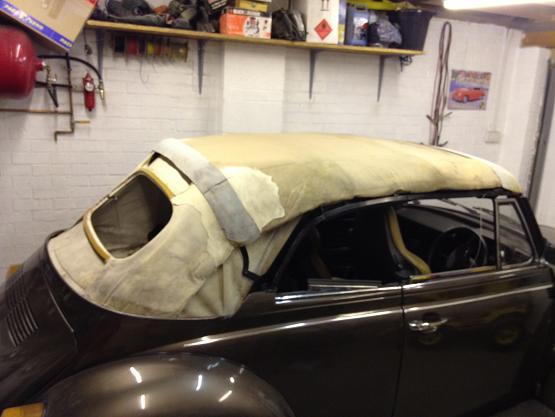
Almost there! I'm letting it all settle for a few days now before I get the knife out and cut the rear window aperture out. All seals and wires are refitted in this picture, just a couple of screws to fit at the base of the C pillars to take up any final slack in the material.
|
|
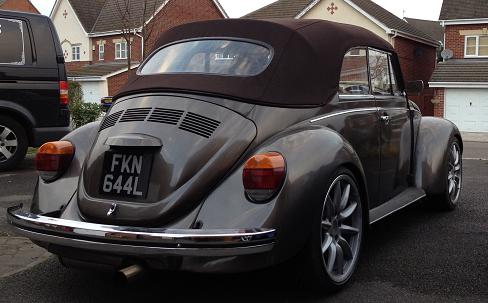
Roof just about done now...
|
I'm going for the light tan colour on the right, I was originally going to go for a cocoa colour but having thought about it I think it would be too much of the same and some contrast is called for.
|
Seat backs are a bit marked and as the seats will soon be dismantled for trim now is the perfect time to colour-code the backs to body colour.
|
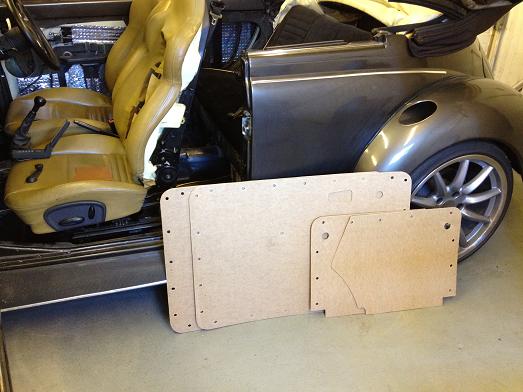
The old trim panels were moisture damaged so I've made up some new ones. I will also be making some new moisture barriers to keep these ones dry!! You can also see in the background I've put sound deadening in the door panels
|
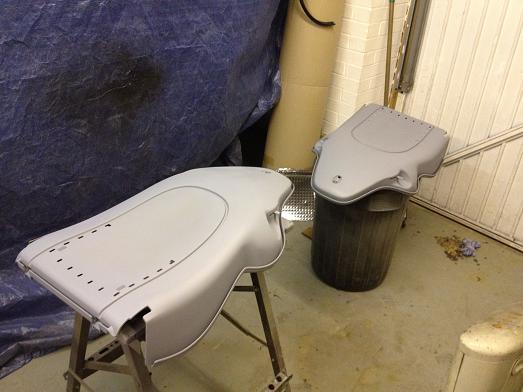
Seat backs after a lot of work with paint stripper and then etch and high-build primer
|

before finally getting the body colour top coats..
|
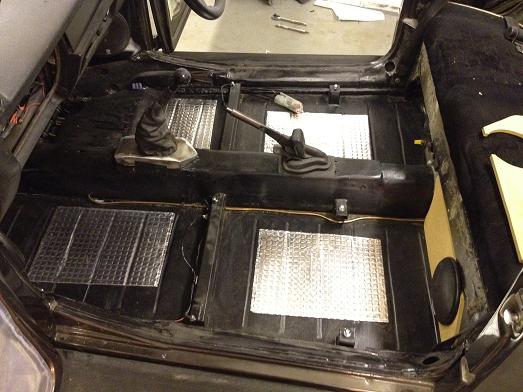
More sound deadening pads fitted to the floor panels and new MDF trim panels made up to fit speakers under the back seat
|
Door membranes to stop the new door panels suffering from water damage (I've also painted them in yacht varnish before I give them to the trimmer)
|
Automotive underlay cut to shape for the floor, only lightly glued in case they need to be removed to dry out if I ever get caught out by rain!
|
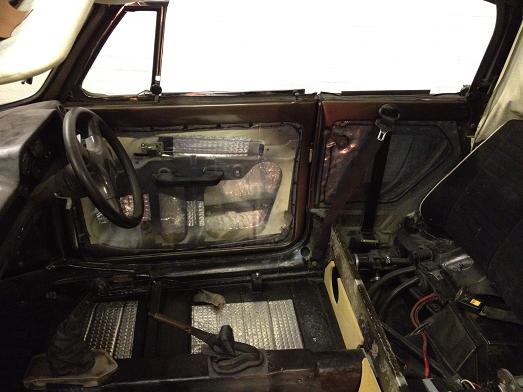
The first piece of carpet going in. I've spent far too much time planning the layout in my head to minimise joins and exposed edges to give it a more OEM look.
|

First panel finished...
|

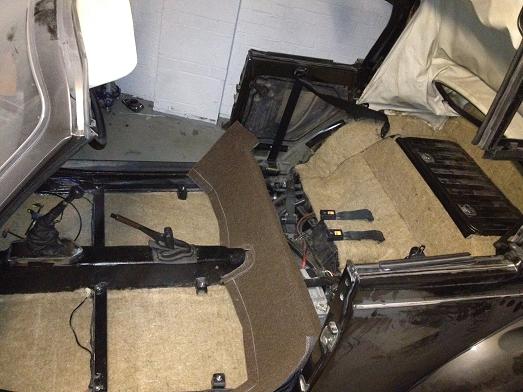
Then on to the tunnel section. I bonded on a metal reinforcement to the handbrake hole, this means I can fit the standard type rubber which will hide the cut edge nicely and the hole won't get opened up. A bit of foam also stops any potential rattles.
|
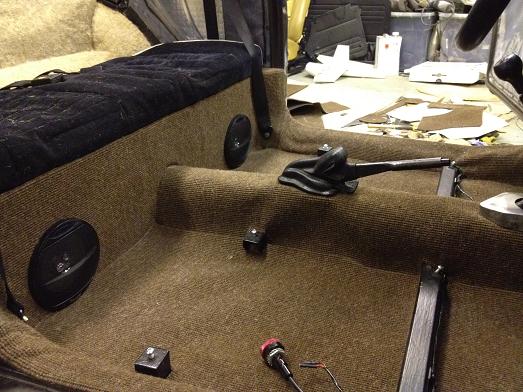
Passenger bit now done, just behind the back seat to sort out. Still undecided what to do about under the bonnet,
|
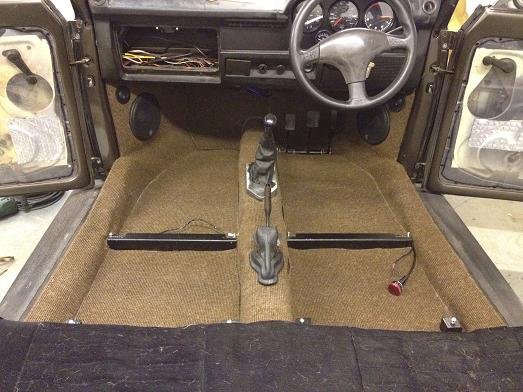
Front end done. The floor and bulkhead panels will go to the trimmer to have the edges bound.
|
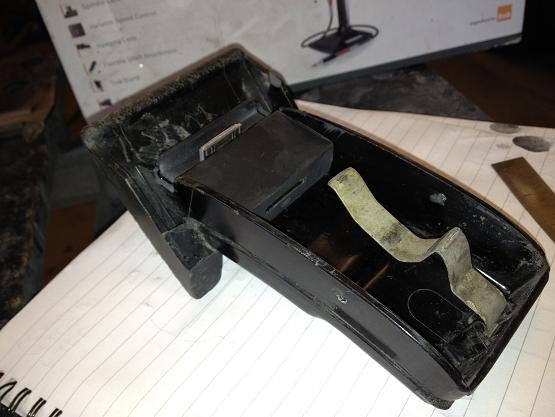
After being messed about by 'Car Audio Centre' for the best part of two months I bought a secondhand head unit. I wanted Alpine to go with my steering wheel controls. I ended up with an IDA-X001 which is a media head unit with graphic display and ipod/iphone controls. Rather than use a wire and screen mount I have hacked up a dock which fits snuggly into the ashtray with minimal mods.
|
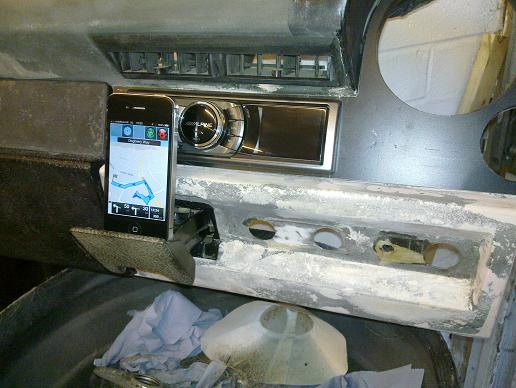
Happy with how it looks! Lucky this head unit has the main control centrally so out of the way of the phone. I'll use it for satnav and music as well as keeping my phone charged.
|
After 9 weeks of chasing my second trimmer only managed to get the door panels and roof hinge covers done... I've now bitten the bullet and gone with a very good guy I've used before, just more expensive, but I know that he will do very good work and for my deadline which is the end of June.
I also had issues with the iphone dock, it seems the docks aren't straight through electrically and Alpine have a particular way of connecting together. I tried opening it up and making more connections but it still doesn't work... Any ideas?!?
|
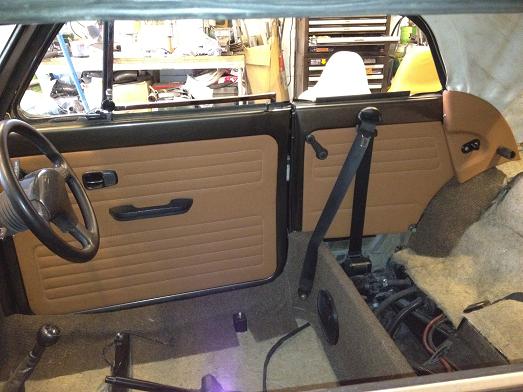
Finally done by Auto-trim in Leicester...
|
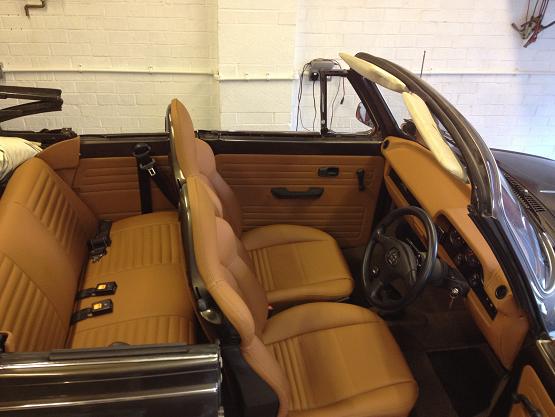
under artificial light
|
Natural light
|
The pictures above drove me into coming up wiht a replacement set of sunvisors quickly! Although they matched the headlining I think they clashed badly with the roof down. I'd have the idea of making up some smoked plastic ones, in hte style of early VWs, for a while so decided now was the time! Above is what a stripped sunvisor looks like, all this just to get the pivot.
|
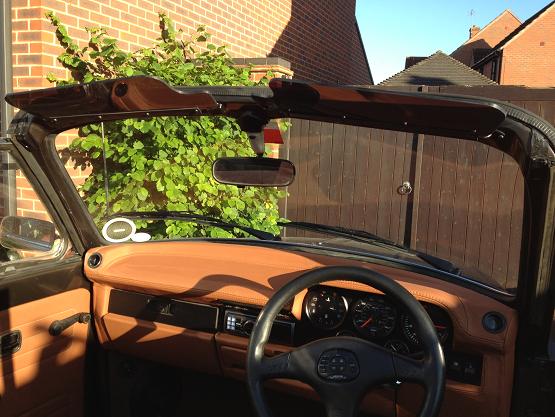
I then made up a hinge assembly and cut some 5mm tinted perspex to shape and this is how they ended up, I'm very happy with this look.. At the same time I also painted the rear-view mirror base black to match.
|
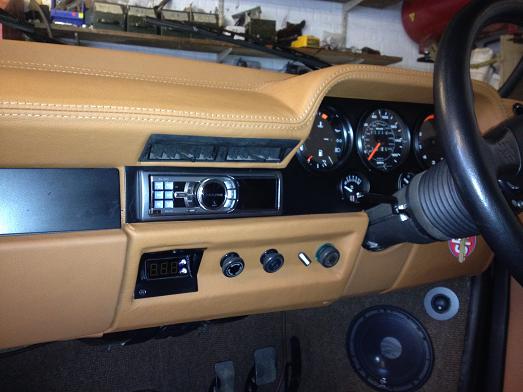
I got fed up with messing around trying to trick the stock ECU to make the correct boost with my much modified from stock (subaru) intake and exhaust so I have now fitted a Gizzmo MS-2 electronic boost controller. This has closed loop boost control as well as turbo timer and FCD (which I won't be using). It now finally makes 1.1 bar without overshooting and hitting the fuel cut but I will still be playing with the rate at which boost comes in. I had a second ashtray surround which I welded up and modified to fit the Gizzmo controller.
|
|
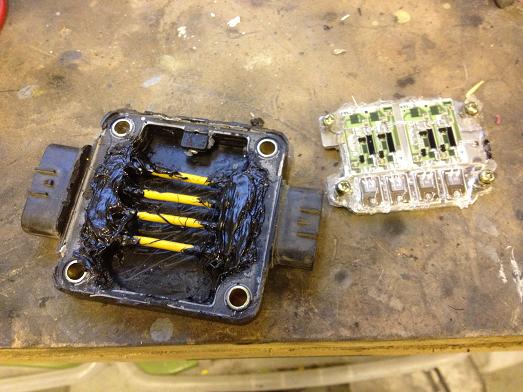
I'm going to do a coil conversion to the newage subaru coil on plug modules. The main difference (apart from being much better than early ones which degrade and struggle with higher boost) is that they have built in igniters. Above I have cut up a standard igniter mobule and basically made it a straight through connection so I don't have to modify the wiring until it is all tested and working.
|
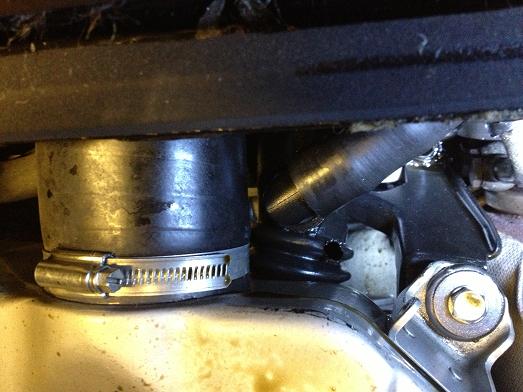
I took the car on track and although I was struggling with the ignition side of things, at 1.2Bar boost, it was going fairly well. GPS'd it at 130mph with loads more to go but then I blew the intercooler pipe and sudden loss of power along with clouds of smoke out of the back end!
|
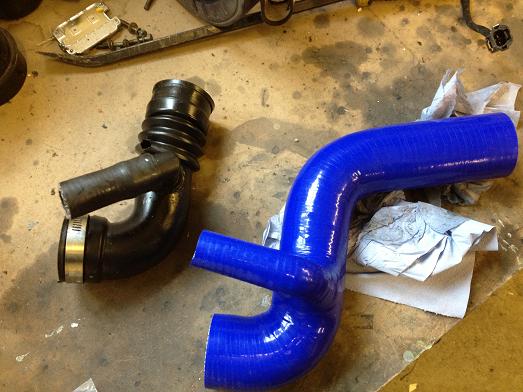
New silicone pipe bought to replace the holed one, this should be good for much higher boost too..
|
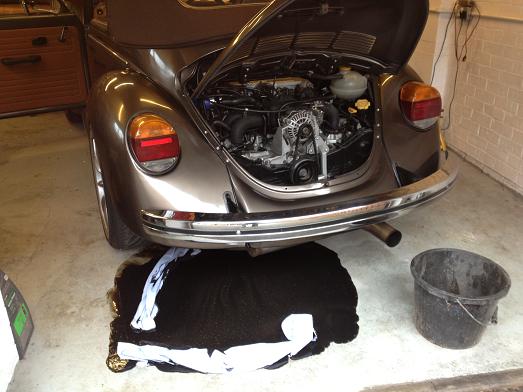
Unfortunately after swapping the pipe and the turbo the oil filter seal blew dumping oil all over the garage floor. I tried another filter and the same thing happened. Googling is pointing towards a jammed shut relief valve on the oil pump...
|
|
|
|
|
|
|
|
|
|
|
|
|
|
|
|
|
|
|