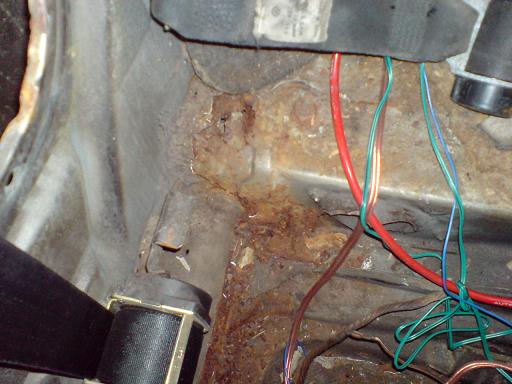
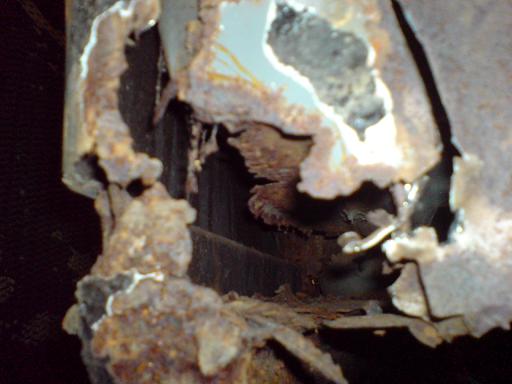
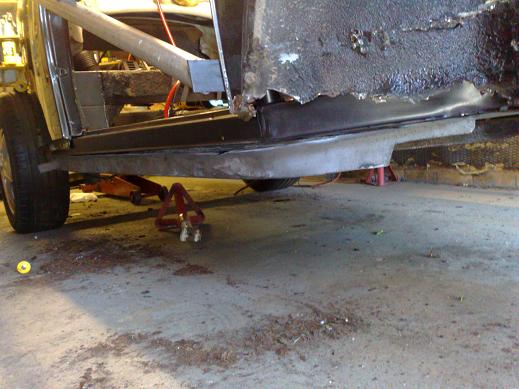
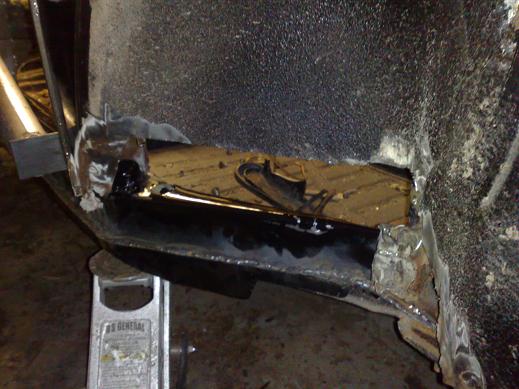
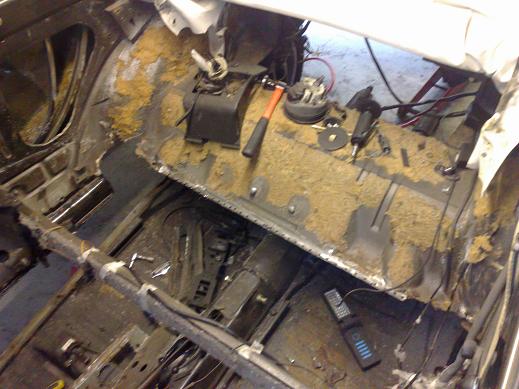
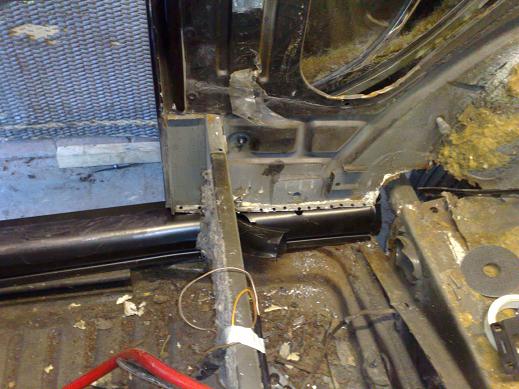
You can see inside the heater channel along the door, the bottom plate of the heater channel is no longer attached and has fallen into the strengthener |
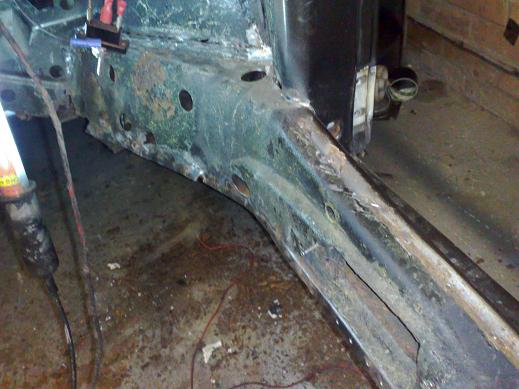
new crossmembers required on both sides... |
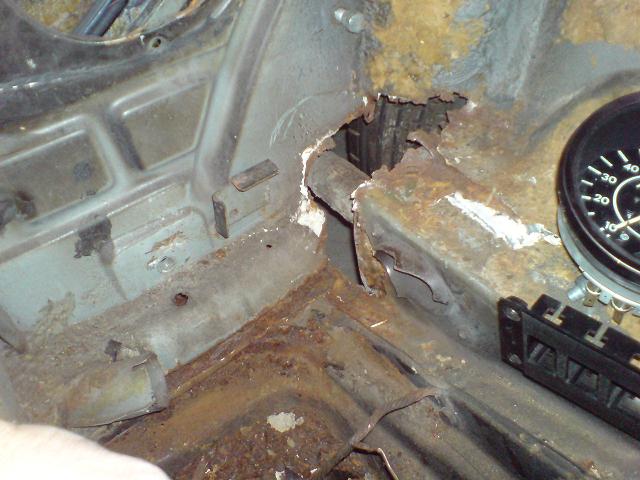
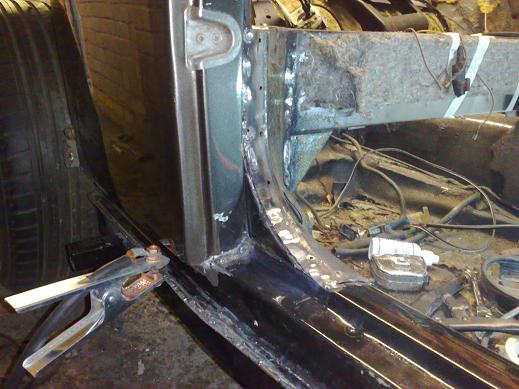
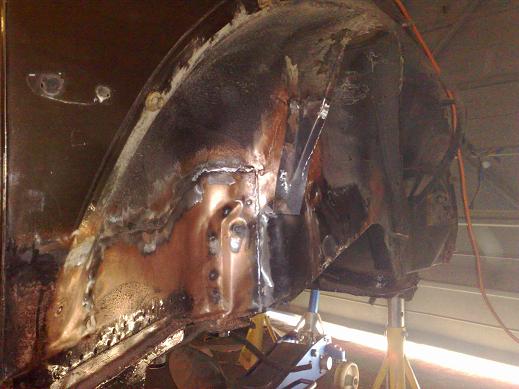
driver's side front inner wing, rusted into the front of the heater channel... |
Front of heater channel rusted on the inside, I'm not looking forward to removing all these cab-only interior panels! |
 |
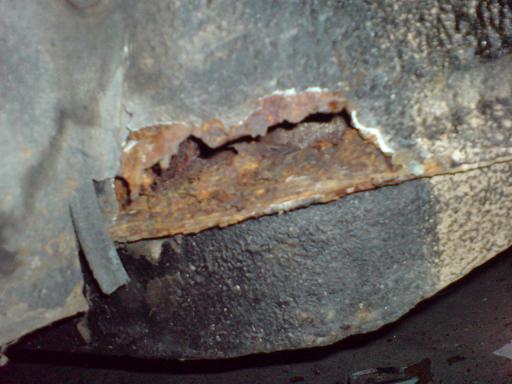
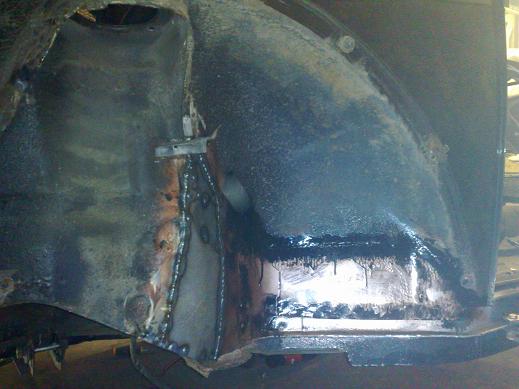
Heater channel was welded to the pan over rust on the left |
the right just disappeared when poked enough! I'm hoping local repairs to the channels will be enough as I don't fancy removing all that cabrio specific internal strengthening to replace the channels completely! New bottoms and strengtheners will be on the shopping list, I may go with some new floorpans too as VW Heritage is doing a deal on extra thick ones and mine have been plated in several places. |
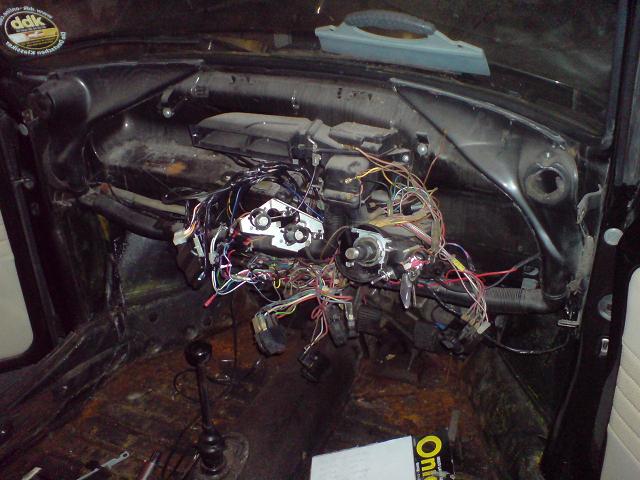
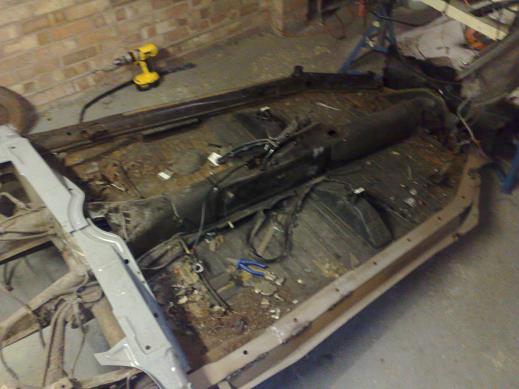
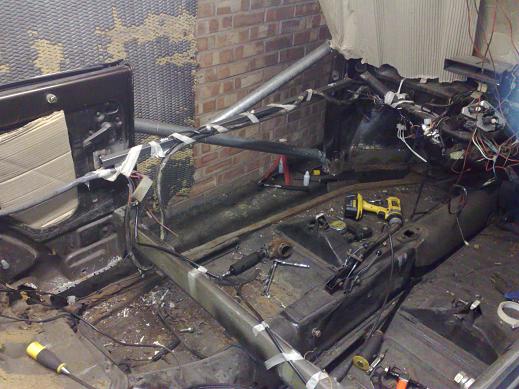
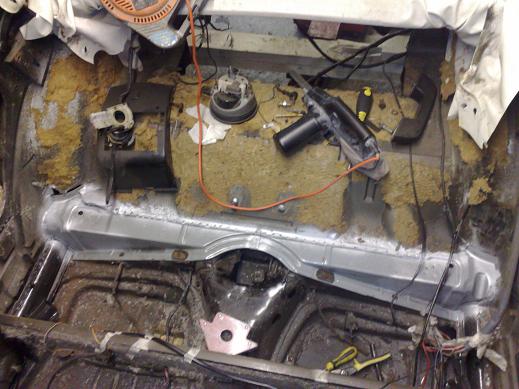
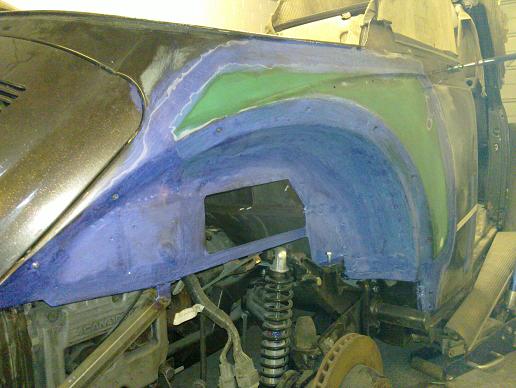
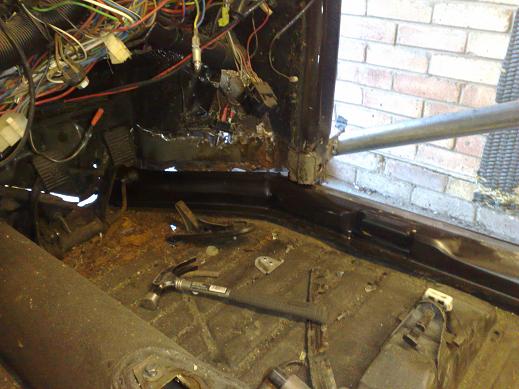
What's left after the dash is removed, I needed access to the bodywork up front to weld in some bracing while the body is lifted off the chassis. |
|
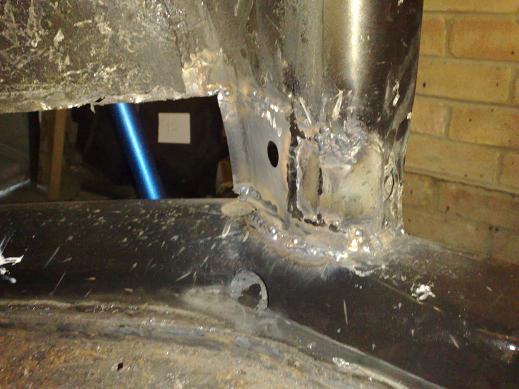
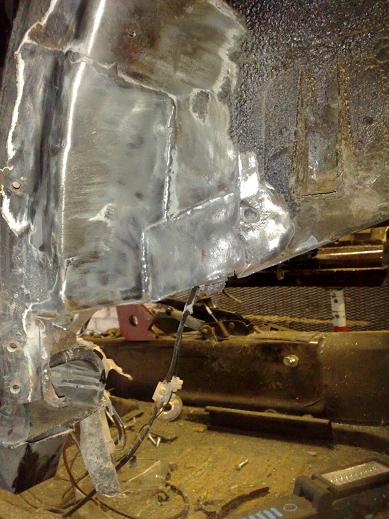
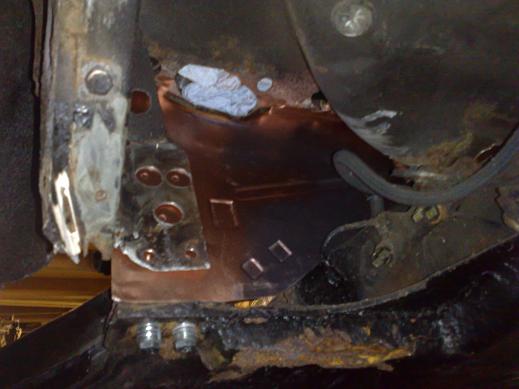
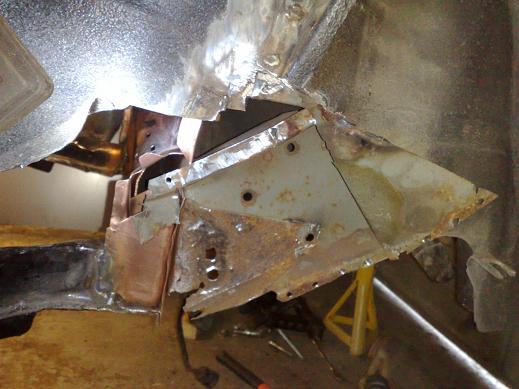
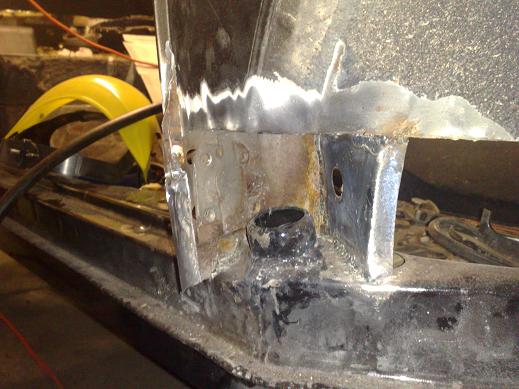
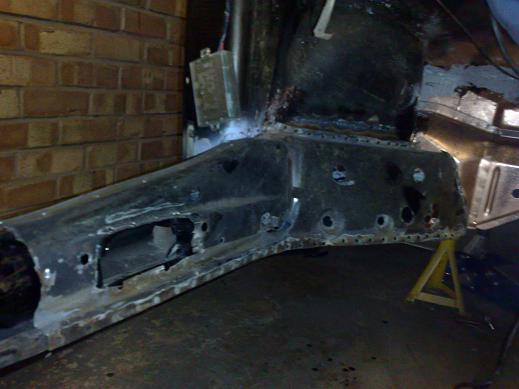
New napoleon's hat will be required as well as framehead bottom |
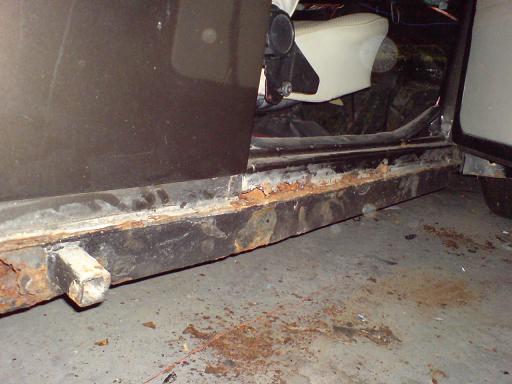
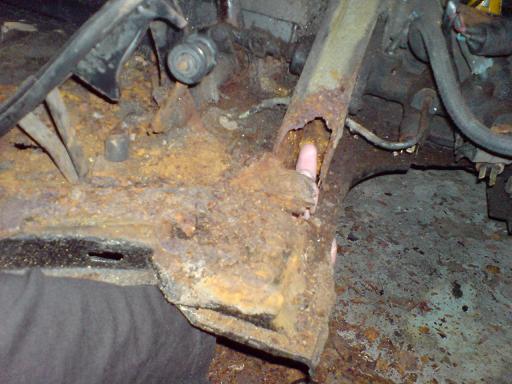
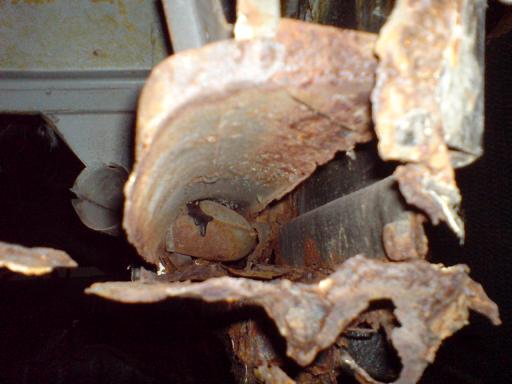
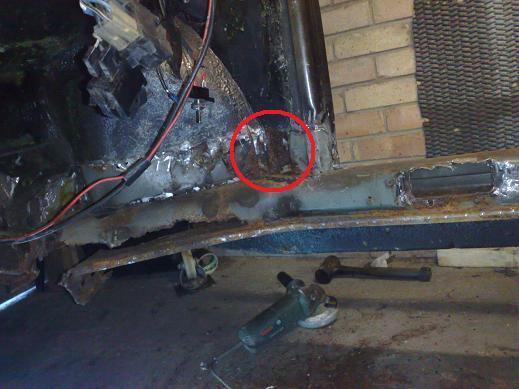
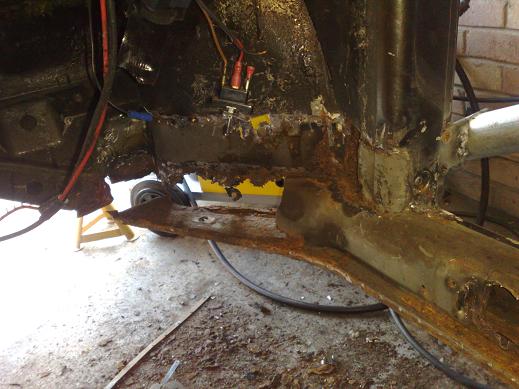
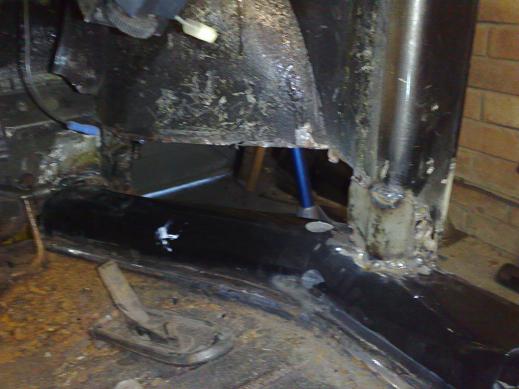
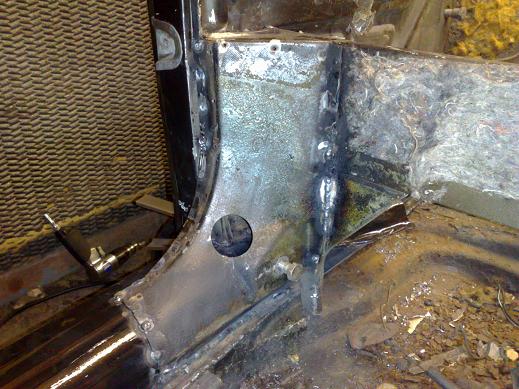
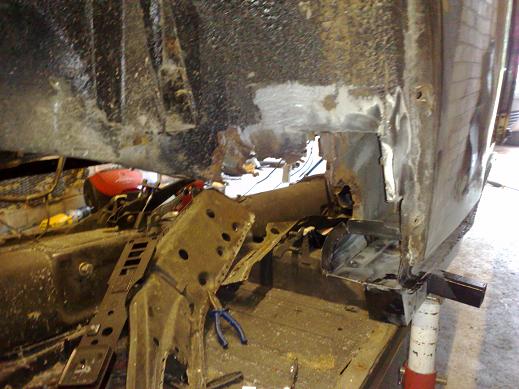
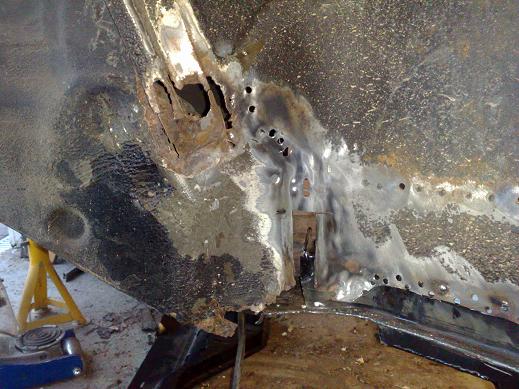
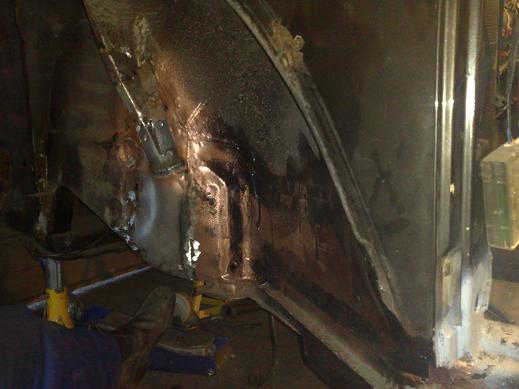
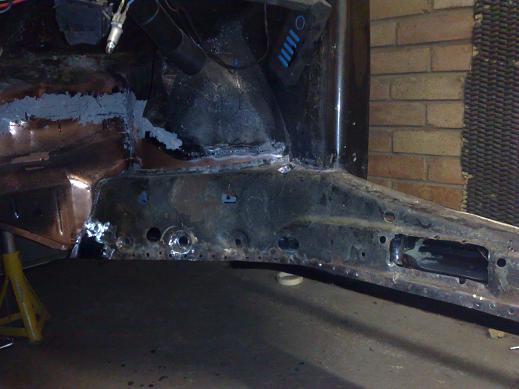
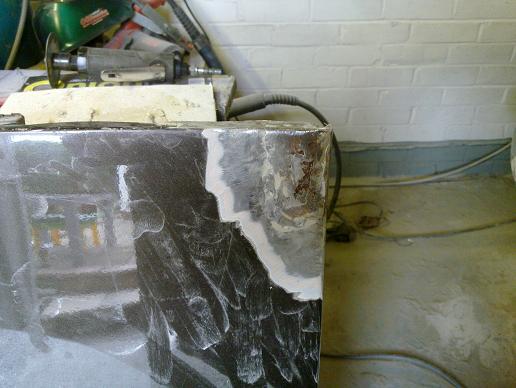
Not much left of the body mount at the front of the heater channel! |
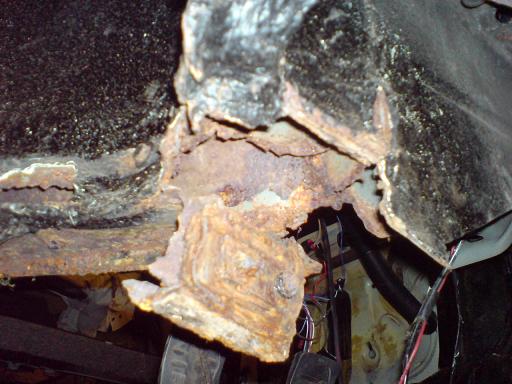
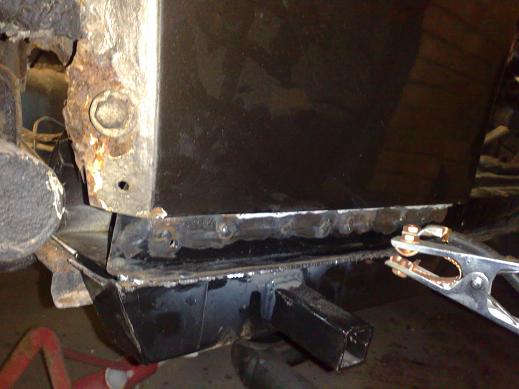
Poor repairs carried out in the past, new 1/4 panels have been welded in over missing sections of heater channel! |
Right side of car, same problem... I don't think these channels are savable unfortunately... |
|
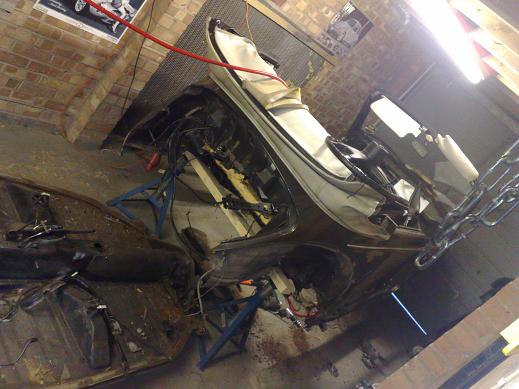
I've finally made some more space and lifted the body clear of the chassis |
Removing all the cab only panels is going to take a while, the spot welder went mad when assembling this car! |
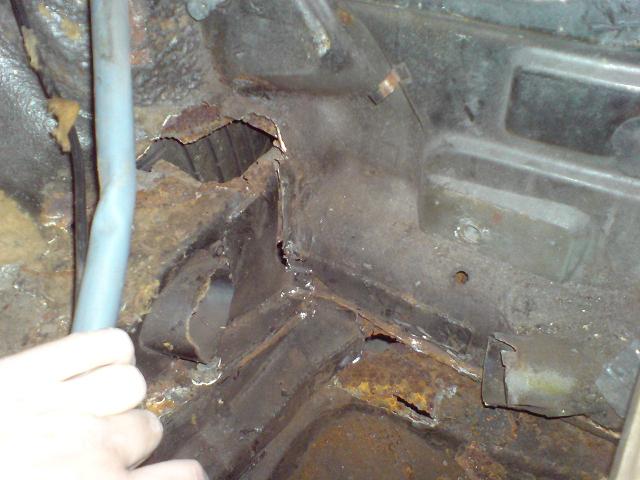
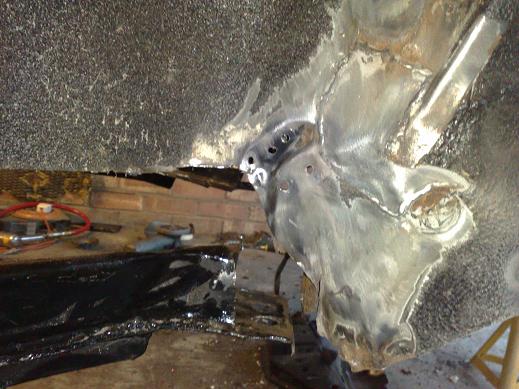
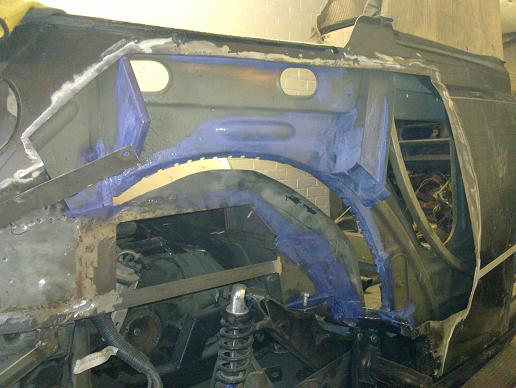
Front strengthener now removed! Lots of rust and a section of the inner wing had been cut, maybe to re-attach the heater tube? |
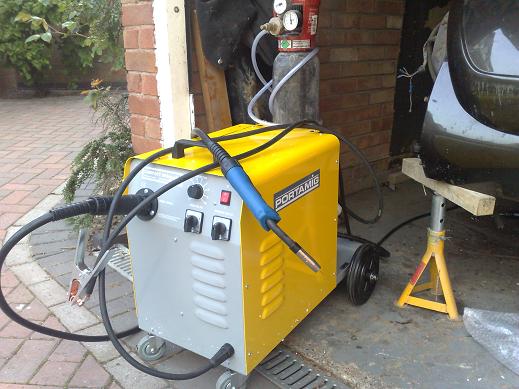
With the prospect of so much rust ahead of me I decided to treat myself to a better MIG, one of the main reasons was to get a Euro torch compatible one with much longer torches available. I ended up getting a Portamig 215 with 4m eurotorch, Portamig get great reviews on the mig-welding.co.uk forum and I'm looking forward to using it in anger! |
|
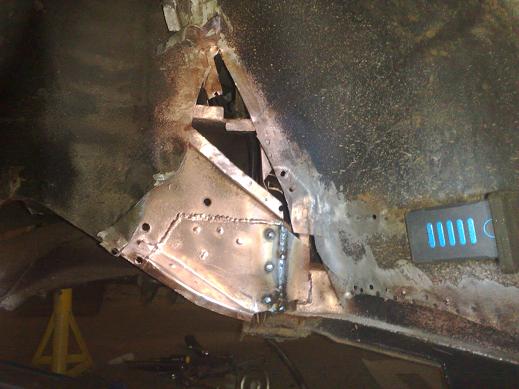
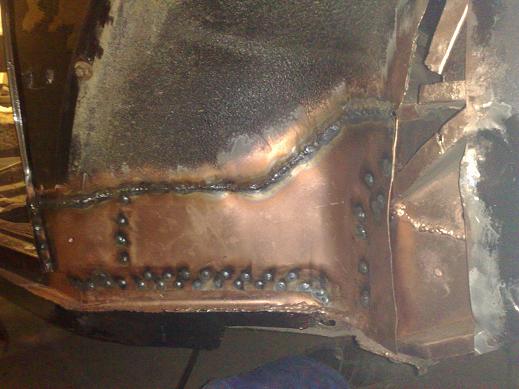
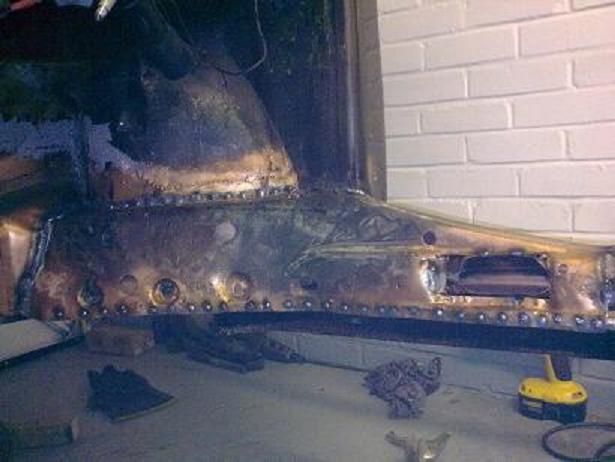
Two strengthening pieces removed from the rear corner |
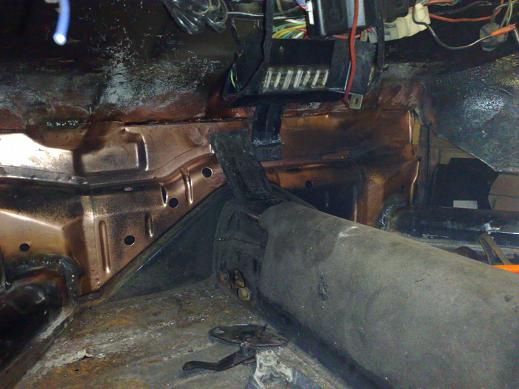
Seam sealer cleaned off the rear section of the heater channel ready fro the spot weld cutter, just need to get some good bracing in place before cutting the heater channel complete with strengthener from the body |
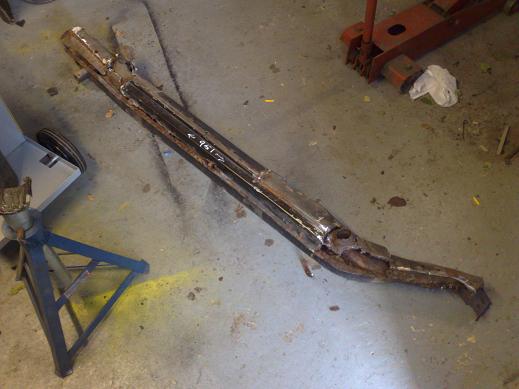
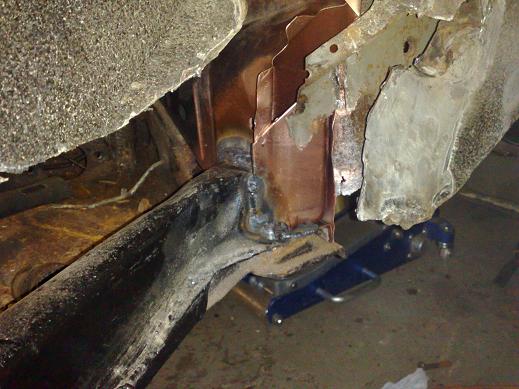
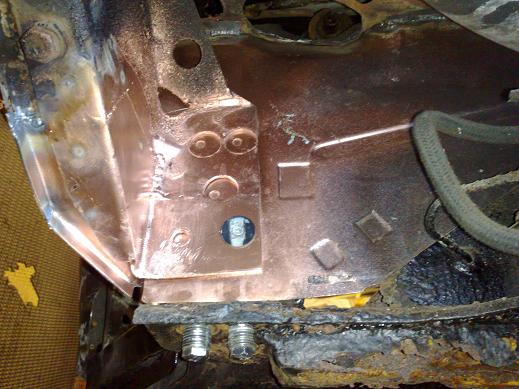
chassis strengthener replacement panels and heater channels being test fitted on the chassis to make sure everything lines up to each other properly |
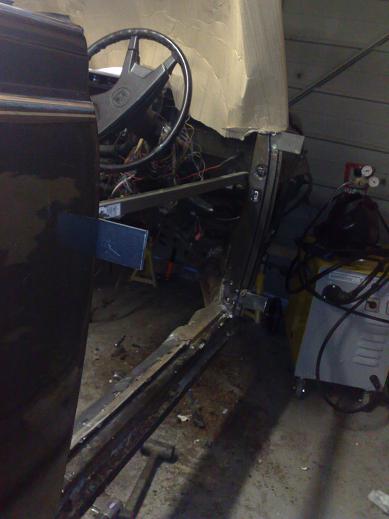
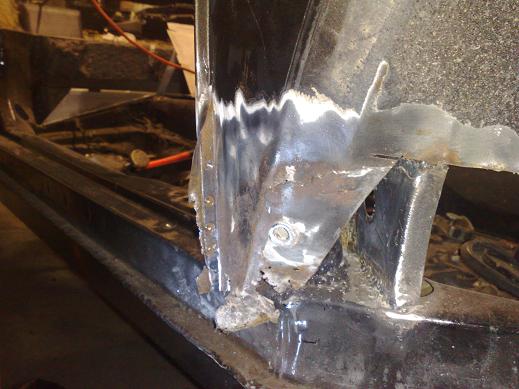
Metal plates made up and bolted to the door hinge/latch plates in the body, I will weld up a frame between these points to maintain the gap when the heater channel is removed. I will do one side at a time to keep the body as rigid as possible. |
|
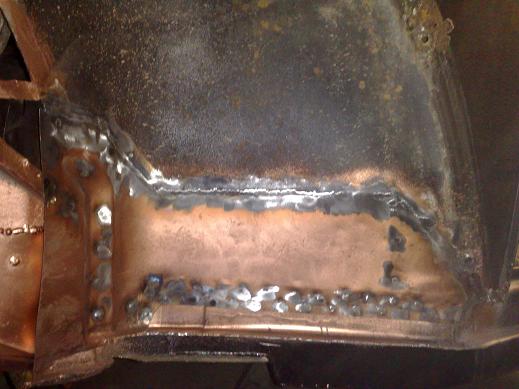
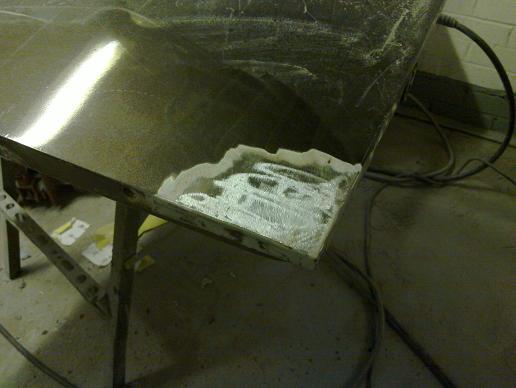
Front section of the heater channel was cut off with relative ease. |
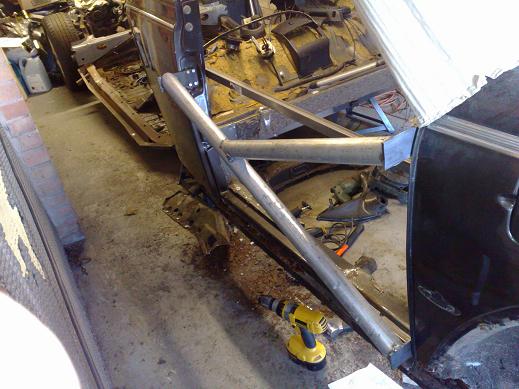
Door frame welded up, I'll add some additional bracing after the channel is cut free to give me a bit more access space |
|
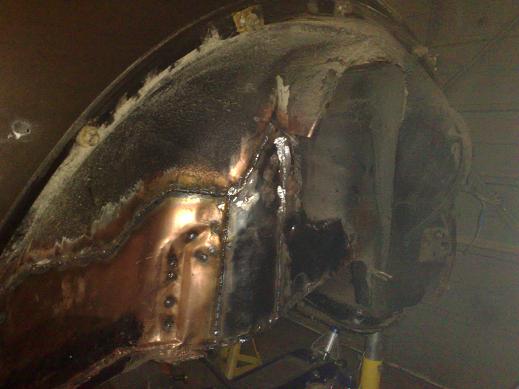
channel finally cut out! |
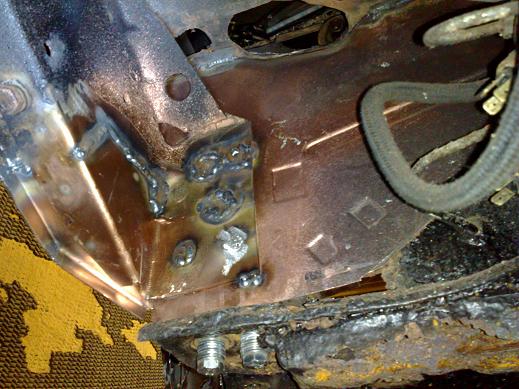
Roughly positioning channel and strengthener in place,some fettling required to get a good snug fit. The frame has worked really well in keeping the body straight |
 |
 |
|
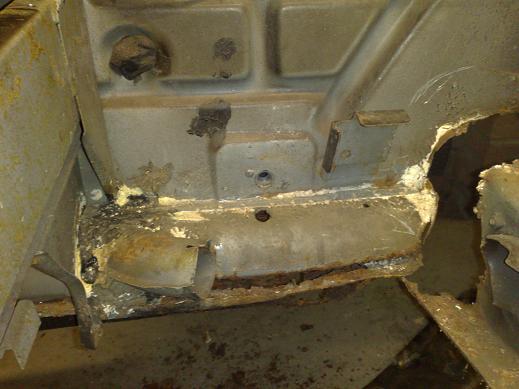
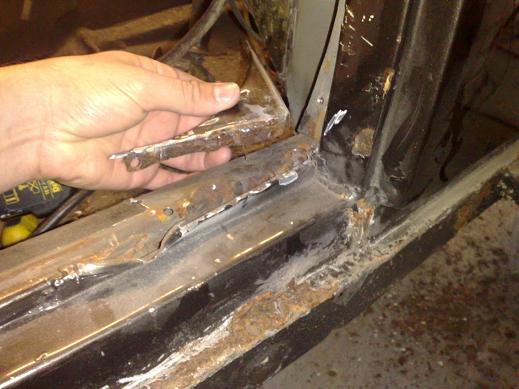
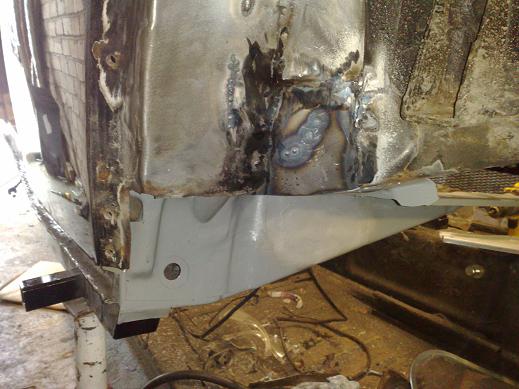
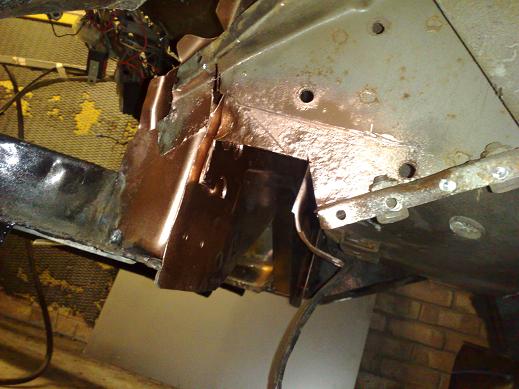
It has been patched a few times before by the looks of things, the welds are lasting longer than the patched panels! |
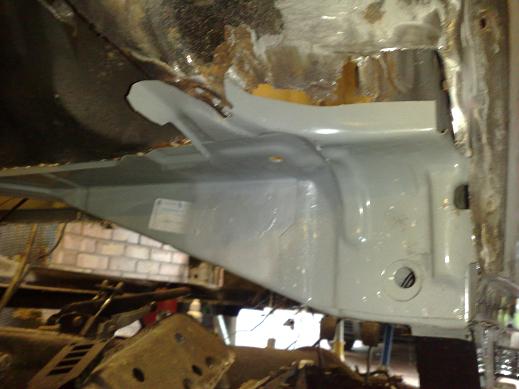
Heater channel and strengthener have been stripped, treated with metal ready and then POR-15, I've left the very edges for welding, this is final pre-fit, I will tack the two pieces together, then remove and seam weld, then re-paint edges before fitting into the body. |
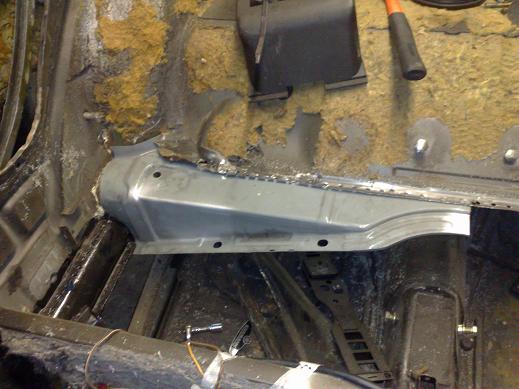
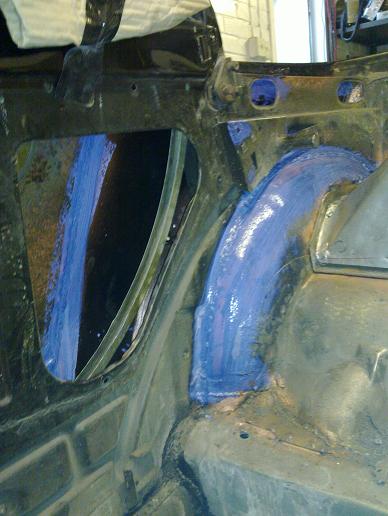
Inner wing section will be replaced up to the gutter flange at the bottom of the A post. Channel is all tacked in now so next step is to trial fit the door before finish welding. I won't fit the front footwell reinforcing piece until I have done the other side and fitted a new bulkhead. |
I'm going to wait until the other channel is in before replacing the bulkhead and then the inner wings, I think it will be much easier to work from the inside outwards |
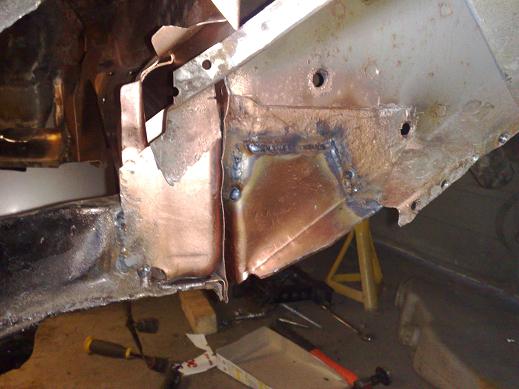
Plug welds along the top of the channel |
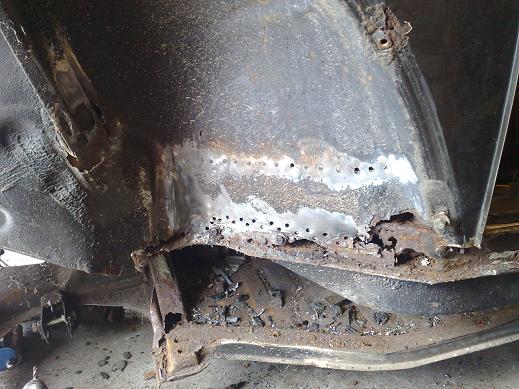
1/4 panel spot welded along the bottom, I will probably leave some gaps here intentionally to allow water to drain through, water is bound to get in through the rear side windows. |
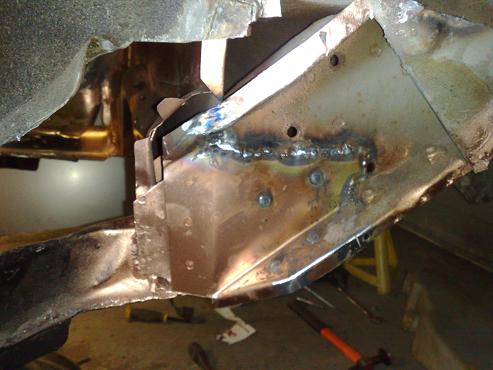
Small triangular reinforcement welded in first, |
then the bigger inner panel. |
Now for the left side! A section has been poorly repaired on the past, the strengthening piece was seam welded on the outside edge to the top of the repair panel, the original part of the old channel was just bend inside. |
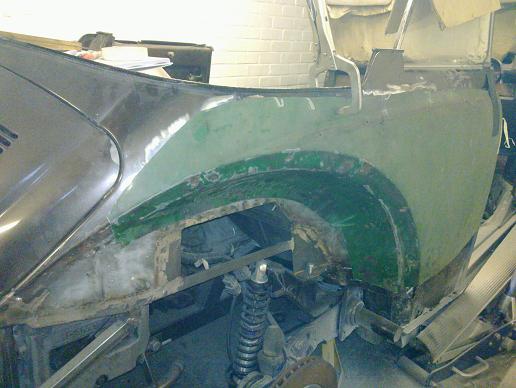
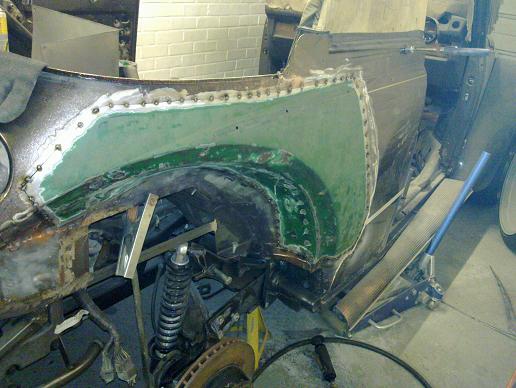
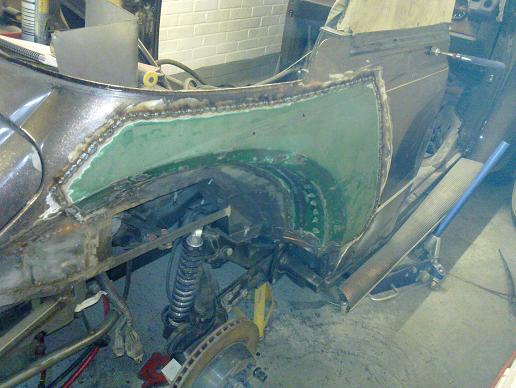
Front inner wing much better on this side, just local repairs needed near the A post |
Channel removed! The flange needs a bit of repair at the rear of the body (where it is welded to the top of the channel) |
I went back and repaired the driver's side A post as it was moving about a bit when lifting the body. I think these late cars must have an access point to put the demist hoses on, then a small panel is spot welded over the top. I'm happier with this early style panel as it will be stronger. |
Front bulkhead, looks like there are some sort of ribs in the corner? It has been plated over several times in the past so I guess I'll just have to start cutting away! |
Passenger side A post was worse, I had to cut all around the outer skin at the bottom, I preferred to keep the hinge mounting section of the original part as it is much more robust looking. Not the neatest welding but it is strong and will be covered up by the internal strengthener piece. |
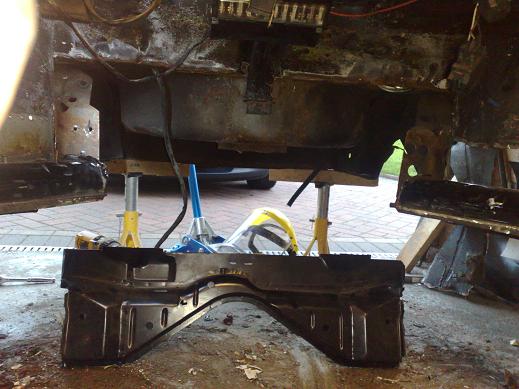
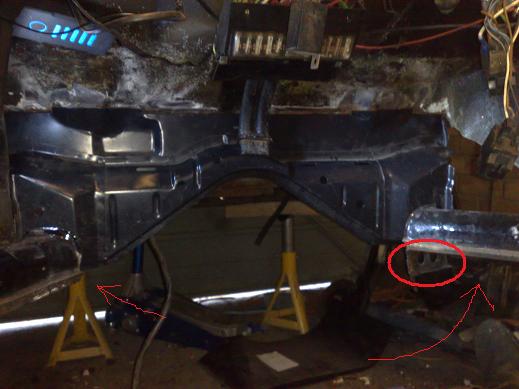
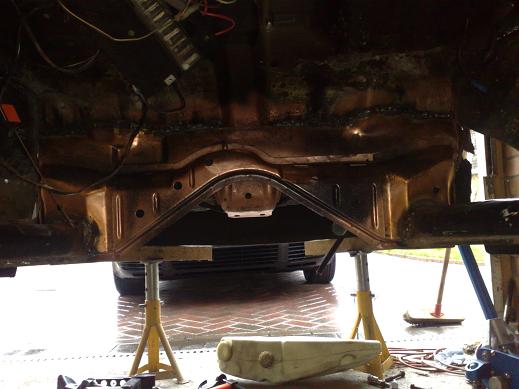
Both rear crossmembers now cut out |
A section of the inner wing also gets the chop! |
Thought I'd add this as you don't often see how it all goes together... |
topside... |
Passenger side is a patchwork quilt! The original panel is behind it so it will all need to be cut out and repaired properly... |
It doesn't look massively different but it is! New panels overlapped old ones internally with hollow gaps in between, so the patch panels were cut out along with any overlapping panels and new sections seam welded in properly. |
Crossmembers finally in! Only tacked in for the moment as the waxoil I put inside the heater channels hadn't dried properly, you needn't ask how I found out!! |
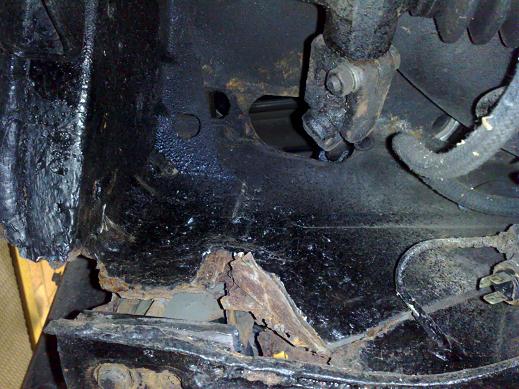
Bulkhead was a pain to get out! More rust repair is needed before I weld in the new one... |
Left inner wing rusty around the spring perch gusseting |
The right side has been poorly patched over rust in the past... |
|
In the end I found the best way to get the new bulkhead panel in place was to bend down the right hand side heater channel bottom plate and cut away some of the inner wing on the same side. |
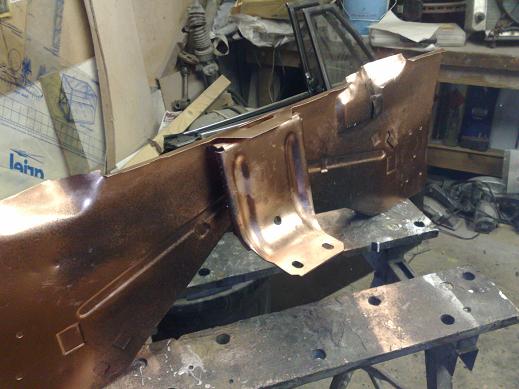
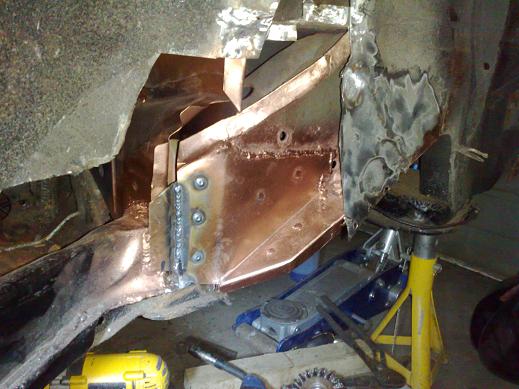
Brackets needed cutting off the old bulkhead and then the new panel was stripped to bare metal where any welding will be happening. Then protected with a copper based weld trough primer called Roberlo which works really well (looks good too!) |
The bulkhead was persuaded into position and the heater channel bottom plate bent back up, the body was then all bolted down into position to make sure everything was straight and to give some location for the bulkhead using the front bolts |
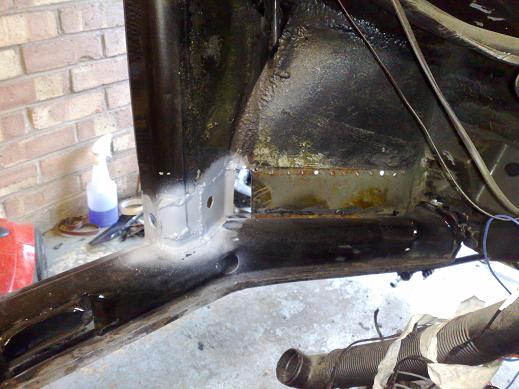
Tacked along the top and fully welded around the heater channel fronts. It isn't quite going in between the panels along the top at the centre as things are a bit tight, I'll drop the chassis down which will give a bit more space for it to slide into position and then finish off welding along the top. While the chassis is out of the way I'll also seam weld the channels to the bulkhead along the underneath. |
and down the outside of the heater channel before the dogbone strengthening is repaired and inner wing section welded over the top. |
bulkhead now welded along the top |
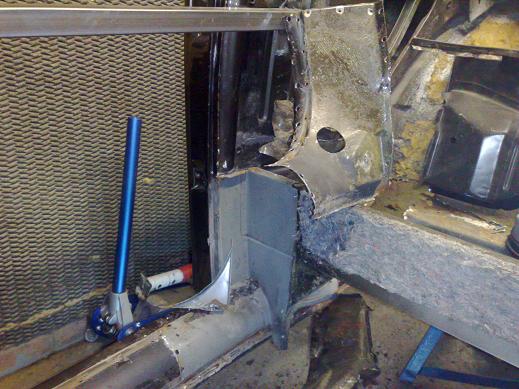
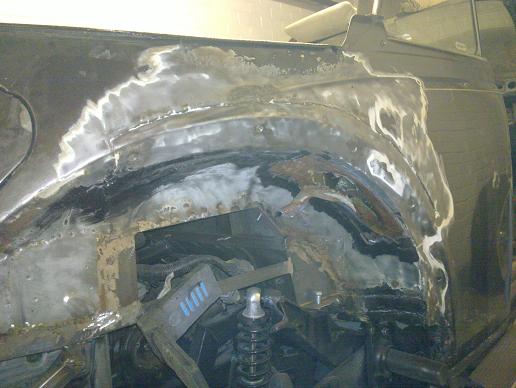
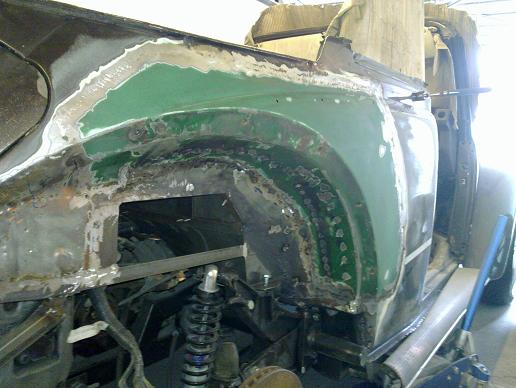
Inner wing area and dogbone strengthening section was rusty... |
the only proper fix is to cut it out! |
it is made up of several panels of varying thicknesses, I fabricated them from new sheet steel. Here's the thickest section welded in place. |
and then the inner section, next will be the main inner wing skin... |
|
Passenger side now repaired and also welded to the side of the bulkhead (note I have bolted the body back down to the chassis to make sure it is all straight) |
 |
Bulkhead/inner wing reinforcement pulled into position using a self tap screw |
then welded up |
inner body mounting bracket welded on to new bulkhead. |
Opening up the A post flange resulted in a rusty flange which needed repair. |
New section of flange welded in. |
Inner wing pieces trimmed to shape and butt and plug welded |
same on passenger side, just some sections around the strut towers to weld in and then sections of the strut towers themselves. |
Inner wing skin finished off, next to grind the welds done and remake the spring perch strengthening rib... |
|
Passenger side inner wing skin now finished |
Spring perch now repaired |
on both sides... |
The passenger footwell strengthener just needed a small amount of bending to go back into position |
The driver's side needed more work for a couple of reasons! Two areas needed rust repair, the bottom left corner section in the picture above and the central welding dimple just to it's right. I also took the panel off using my air chisel rather than spotweld drill so all the seams needed straightening up and my newest toy came into its own (air flanger/puncher) to prepare for plug welding the panel back on. Now I just need to strip both panels and get out the weld through primer for the edges. |
Driver's side strengthener now welded in, just the passenger side and then I'll have a rust free body, finally!!!! |
This is what was left after cutting out all the bodged repairs of the past |
|
Donor section clamped roughly in place, it took a bit of searching to find one this good as it is a common rust area, unfortunately it was balanced on top of another car and was full of suspension parts! |
All hidden areas were treated with Bilt Hamber Hydrate 80, then painted, weld areas were taken back to fresh metal and Roberlo weld through copper primer used. |
Tacked in... |
Fully welded... |
all welds ground down |
couple of coats of Hydrate 80 to protect the fresh metal before I get to paint, it will only need a very small amount of filler at the weld seams.. |
 |
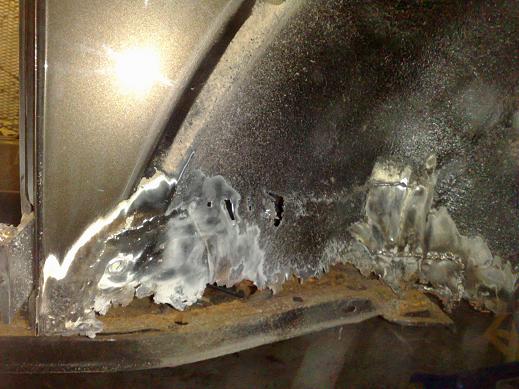
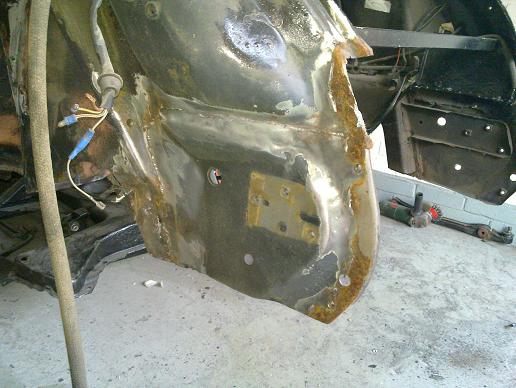
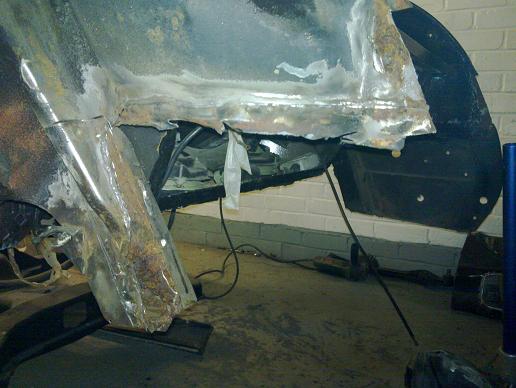
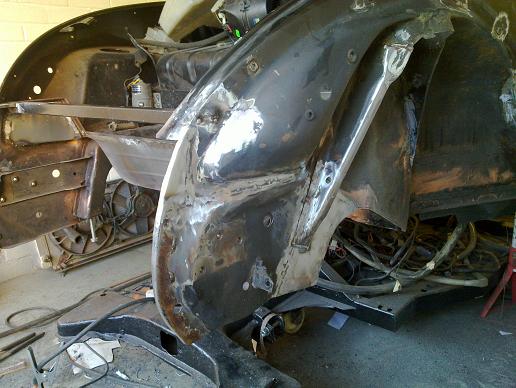
Yet more bodgery! Bumper repair panels poorly welded over rusted edges, overlapping the strut reinforcements and internally the bumper mounts have been stuck on with what can only be descibed as pidgeon shit to the reinforcements. It will all be cut out and done properly, I'm hopefull of being able to re-use the repair panels as there is so much overlap. |
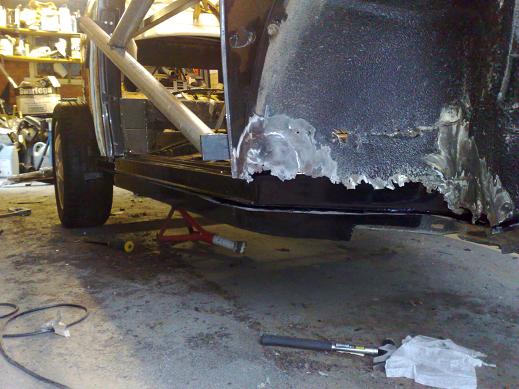
This was the mess underneath! |
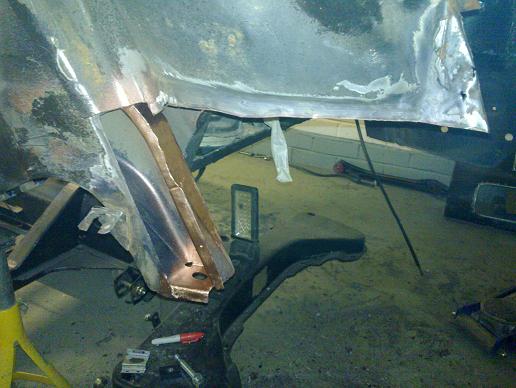
small repair done on the 'leg' and edge trimmed back |
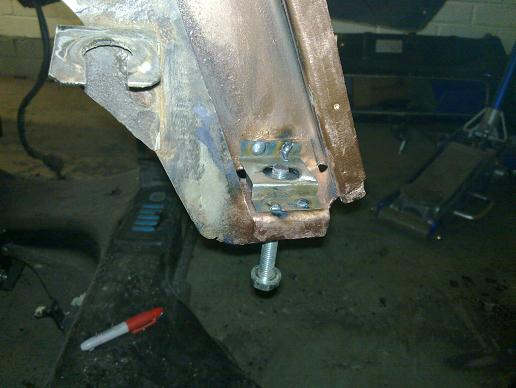
Body captive plate needed re-making |
Off side finished |
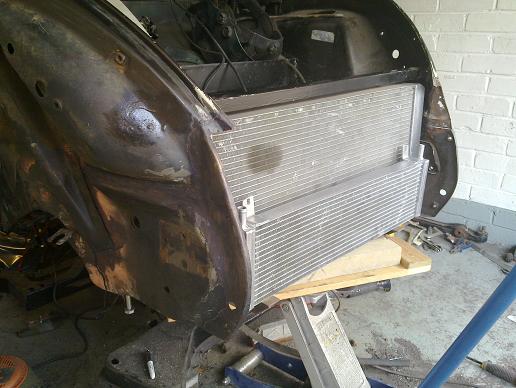
Threw some parts back in to remind myself how much room I have to work with under the bonnet... |
Nearside nearly done... |
and done! |
More rust found on the bottom of the door... |
and repaired... |
|