Gary forn the Speedster Clinic came over and gave me a hand to fit the front end on. In fact, he ended up doing most of it!
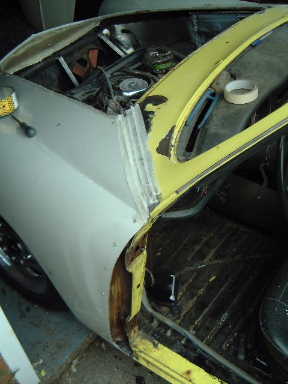
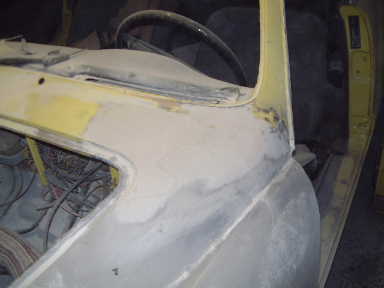
Final trimming to get a good join and to make sure the aperture is the correct size for the bonnet. All filler from a previous repair has been removed as it went right up to the windscreen.

Here is the join going off. Gel coat had been recommended to me to make the bond with screws to hold the panels together until fully cured. Then the panels will be feathered down and reinforced with fibreglass matting.
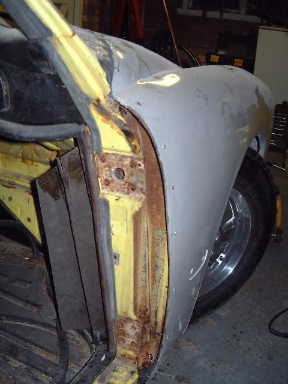
The inner metalwork was reworked slightly to allow for the thickness of the fibreglass panel. Otherwise the door skin wouldn't line up properly!
The surface rust will all be removed prior to paint.
Going off, gel coat cures better when not exposed to air so the join has been covered in tape.
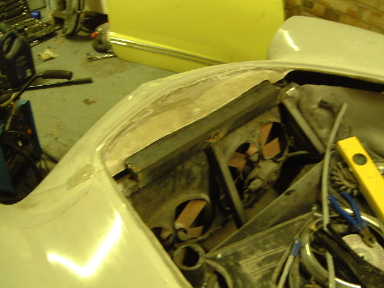
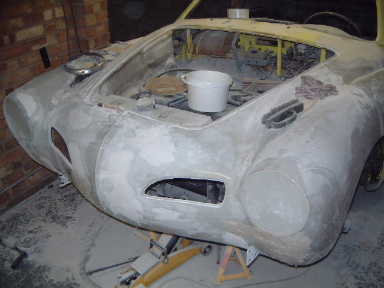
I reworked the front bonnet slam panel and welded on an extension to the metal frame so the force of the bonnet being closed will go straight into the framework rather than stressing the fibreglass. I will now fibreglass the front onto the inner panelwork to create a sealed under bonnet volume and give the car more strength.

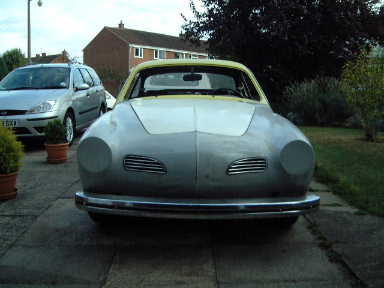
Always satisfying to make big visual changes, so to give me a bit more enthusiasm I fitted the front grills. I also had to work out an assembly sequence to get the radiator into/out of its new home! The answer is to remove the fanshroud first and then fit it in place once the rad is fixed. I took the opportunity to do some colour coding as you can see...
Now the back is fixed in place, I have bonded the rest of the front onto the metalwork, both inside and outside for extra strength.
There is still some tweaking to do at the rear of the front, it doesn't line up perfectly on one side but this shouldn't be too hard to rectify.

Extending the fibreglass to the metal frame has given the whole car a lot of extra strength!
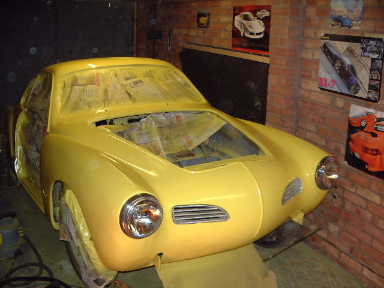
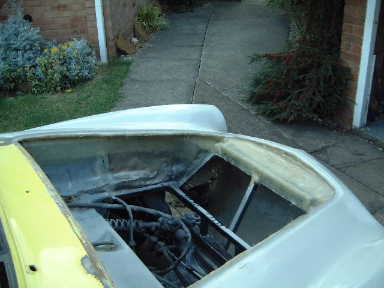
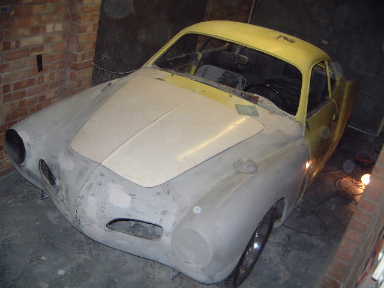
Everything loosely bolted together to check for fit
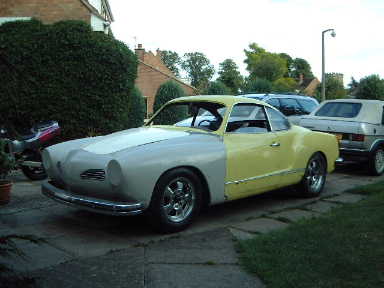
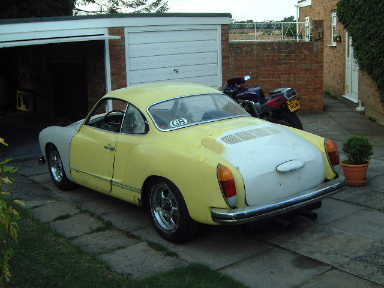
As it was all rolling and looking like a car for the first time I couldn't resist getting a few more shots! I'm happy with the way those wheels look...
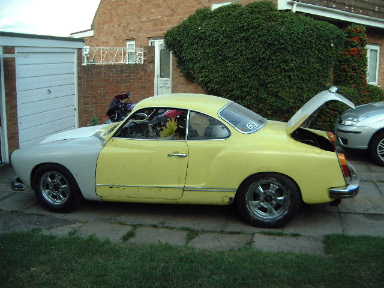
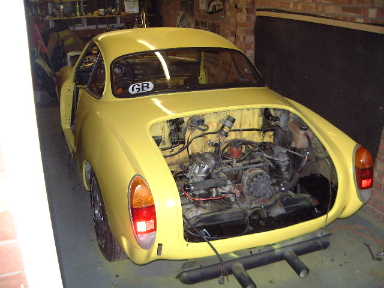
It needs a bit of tweaking for the engine lid to fit perfectly, I think it's from a much earlier car.
Blending the front end into the rest of the body...
and again...
Fixing the front from where it lifted away from the mould while moving it around between lay-ups.
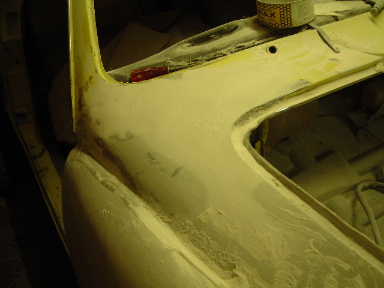
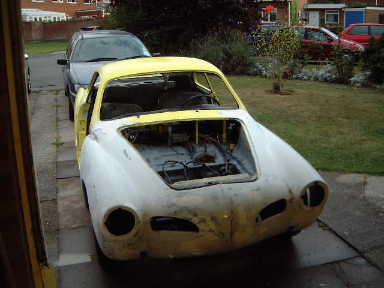
More sanding and panel fitting.
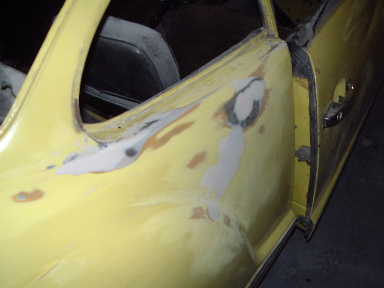
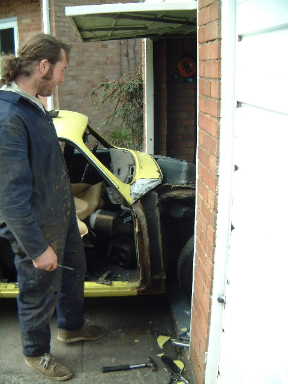
Fixing poor repairs from its previous life... The doors are fitted now too.
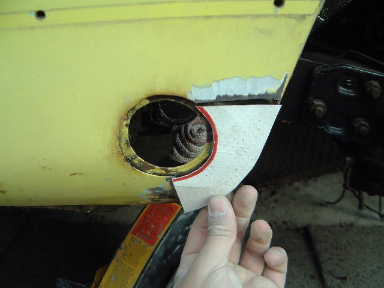
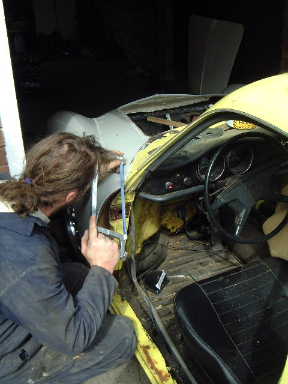
The only rust repair on the shell! My first ever cosmetic welding so I made a template. Transfered it to metal...
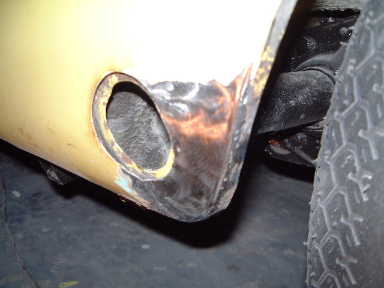
Welded it in and then ground down the welds. Not bad for a first attempt! I might even get away with no filler...
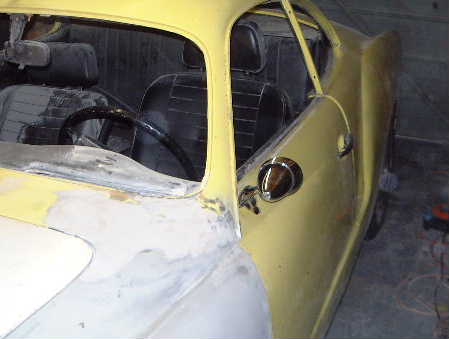
Fitting wing mirrors, best to do this sort of thing before paint! Old holes were also welded up.
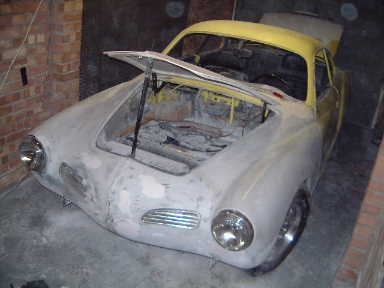
Bonnet fitting complete apart from final adjustment of the latch.

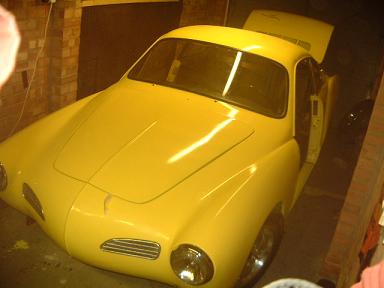
Lights fitted too, looking like a complete car now!
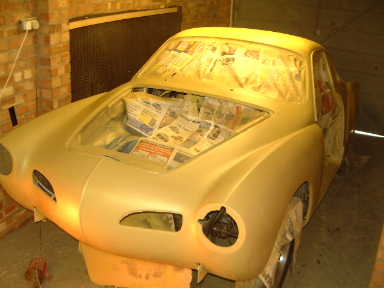
All wet sanded down and ready for paint! I hosed down the garage to make sure all remaining dust was out of the way and wouldn't get in the paint. Just about to get masked up.

All removable panels were etch primed in the garden, not escaping the odd fly that took an interest!
I am using an Earlex electric HVLP paint gun, very impressive and only £63 from Argos!
And the car in the garage with it's coat of etch primer, next will be high build filler primer and then several top coats of the original Saturn Yellow.
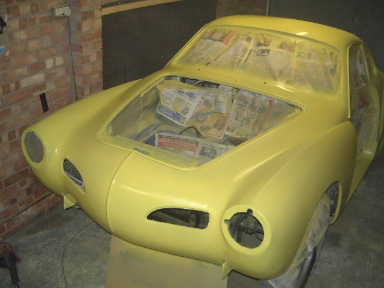
First coat of colour! Picture looks much duller than it actually is, the coat isn't thick enough to completely cover the primer either so the next coat should give a better idea of the final colour.
Definitely coming together now! By the end of the weekend everything will be completely painted and I'll be on the home straight to finishing the car...