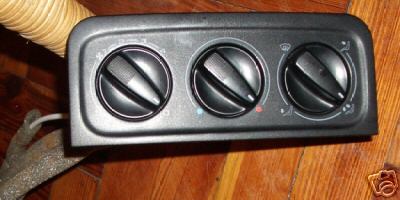
I'll replace the Fiat heater controls with these from a mk3 golf
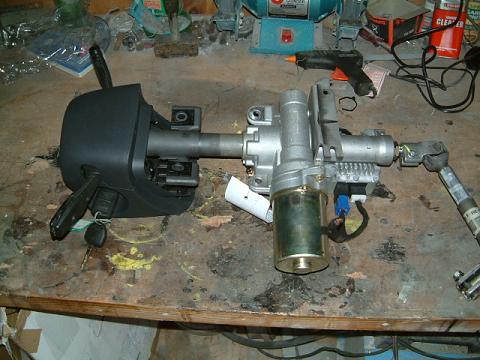
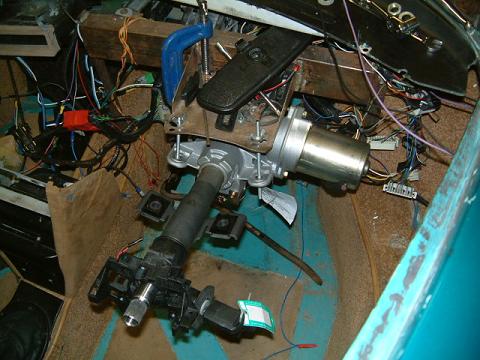
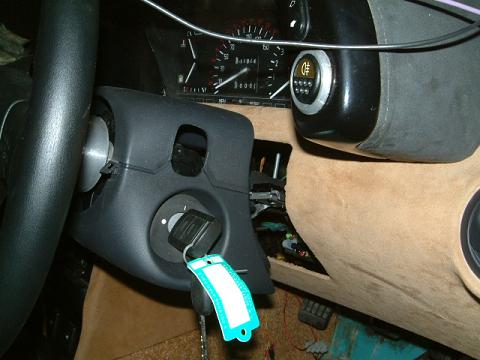
This is a steering column from a Corsa 'C'. It is a power steering system which gives assistance via a motor on the column. It is a self contained system apart from a vehicle speed sensor which I will make up and can then tune the assist relative to speed.
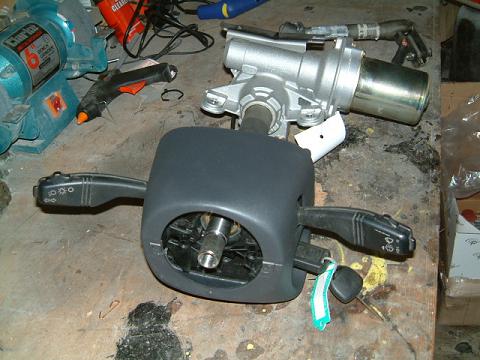
The rover 800 stalks fit into the corsa central moulding which makes the swap much easier for wiring.
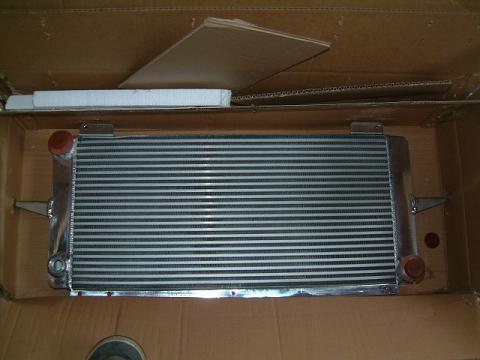
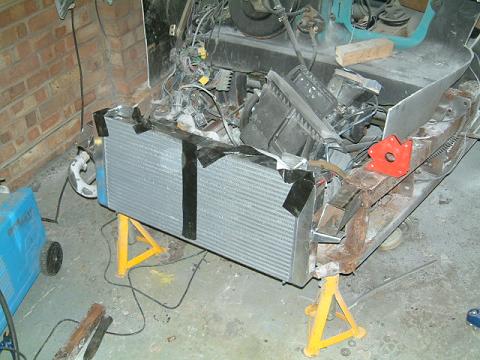
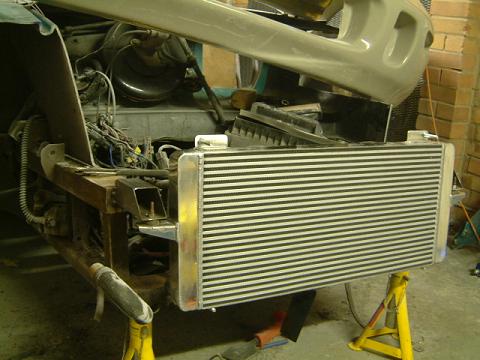
Escort cosworth aluminium radiator is the right size and will give much higher limits if I decide to tune the engine.
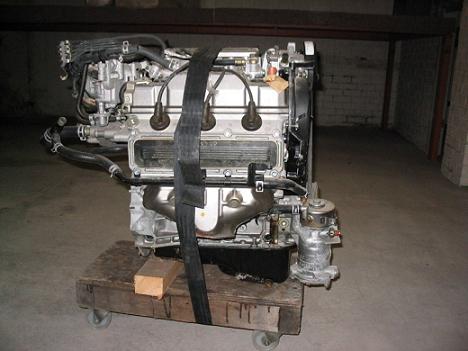
I found this engine very cheap so bought it as a spare, it has never even been in a car! If I go down the tuning route it will definitely be handy to have a spare to develop turbo pipework on.
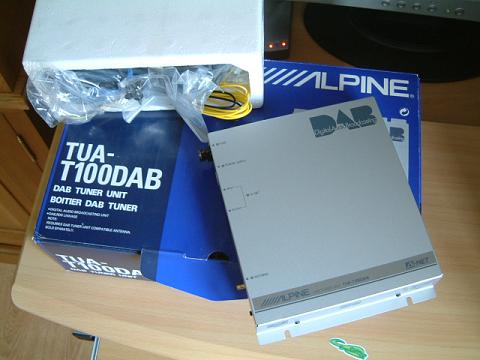
Unused Alpine DAB tuner
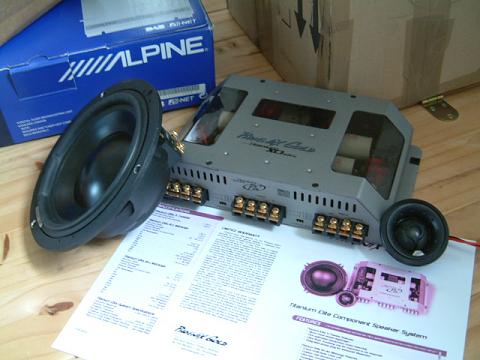
Phoenix Gold Titanium Elite 6 comps, this is raising the bar for the rest of the audio system!

Picked up a pair of Honda S2000 seats
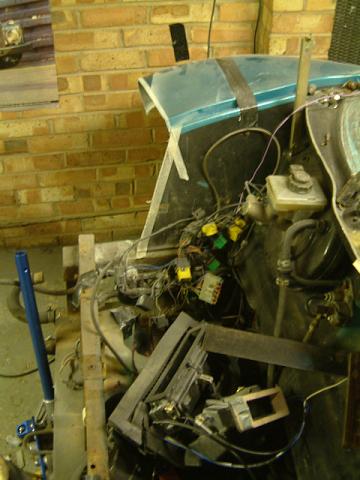
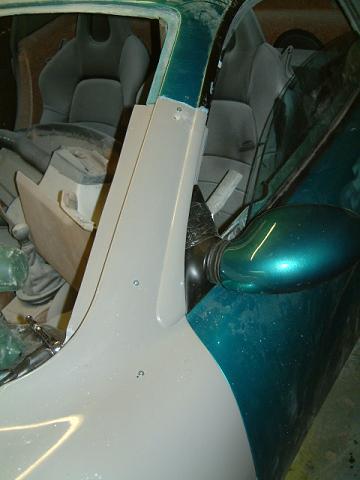
Dash will need reshaping to meet up nicely with the corsa shroud
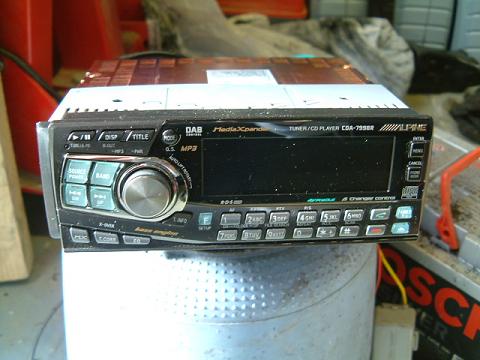
Alpine CDA-7998R, very high end XL phantom face, no internal amps.
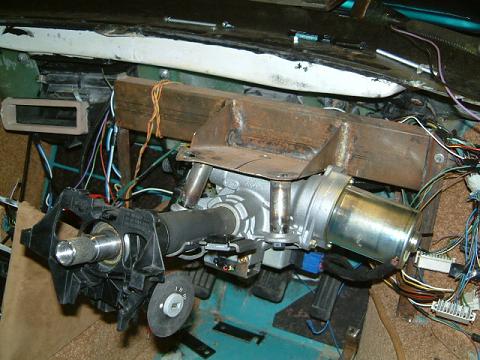
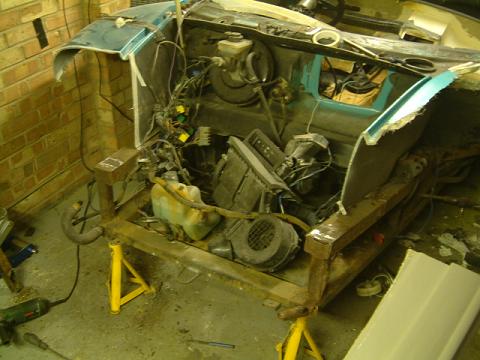
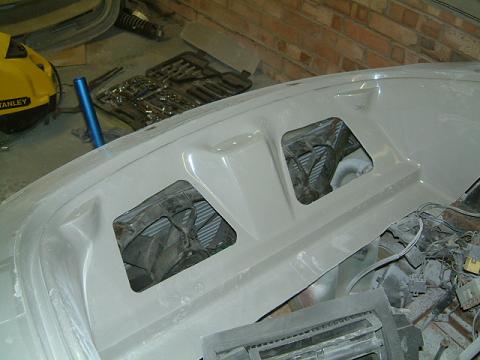
Extra tube has to be quite flat to fit underneath the instrument pod, once it is all fully welded I will assess the rigidity but it seems fairly good already.
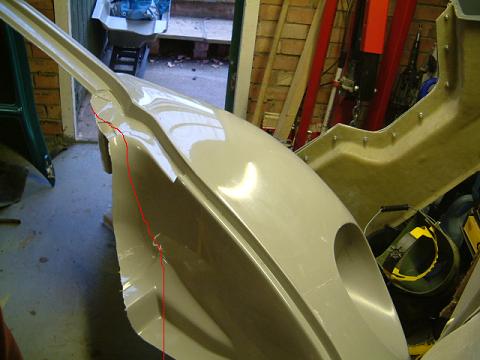
This is where I'm going to cut the two panels and join them together. This way the dash top/scuttle section doesn't have to be removed

cut line of body

inside view of cut line
hinge post cleaned up ready for bonding to outer skin
I am making a fibreglass panel which will act like a section of the body mould. This way when I join the new section of body I can be sure that it will line up perfectly. The two parts will be screwed to this section while fibreglass matt is laid up on the underside, joining the pieces
Unfortunately it looks like I will have to modify the chassis slightly, the body has a step down which fits over the front crossbar of the chassis but for some reason mine is too far back. I'd rather keep this as it will keep the strength in the body, I would have replaced the bar anyway as it was slightly bent in the accident.
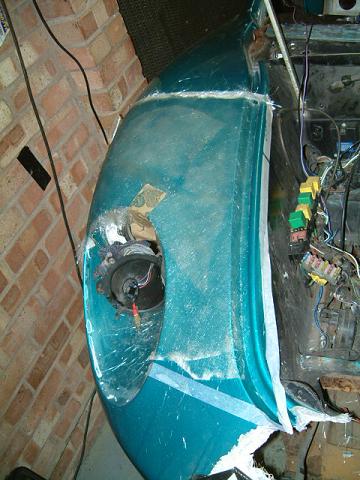
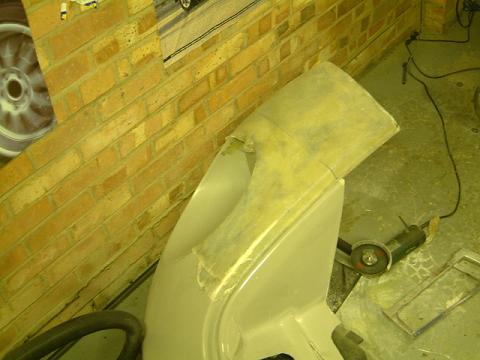
Getting rid of all the broken bits!
You can see the step in the repair section, this has been cut off on my body to fit on the chassis.
Top crossbar cut out in preparation of moving a new one forwards to fit under the body.
You can see how the scuttle panel is acting like a jig here..
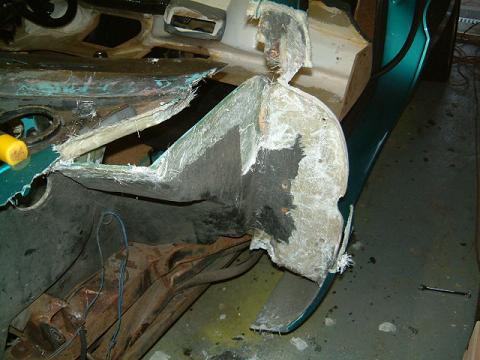
Lots of work on the A pillar, including supporting it in the correct position while most of its strength is cut out
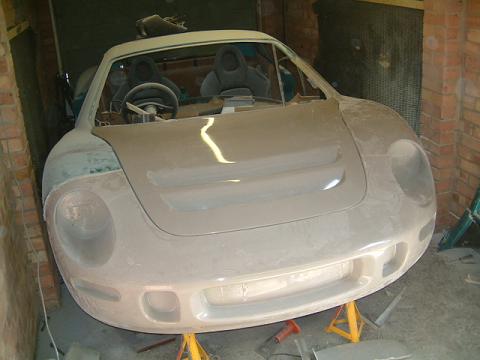
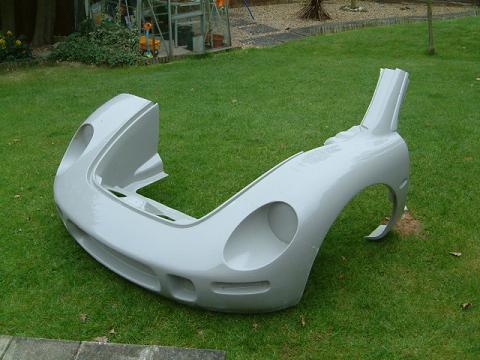
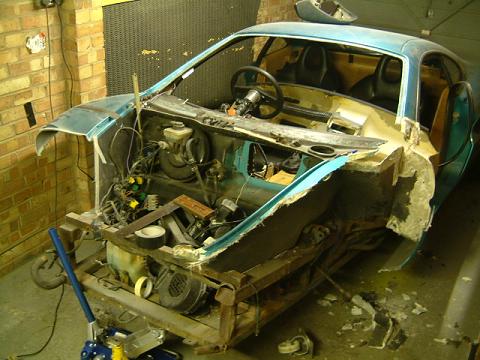
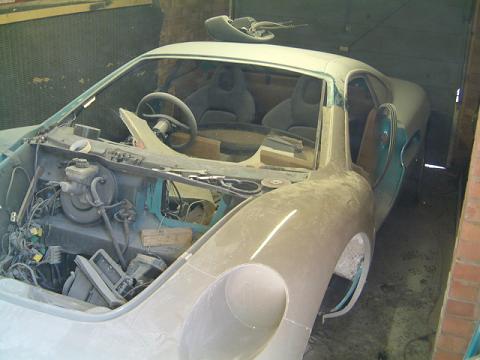
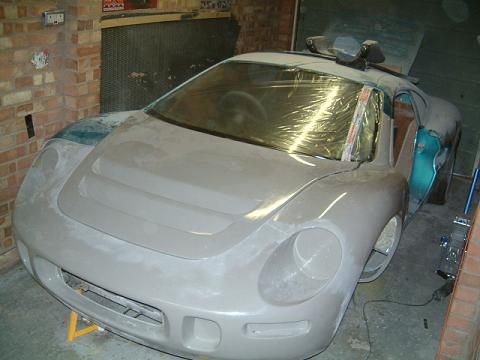
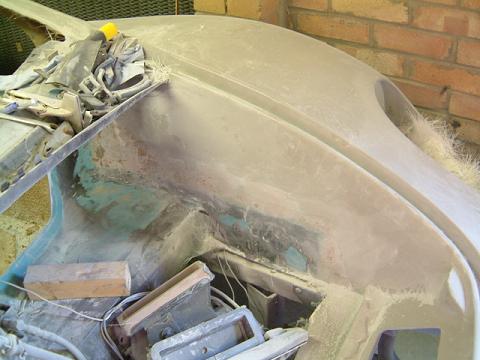
Starting to look like a car again!
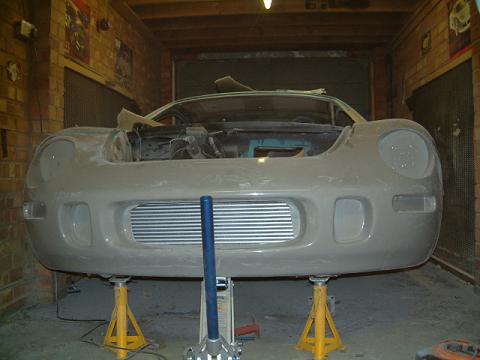
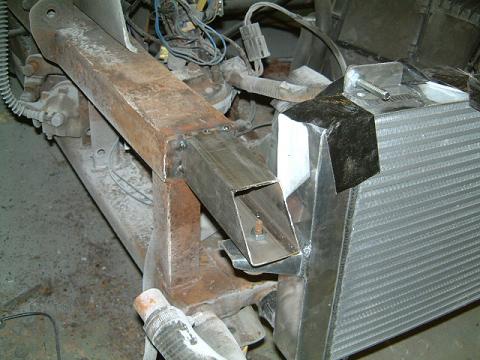
Main radiator hole cut to aid radiator placement. I'm using a cosworth uprated one so mounting brackets will have to be made from scratch. I'm leaving some space in front in case I opt to fit air conditioning and need space for the condenser. I've left some tabs at each end to mount mesh behind.
View from back side where the fans can be seen
![]()
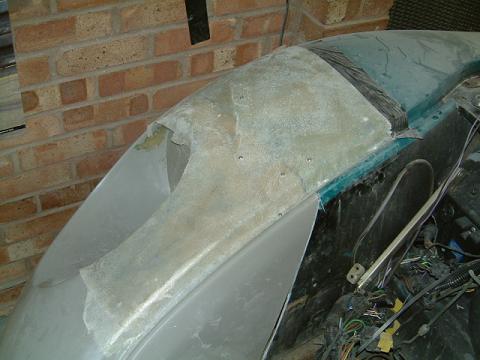
I've decided nto to cut out the holes to each side of the radiator intake as most people do. I recently found out that they are designed to take Nissan Micra ('92-''01 I think) fog lights. Pic above is a quick photoshop.
I'm also awaiting the clear front indicators ('93-'96 Celica)
Near side bracket is just tacked on until the body is taken off and I replace the top chassis tube.

Thinking about numberplate positions now, to make it looks less 'kitcar' I plan to make a moulded plinth for the numberplate to sit in.
right wing being held in place..
straps to hold the A post in position
A pillar screwed to the inner steel tube holds everything in alignment. I re-fitted the door to make sure everything lines up properly, good job I did as measurements from the old part didn't line up correctly!

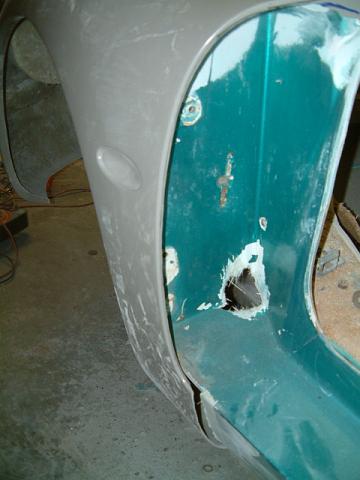
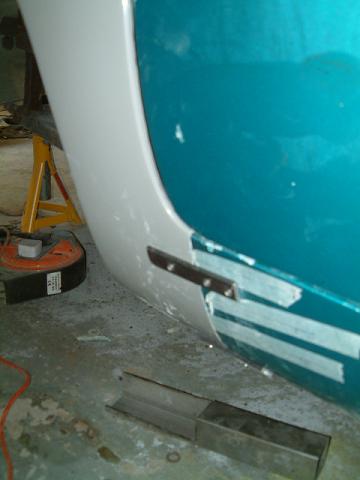
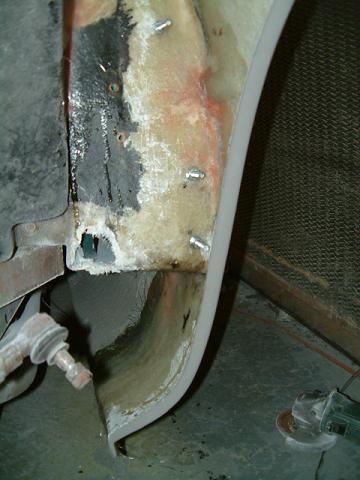
Bonding the door skin back on, in the crash the inner and outer had delaminated...

Genesis Profile 5 amplifier will look after all the speakers..
All up the A post, bolts will be removed after I have got as much strength in as posssible elsewhere then more layers added..
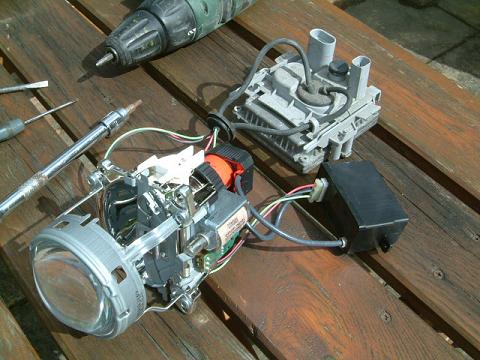
Bosch bi-xenon projectors from a 2003 BMW M3
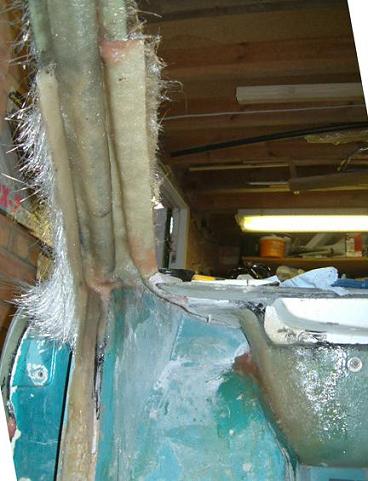
Overlapping the strengthening tube in the A pillar to the new outer skin and old section above. You can also see the other join under the scuttle panel.

Under the right inner wing, much easier than the left wing with all it's joins, a simple line