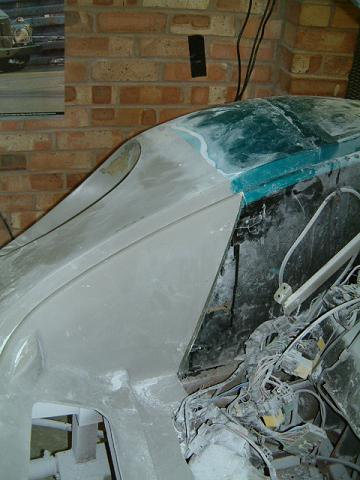
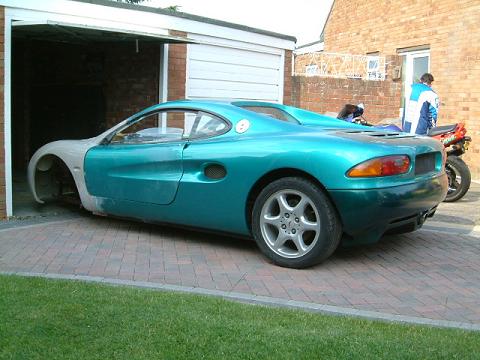
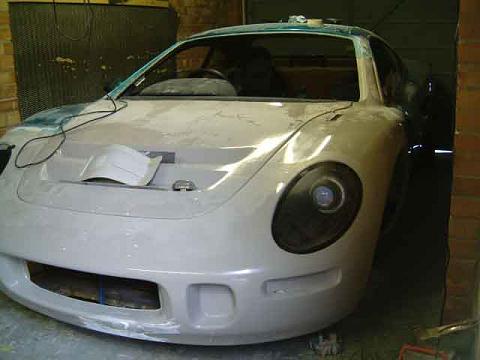
All one piece now!
Only a small amout of work will be needed to get a nice blend thanks to the section of mould I used as a jig.
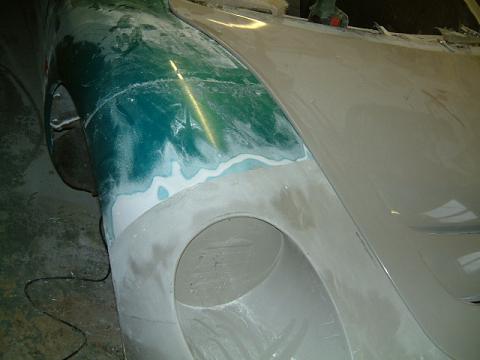
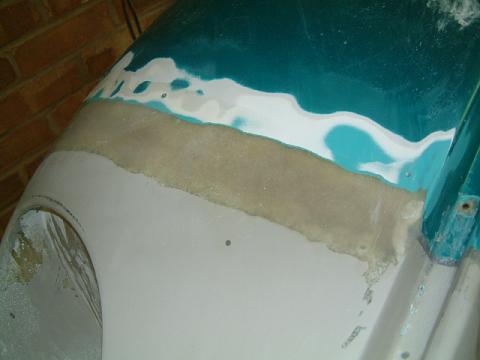
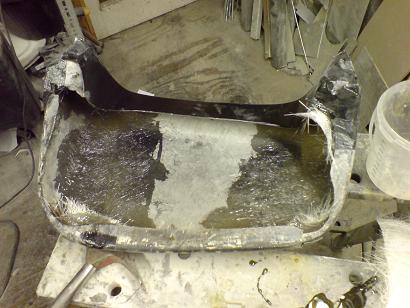
seams will be ground down into shallow V shapes and filled with matt for maximum strength at the join line.
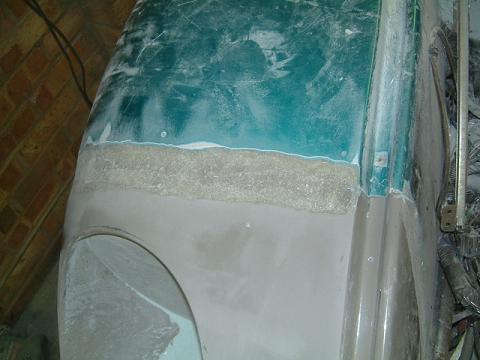
Ground down until the edges of the two panels disappear, ie the new matt underneath is reached
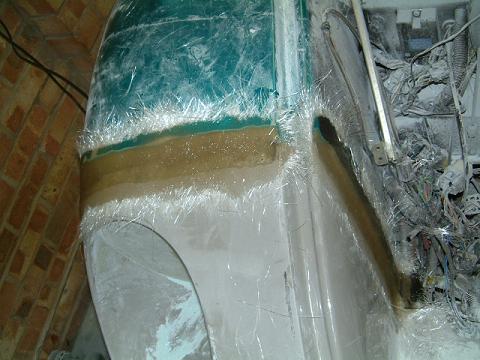
Matt layed up on top of the join to form a fillet
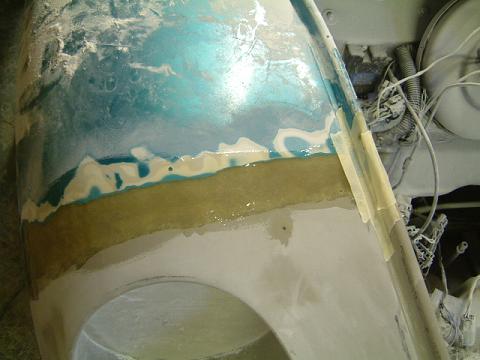
excess matt is sanded down and then gel coat put down to build up the top layer, this gives a better, smoother surface for paint.
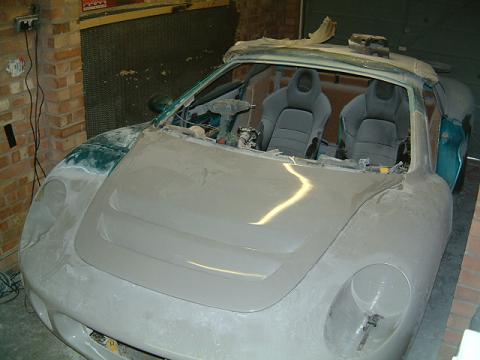
gelcoat sanded down, not perfect but I'll leave that for the painter!
Time to have a clear out, garage was a desert of fibreglass dust!
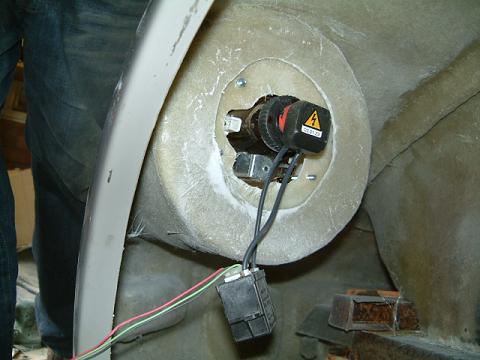
Back end of light

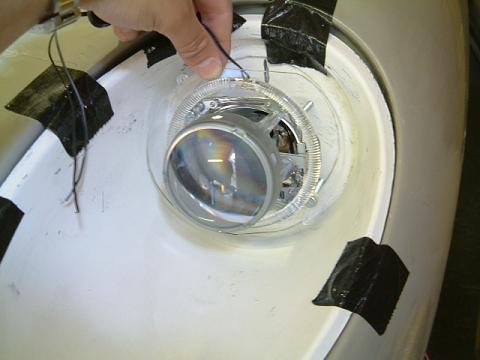
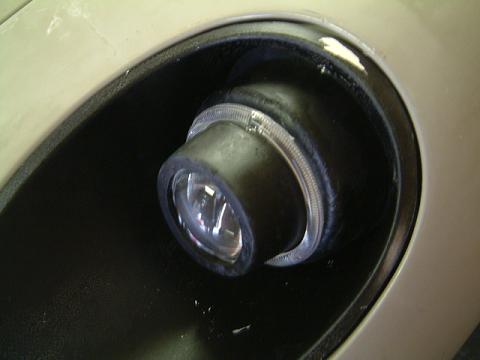
making sure the light beam is horizontal, M3 shroud in temporarily. I will make a custom shroud with a recess for the angel eye out of carbon fibre, the rest will be painted matt black.
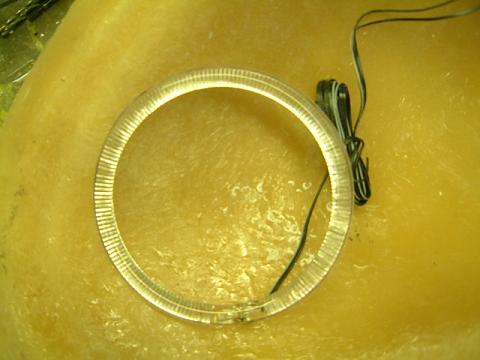
Angel eye side-light sanded down and flame-polished
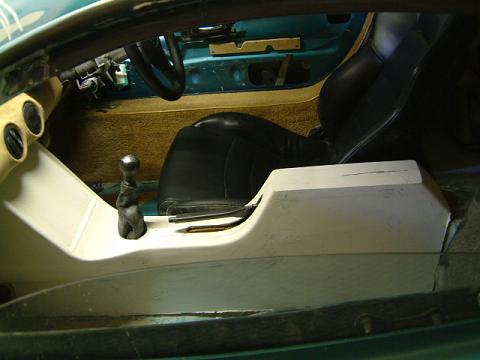
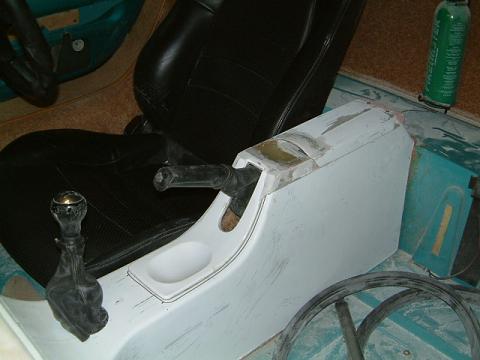
I think it looked a bit strange with a raised plinth on the standard console, so this piece of MDF will create a recessed area into which I will fit a body colour section, the rest will be trimmed.
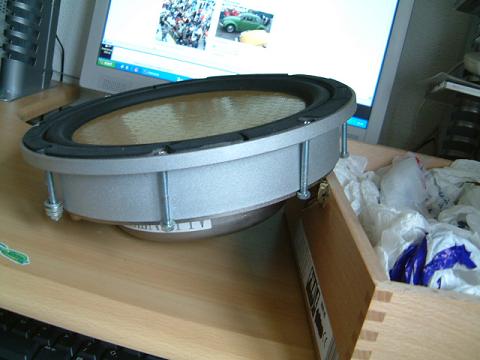
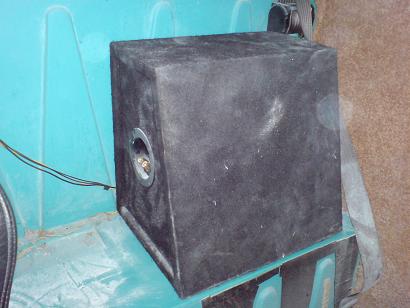
Phase Linear 10" subwoofer, the choice of audiophiles! Very small box requirement too which helps.
Not finished, but I couldn't resist painted it all black to see what it will look like!
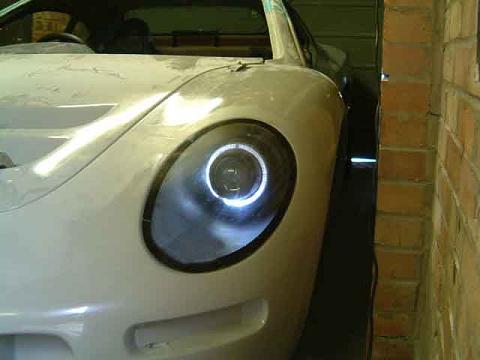
Sidelight on...
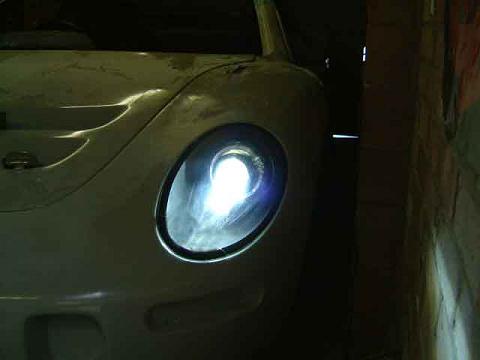
sidelight and dipped xenon... the shroud needs more paint to stop light bleeding through but it isn't far off how the final light will look.
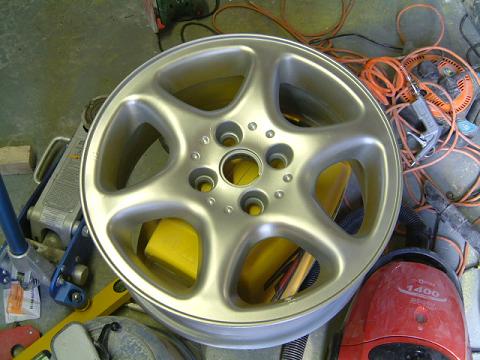
bought a fourth wheel off ebay but it was a bit manky with parts corroded so I stripped it down, etch primed then top coat...
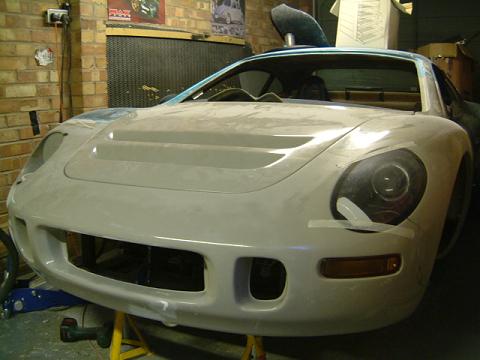
Holes now cut out for indicators and the 'fog light' holes to become extra grills. I saw some pics of the micra fog lights close up and they look very dated so the passenger side will become a ducted heater intake, the other will be a dummy grill. I will be replacing the indicator lenses with clear versions from Rich at www.protocast.co.uk
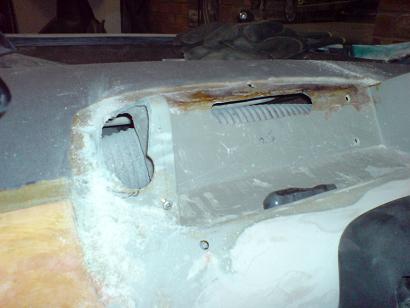
Rover 200 glovebox
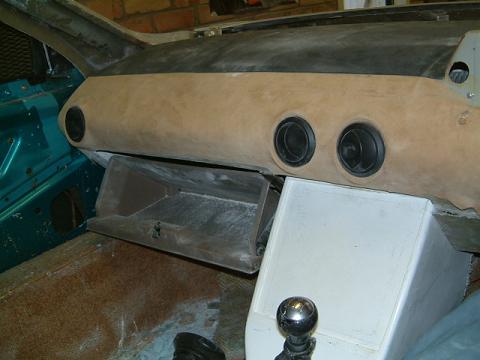
Just about perfect size! Lots of cutting to get it in, the dashtop ducting has been clearanced and the thin section of the dash replaced with a steel frame for the door hinges
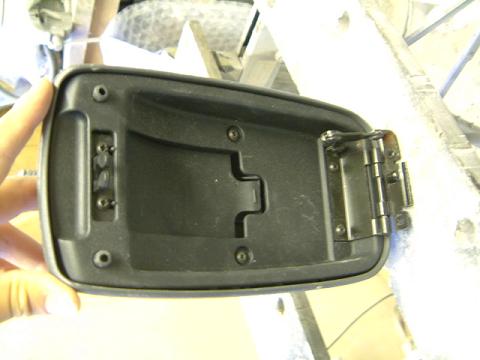
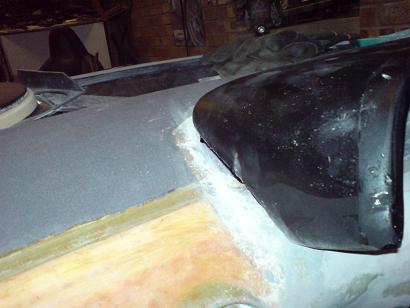
Centre console lid form the Rover 200 will donate it's hinge and clip..
Rear lights imported from America will suit the headlights really well.
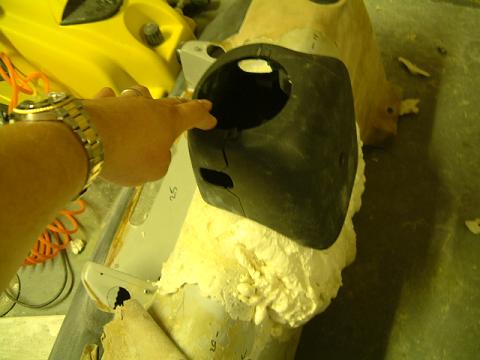
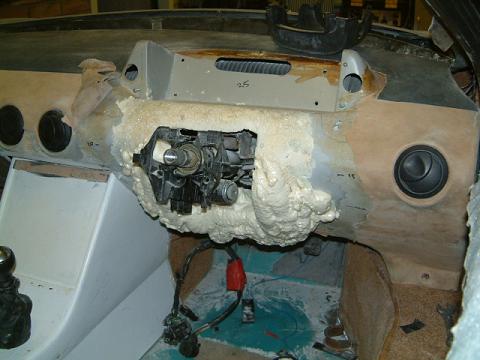
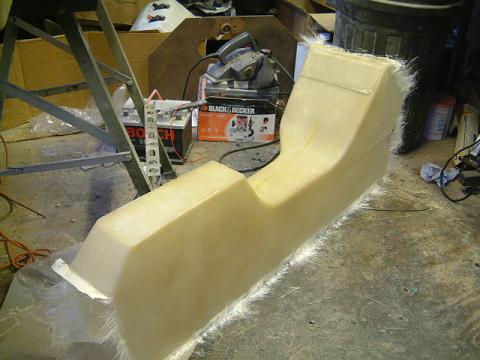
Polyfiller expanding foam, easy to shape and resistant to fibreglass resin so I'll probably fibreglass on top and then dig out the foam afterwards from the rear.
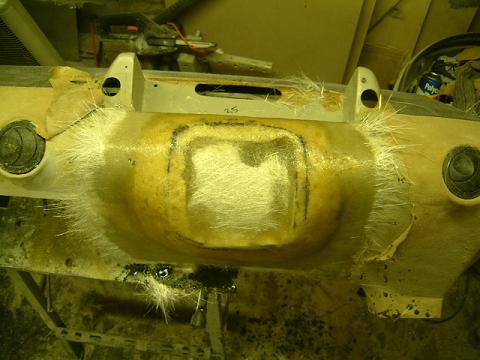
Roughly shaped in foam, now fibreglass is laid up, before final filling.
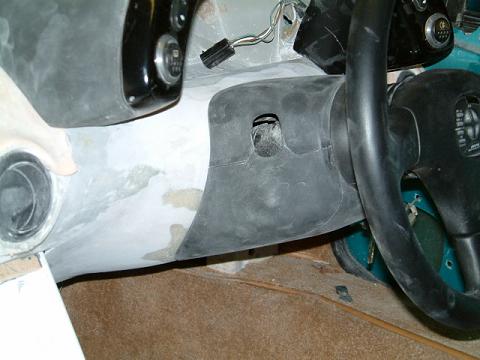

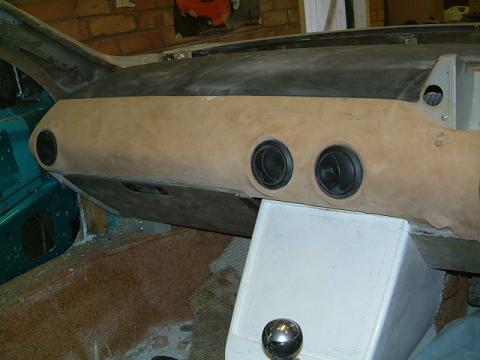
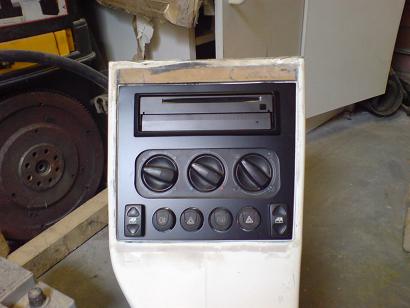
Main dash is now finished apart from trim.
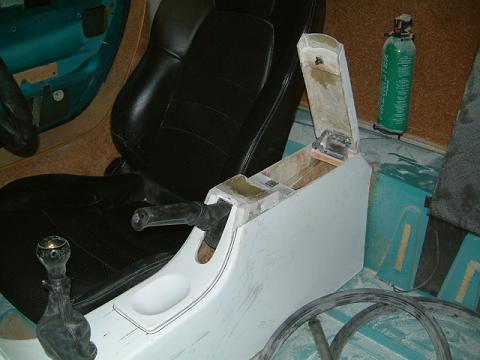
I moulded a second depressed section from the handbrake surround and cut it in half to give more space to open the lid with a recess under the front and a raised section at the front of the lid. Hinge and catch also fitted.
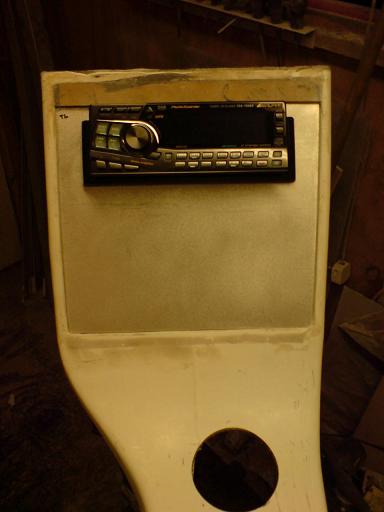
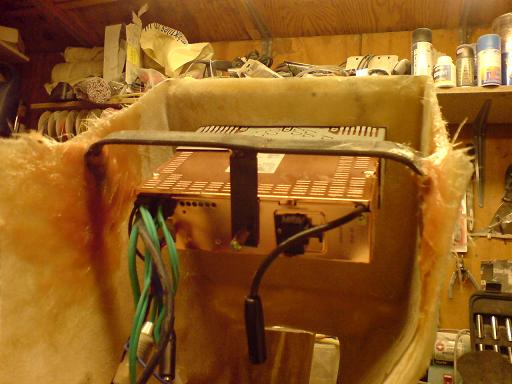
Steel brace fabricated and fibreglassed into the rear of the console to properly support the head unit.
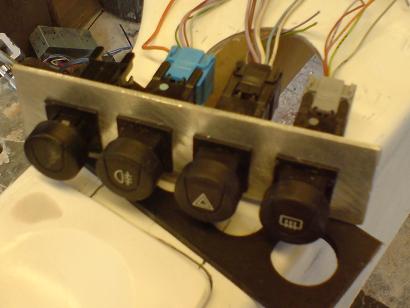
thicker aluminium plate holds the switches in place behind the front panel
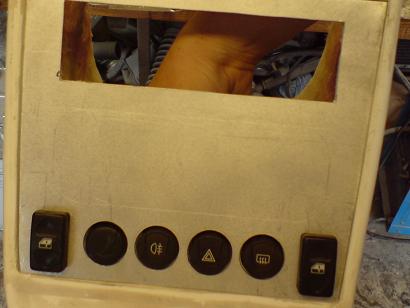
Electric window and aux buttons holes cut in faceplate.

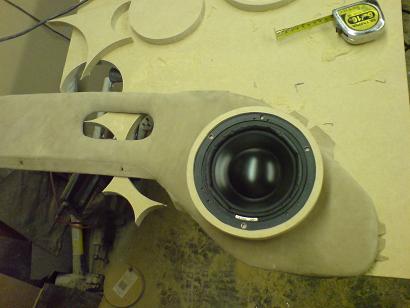
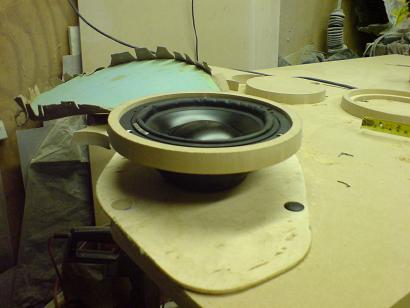
Here you can see how much it needs building up, I have cut out an mdf mounting ring and cut a recess in it to sit the speaker sub flush.
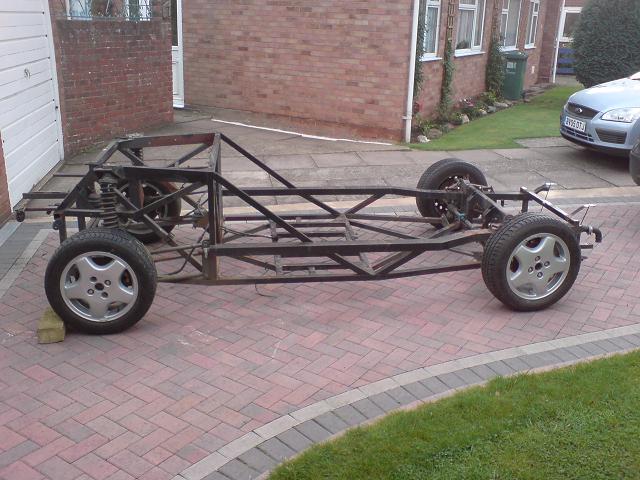
For some reason the mounting points on the S2000 seats weren't symmetrical, so I cut the longer one off, shortened it and then welded it back on
As I have moved all the buttons to the centre console, I am slimming down the side parts of the instrument surround, the tape is roughly the amount to be cut out.
Being fibreglassed back together..
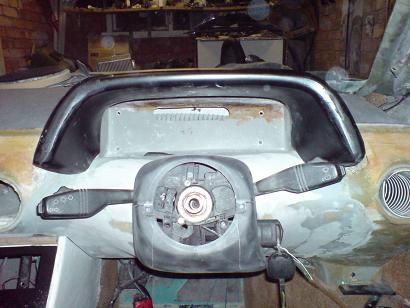
main dash section had to be slimmed down to fit under the narrowed binnacle
and new material added to fill the hole..
I got this sub box with the beetle, I removed the sub and turned the box around and it will fit nicely behind the passenger seat