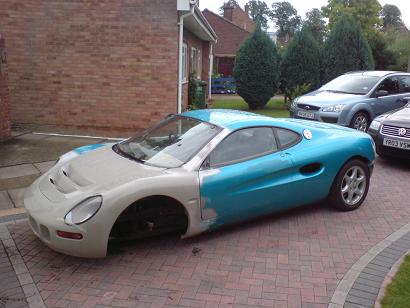
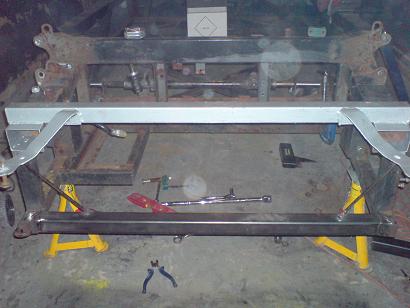
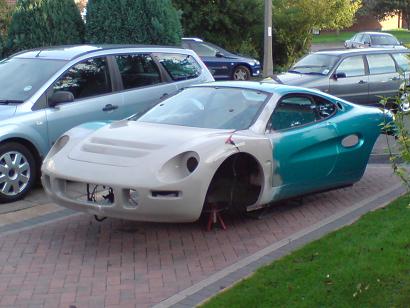
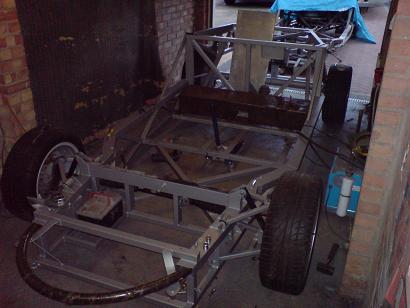
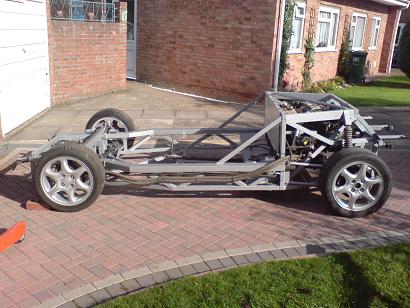
Now work is starting on the new chassis the body has been evicted from the garage!
![]()
Notching the top chassis rail for more steering lock
![]()
Later cars actually used a thinner top rail, mine is still wider at all points..
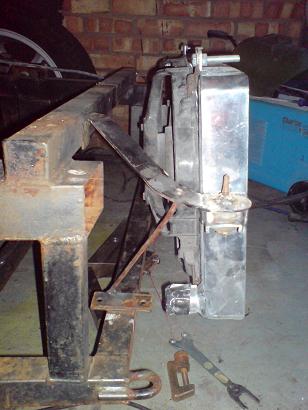
I had to make new radiator mounts for my rad, I couldn't use the other ones I made as the water goes through the top tube on this one
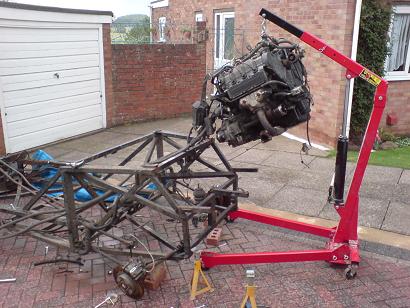
De-dion axle removed from donor chassis
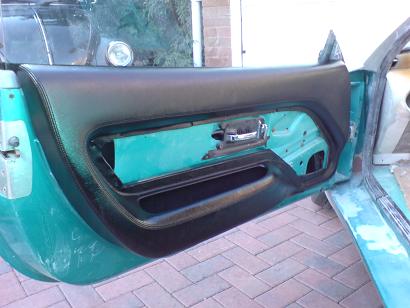
Door panel re-coloured with vinyl spray, I thought it was worth a try before paying to get them retrimmed and it has worked really well, shiney bits are where it hasn't dried fully yet and the light is catching it.
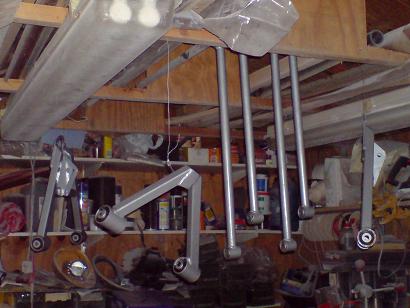
Rear trailing arms and front wishbones stripped and repainted with rustbullet
Front cross beam needs to be cut out...
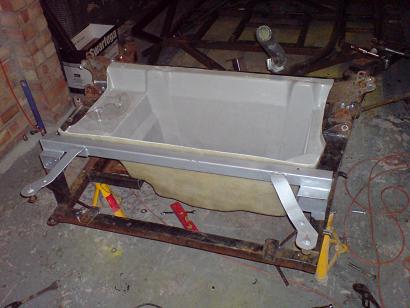
...for luggage tray
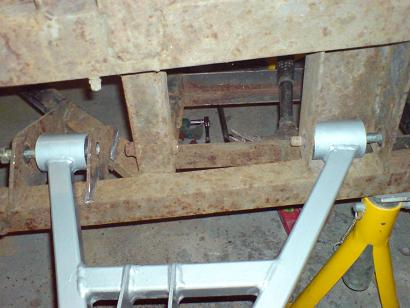

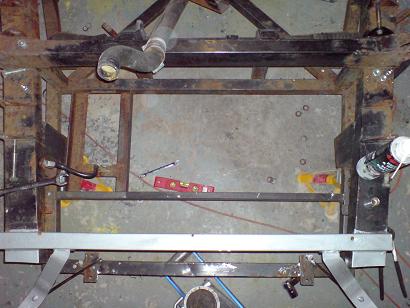
After carefully measuring all the brackets, it was found that the rear one was 16mm too far back! I cut it off and here it is mocked up in position. But, before I weld it, I need the space for the steering rack jig.
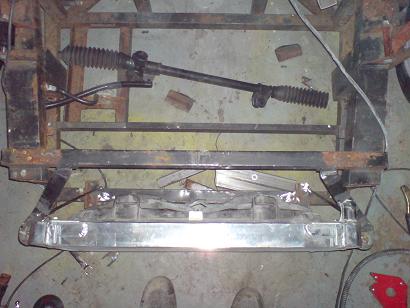
LHD sierra rack is used in later cars rather than the old maestro one, I will also be able to use a quick rack kit, making the most of having power steering. I'll need to make new rack mounts too.
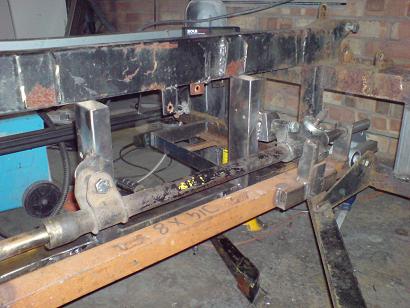
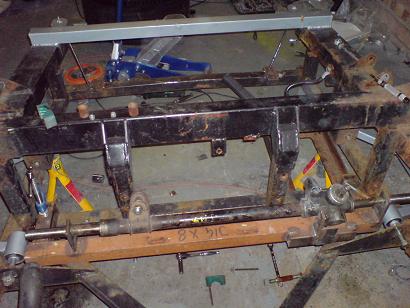
The steering rack jig only fitted on with the above wishbone bracket cut off, so before I welded it back on in the correct position I made up these new rack brackets. The reason the top part isn't welded in yet, is taht I am going to replace the top cross tube with repositioned top damper mounts as early ones were found to be too short.
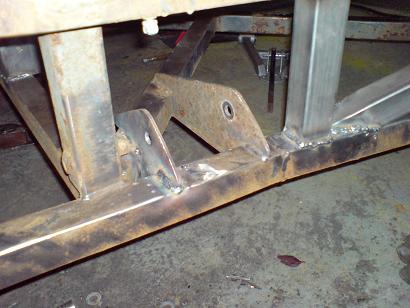
wishbone bracket welded back in
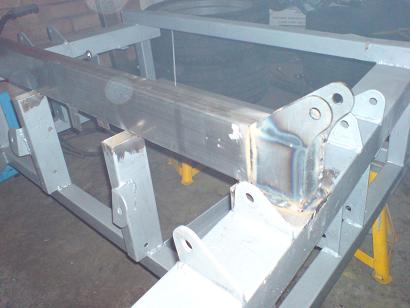
Front cross tube was quite badly damaged from abuse with jacks, being bent and dented, I replaced it with this thicker gauge tube
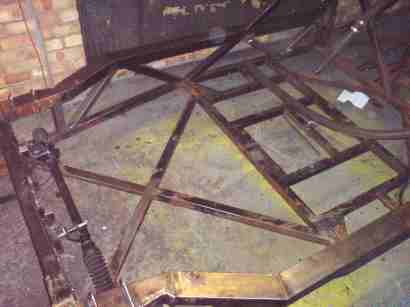
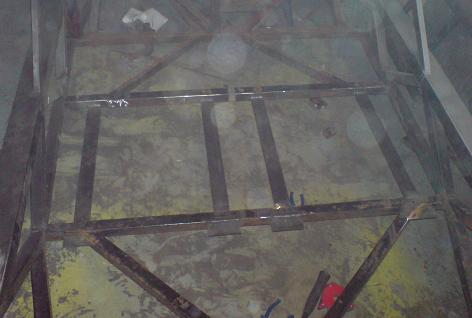
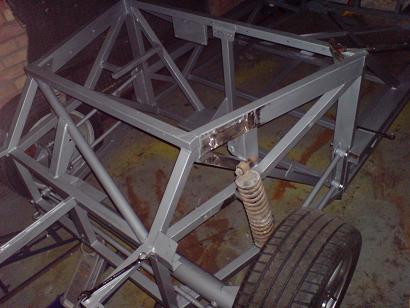
4 extra triangulating cross tubes added per side, originally there was only a single 'V' between the top and bottom tubes
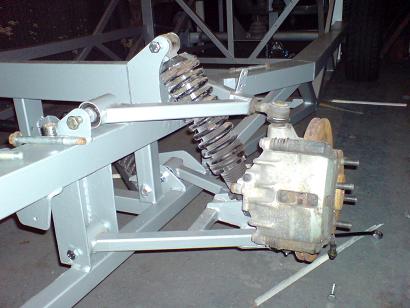
Rear suspension mocked up to determine exact position of top damper mounts, I'm using the adjustables that came with the car rather than the standard montego estate struts!
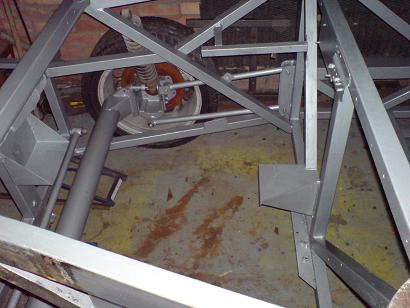
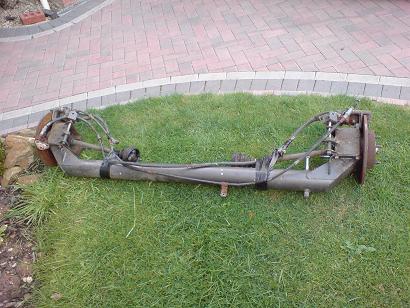
You can see the rear suspension more easily here, twin trailing arms each side, dedion tube and panhard rod.

New top damper mounts welded in
Another coat of paint..
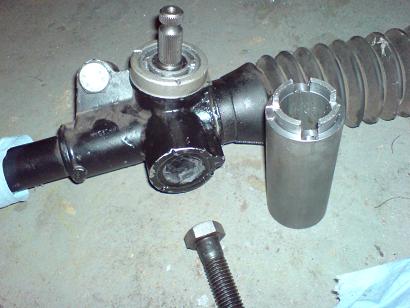
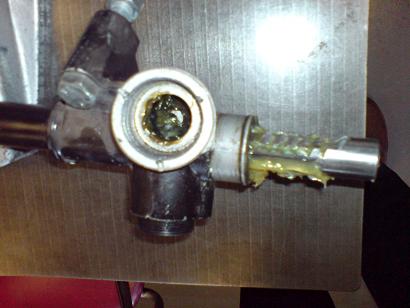
New rack inserted with plenty of grease ready for the pinion to ne inserted with its bearing.
The black plastic 'grub screw' is for preloading the assembly, the top aluminium collar just holds the pinion in place.
Front suspension bolted up now the bolts have arrived.
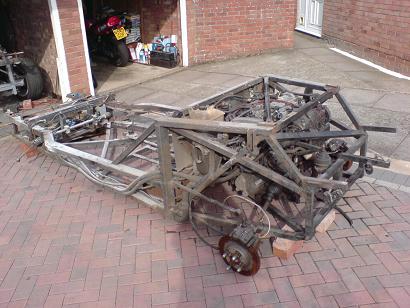
The old chassis, I have to clean everything up and transfer to the new chassis now..
Here's the bent part of the chassis, hard to appreciate in this picture but it is quite bad.
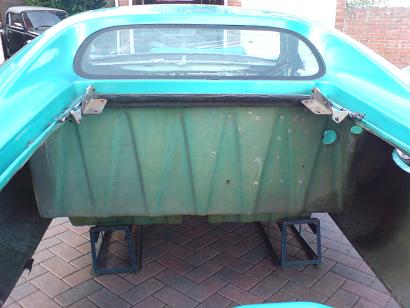
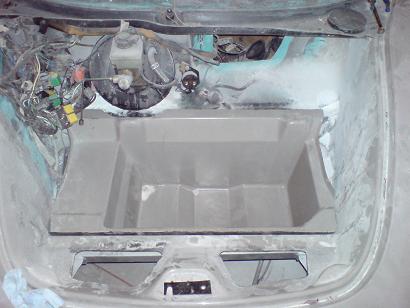
So bulkhead and engine cover have both been given a generous coating of Sekond Skin Sludge sound deadening liquid.
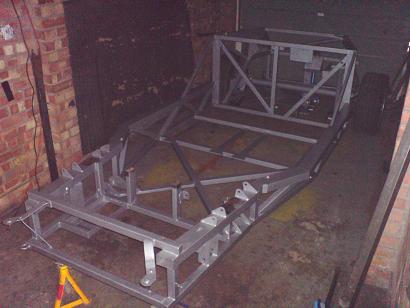
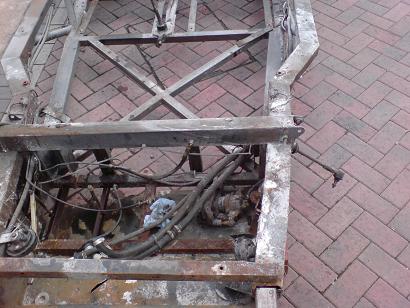
Chassis rolling now, I made some steering rack stops which fit inside the gaiters. Now I am transferring/making new pipework and brackets. In this pic the fuel tank mounts are being mocked up.
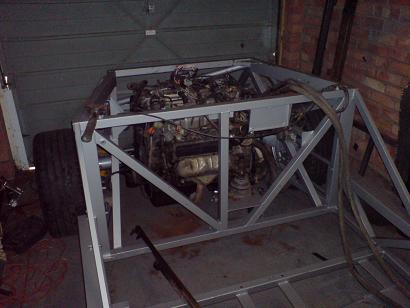
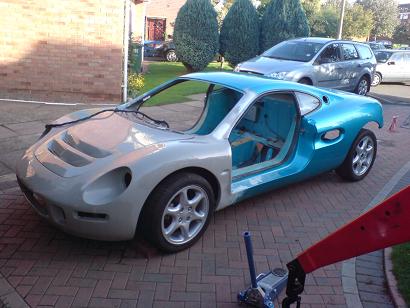
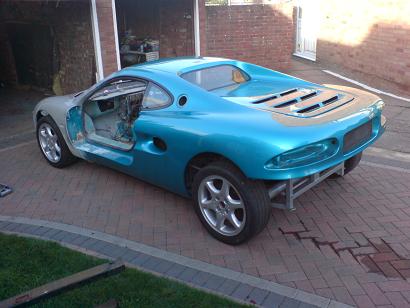
..and into the new one!
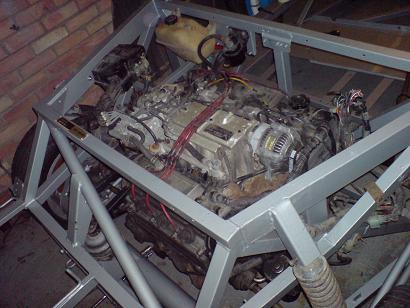
All ancillaries are now fitted to the frame. I now have to fit the pipework and then I'll be ready for the body to go on! I also set-up the front suspension and measured zero bumpsteer on the initial set-up which was nice as the manual implied that it was compromised..

Fuel tanks and pipework now in place, ready for the body this weekend!


(file is just over 1MB)
![]()
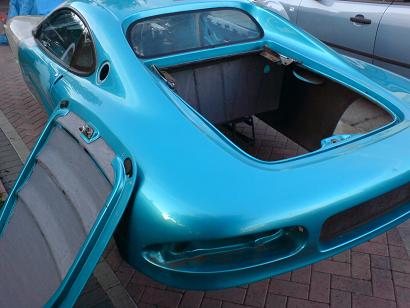
Body needed clearancing around the front suspension, later bodies have local bulges in these areas. The steering rack input shaft is also further over so the body needed clearancing for that too, this is actually better as before it was very close to the brake pedal and reducing travel, I also fitted my rack tilted back slightly to get better angles for the UJs.
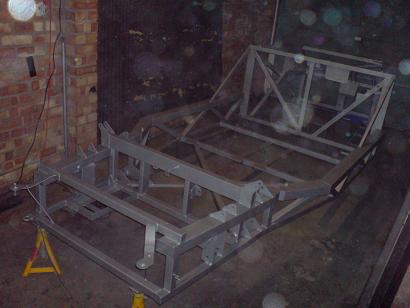
All sitting nice and square now!
I plan to extend this luggage tray to cover the holes in the inner wing..