
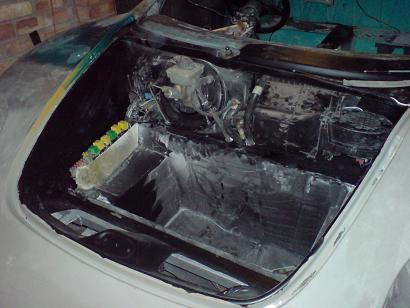
I had to make a new bulkhead panel to cover the steering rack input shaft as it is further over to the right now, this also stops it clashing with the brake pedal.
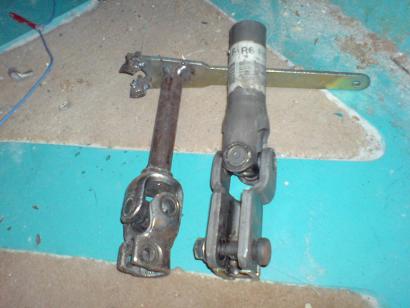
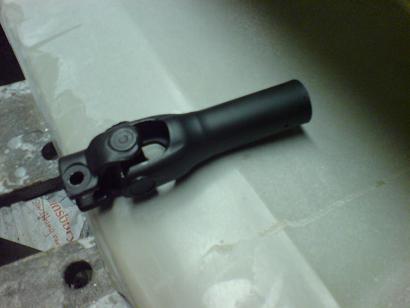
Sierra style UJ on left needs mating to the corsa splined sleeve to mate up with the corsa column
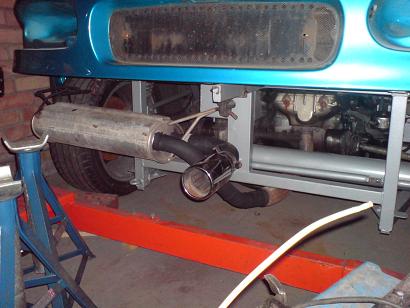
exhaust hangers all needed moving and the exhaust pipes extending to match the hole in the centre of the bumper
![]()
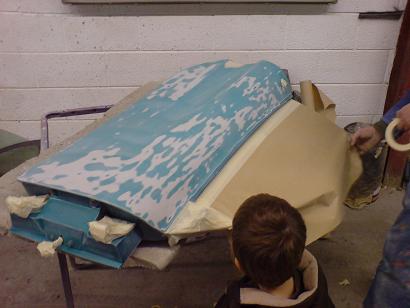
fibreglassing over the hole I cut for the new damper top mounts

these 'wings' on the luggage tray will cover the other hole
Here are the 'wings' in place. All holes filled/covered nicely now, just have to smooth it out and prep everything for paint.
I have also cut out the heater intake hole that you can see on the right side of the scuttle, most other owners have trouble with this taking in hot air in summer from the main radiator exit, so I'm going to make a dedicated duct down the inner wing to the front intake.
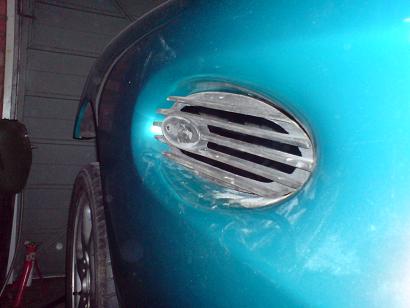
Here is the rough vac cast side intake grill, lots of fine sanding/prep and they will give a much more production feel to the car rather than just mesh..
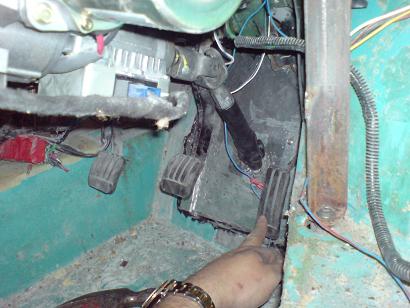
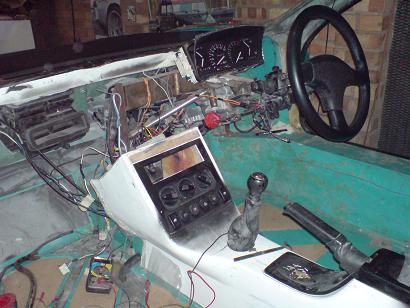
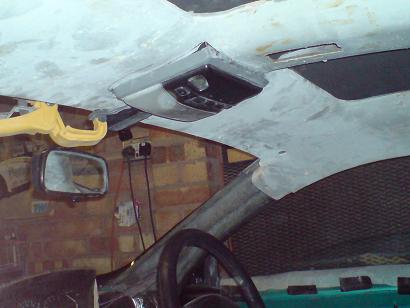
Here's the steering column back in position and all working!
I'm waiting for shipments of bulk packs of second skin damplifier sound deadening to arrive in the UK from the US. CAD sell it for a good discount. I got this small piece as a freebie with the gallon of sludge I bought.
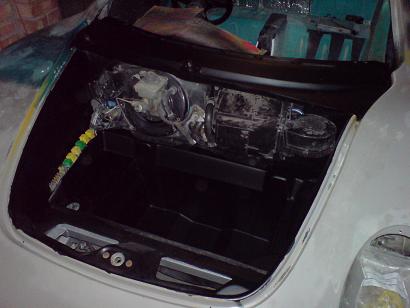
After fixing a few minor problems I hooked all the wiring up and the engine runs great! Brakes and clutch are bled too so practically ready to drive now!!! I've just re-wired the ignition switch to work off the corsa key, had to use a lot of relays as the corsa uses very small gauge wiring for the key.
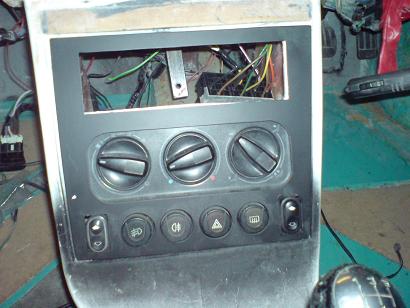
I decided to change from the chunky rover switches to much more modern looking Ford parts, after a couple of hours of wiring fun! Not all switches come wiht lighting (from LEDs) so I had to take one apart to work out the wiring.
The main lack of updates recently is that I am busy with wiring which doesn't make for particularly interesting pics!

Last piece in the puzzle for the chassis! Pair of pro-tech dampers up front. I can't recommend them enough, from order to receipt it took 2 days, they are built to order too!!! Very nice quality and the same price as other company's steel parts.
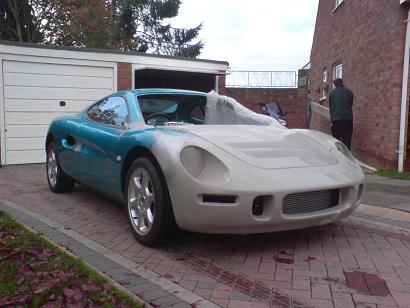
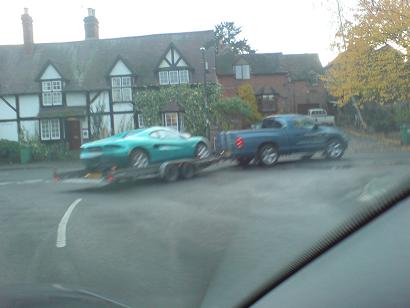
on it's way to the paint shop!
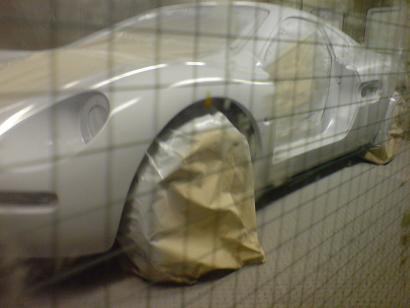
door being prepped
off....
and on!
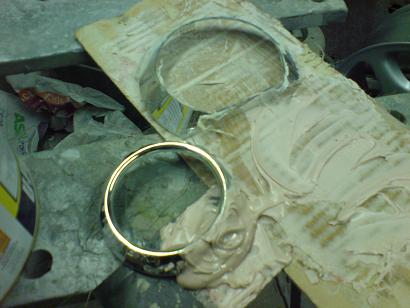
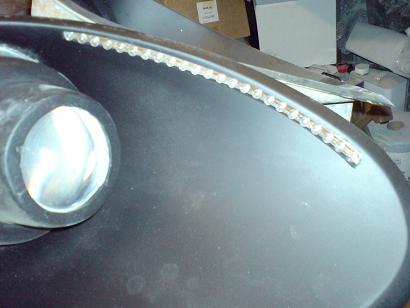
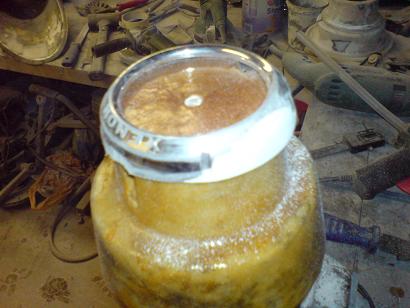
Here's the original projector shroud, I've cut off the flared section as it is too big and am reshaping the flat part round with filler. I plan to position this over a conical mould and stretch some t-shirt material over it all, then paint with resin to create a new shroud. This method is used a lot in speaker enclosures to get organic shapes around skeletons..
Here's a very quick and dirty photoshop pic of the above light, sidelight hasn't come out in the right way but gives an idea..
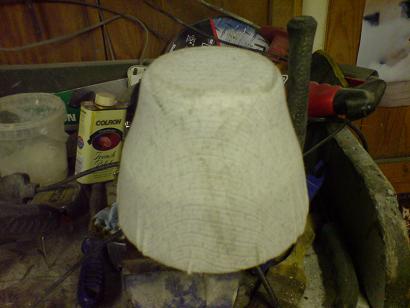
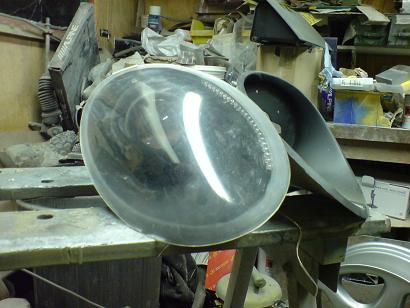
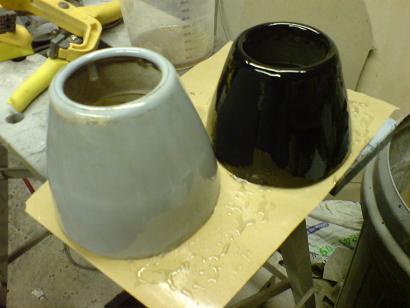
After teh above ring was sanded smooth I hot glued it on top of a conical form and then stretched the material over the top and hot glued it around the edges
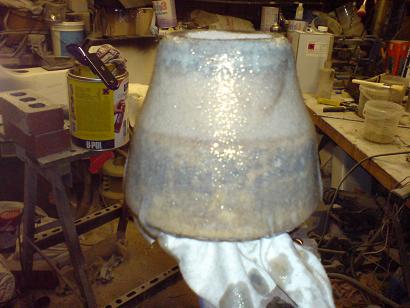
then soaked it all in fibreglass resin. I now have to cut the hole out of the top and finish off the surface with filler...
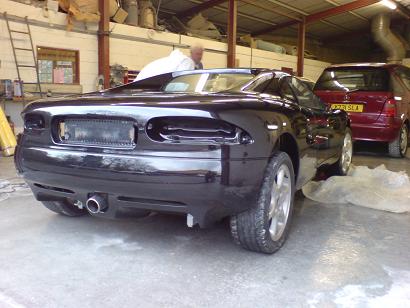

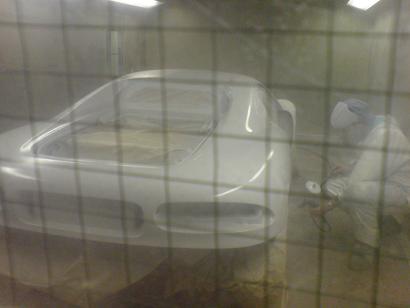
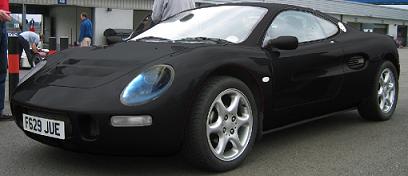
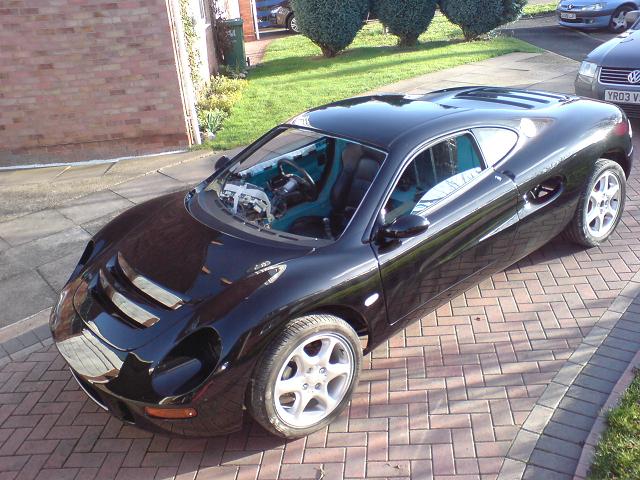
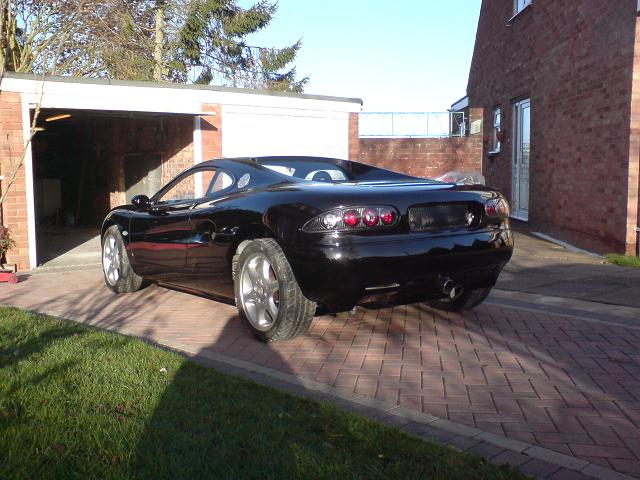
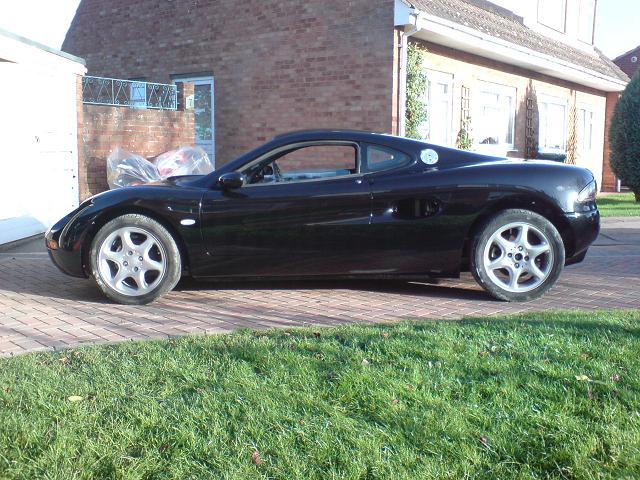
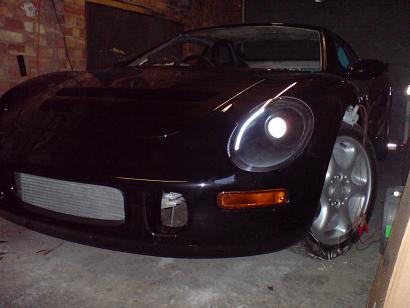
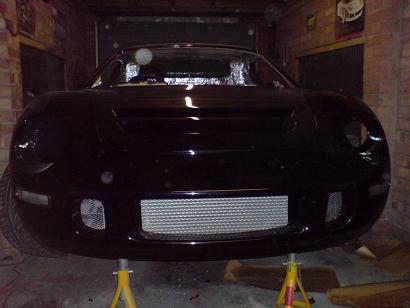
Painted in Audi phantom black metallic..
Don't worry, I'll be getting clear front indicators!
Getting there
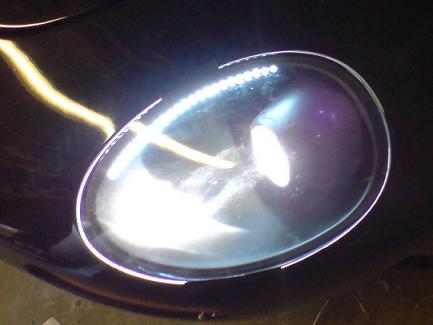
waiting for decent lenses now which will have a black rim painted on and then bonded to the headlight housing, then I'll have to make up some method of waterproofing at the back...
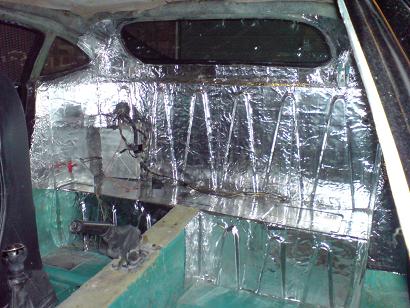
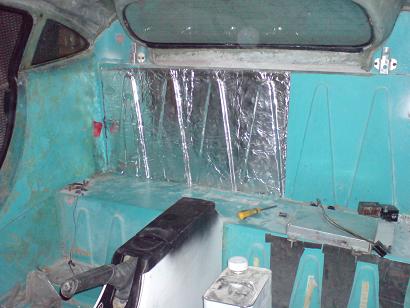
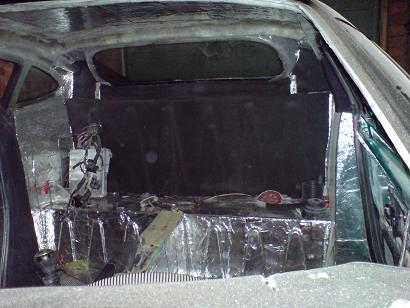
2 layers of second skin damplifier so far, some sludge and overkill still to go, definitely a big difference which will make cruising much more comfortable and get the best from the sound system...
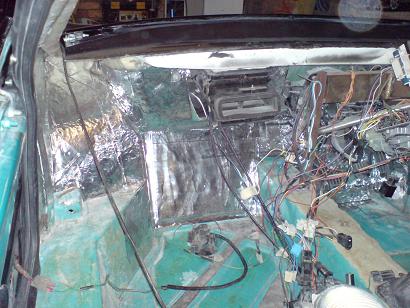
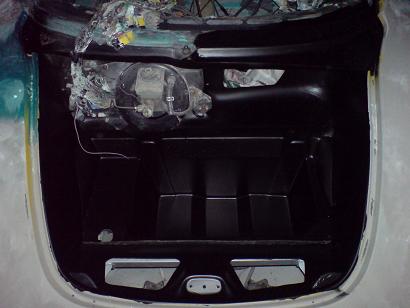
front bulkhead done too...

![]()
Clear front indicators from Richard at protocast, very happy with them!
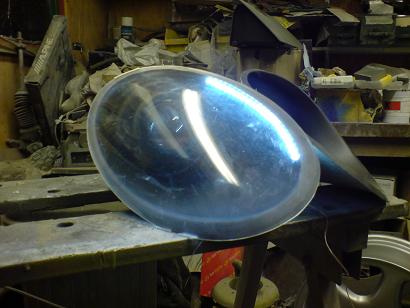
After a skim of filler and more sanding I then 'painted' them with fibreglass resin to give a better finsh which smooths out the imperfections. The second one was a lot quicker to do!
Difficult to appreciate, but the mesh cut out and placed in position, I'll be painting it black..

I got some alcantara effect 'lycra' off ebay, only £5 a metre from a 1.5m roll, only took me a few minutes to do this and it looks great! I'll do all the roof and pillar panels with this..
Roof light assembly with individual reading lights from a Mitsubishi will be moulded into the roof panel. Roof mount rear view mirror from a Mazda MX3