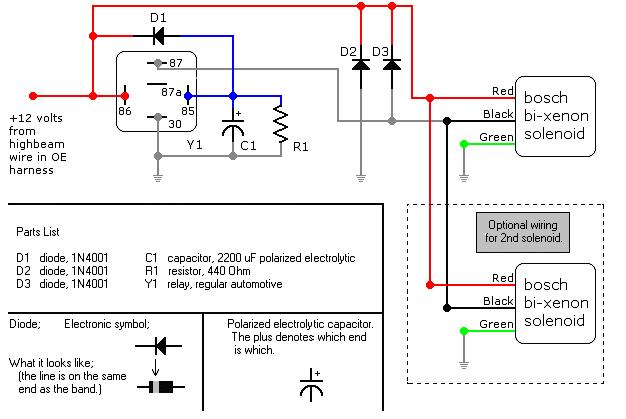
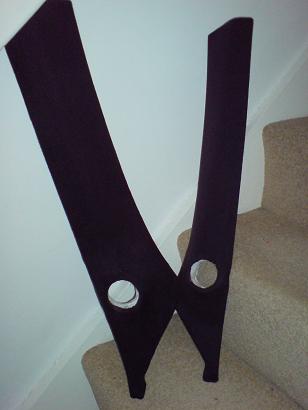
I used the same technique as the headlight shrouds to create a more organic shape around the light unit
Filler added to get the final surface finish before trim..
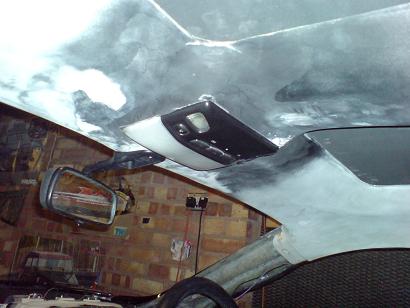
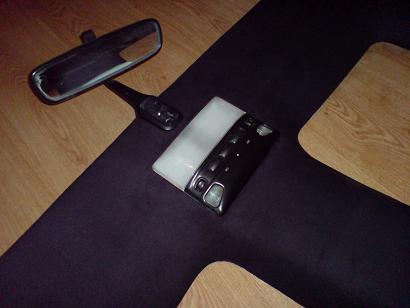
Shaping now finished, a recess was cut for the rearview mirror so it sits flush, I can also add a fixing screw there for the roof panel as it will be covered by the mirror blanking plate. All light wiring and pin switches are also done now.

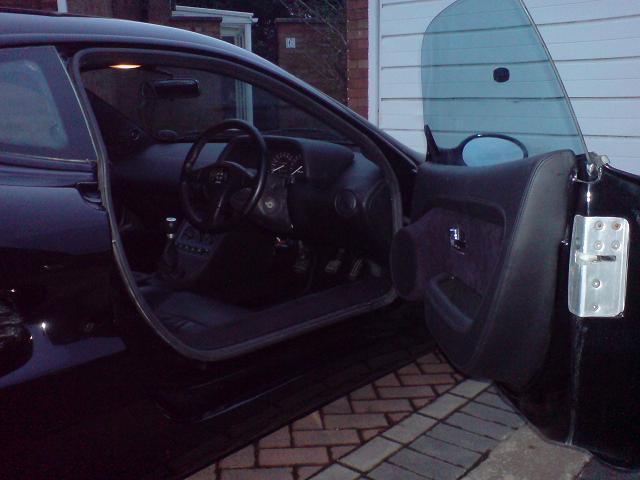
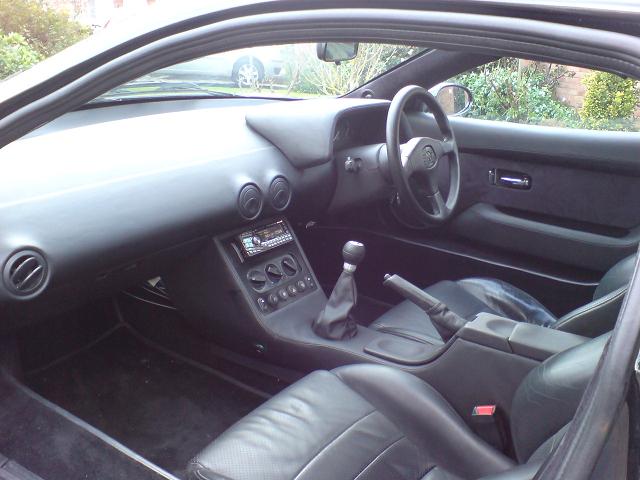
All trimmed now
Lycra suede just about coped with the contours and I did the panel in one piece..

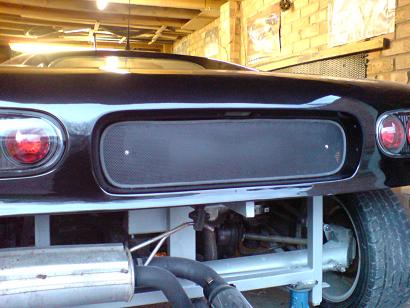
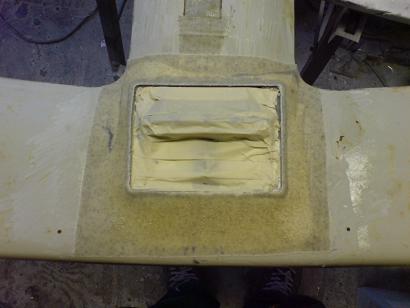
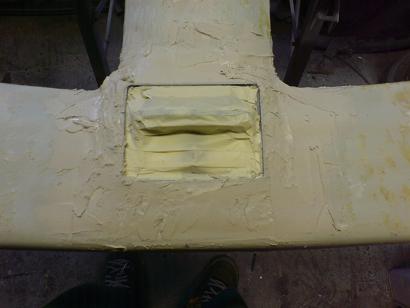
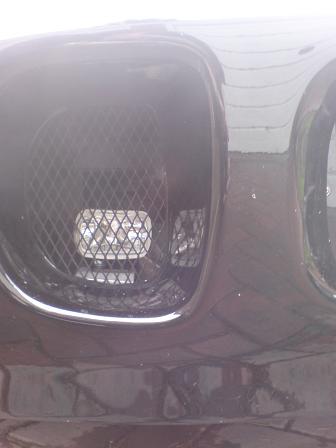
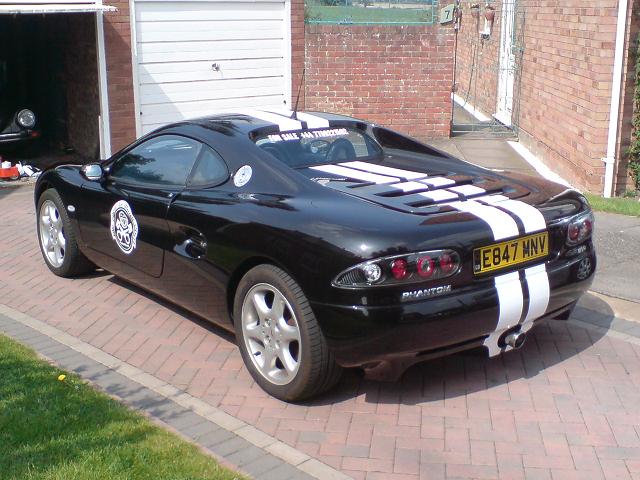
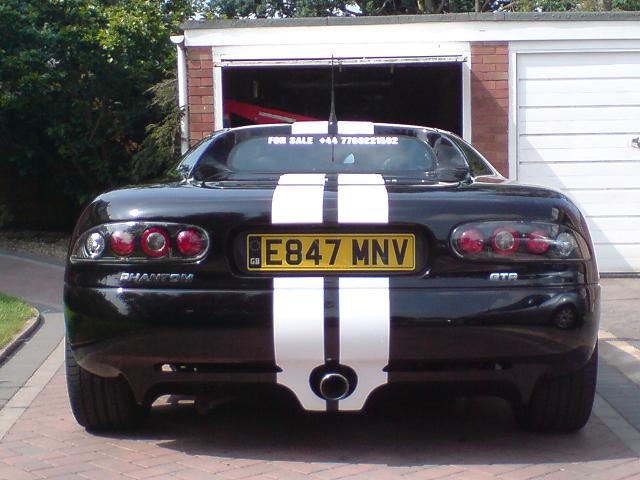
New mesh grill made up for the rear numberplate recess, it doubles as a hot air vent.

Amplifier behind driver's seat and crossover on passenger side, all wiring down the tunnel.
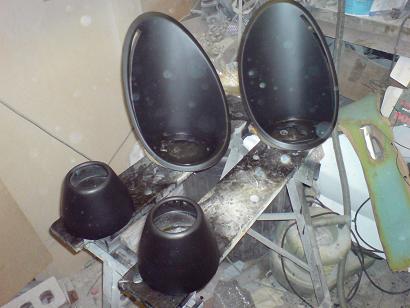
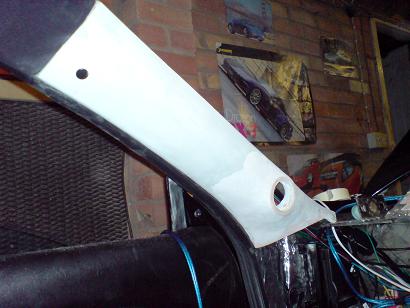
After lots of wet sanding they are getting there..
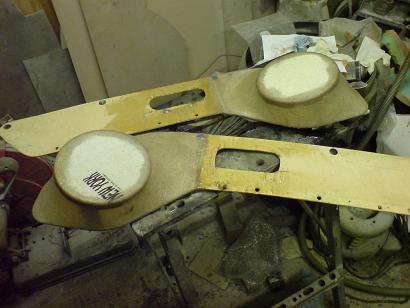
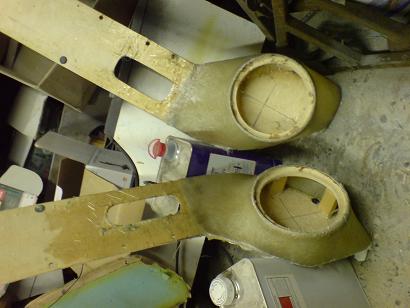
Mid speakers fit in the centre section of the door panels, here the mounting rings are made from MDF and positioned on wooden posts to get the aiming correct.
Then a t-shirt is stretched over to create an organic shape
soaked in fibreglass resin..
..then a few layers of fibreglass matt to add strength
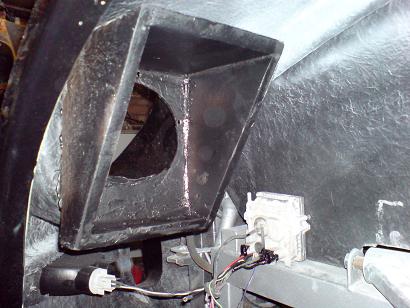
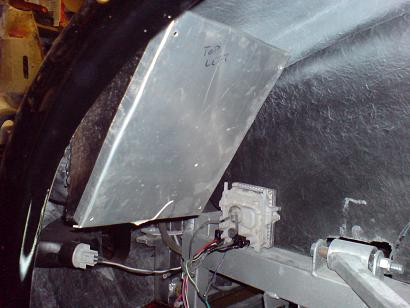
mdf baffles made from MDF for the tweeters in the A pillars, I am mounting them so they fire across the dash
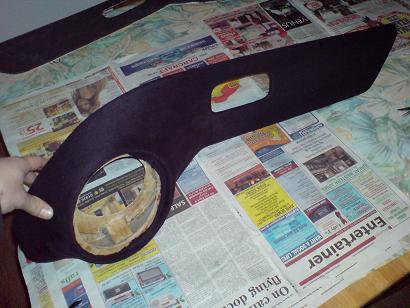
Shape is blended in with filler..
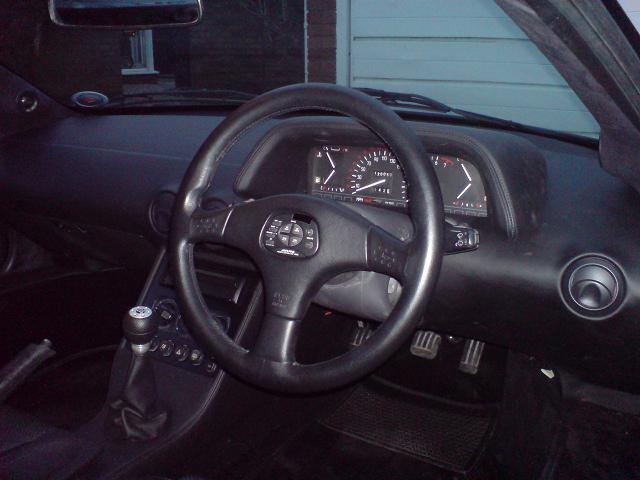
I have been very busy with wiring the car, the BMW xenons require some complex circuitry and converting the car from earth switching to positive switching. I also fitted the cat A clifford alarm with intellistart remote start system, needles to say there won't be pics of that!
I really want to avoid the kit car look so all trim fixings will be hidden, here are the fir tree mounts being flush fitted
trimmed and smoothed
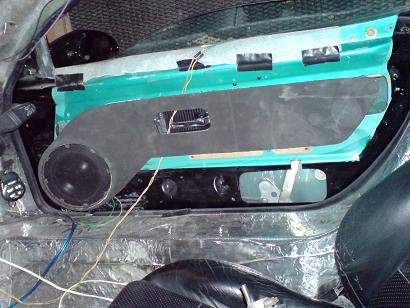
door panel covered in acoustic foam
I have been struggling to come up with a neat solution to sealing the back of the headlight units adn I got this idea today.. I built an MDF box and then liberally coated it in resing and then fibreglassed all over it to make sure it stays waterproof
I then cut/folded an aluminium cover which can be screwed on with a foam gasket
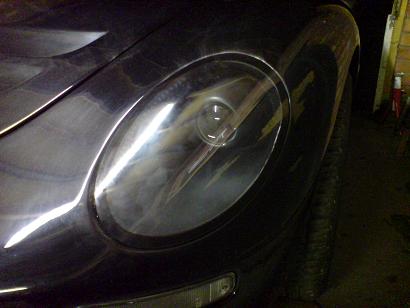
LED sidelights bonded into the headlight moulding now they are fully painted
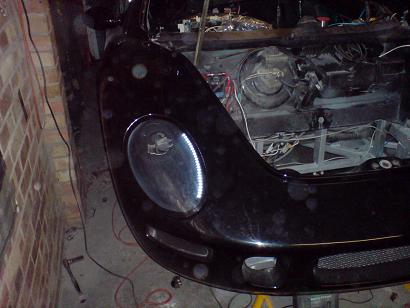
Here's how it looks, I also trimmed and painted some headlight covers to use temporarily while I wait for better quality ones to turn up.
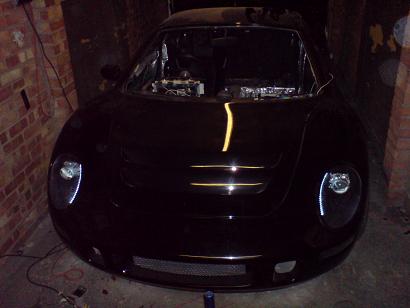
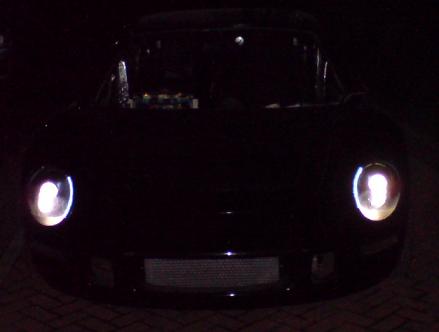
All wiring finished and LED sidelights powered up
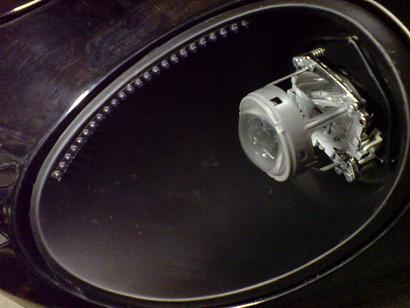
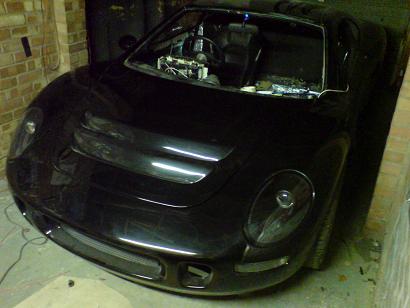
aiming the xenon now it is all assembled and sealed, then I can trim the shroud panel to be a snug fit
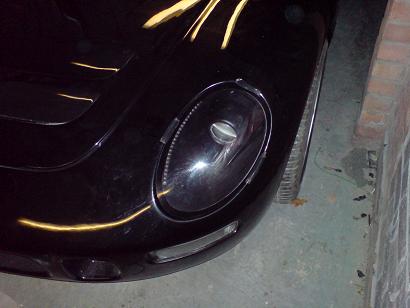
mocked up wiht the shroud
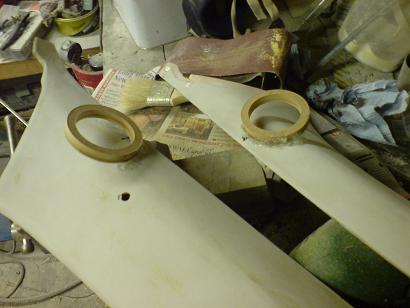
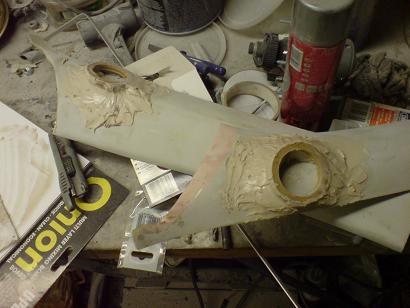
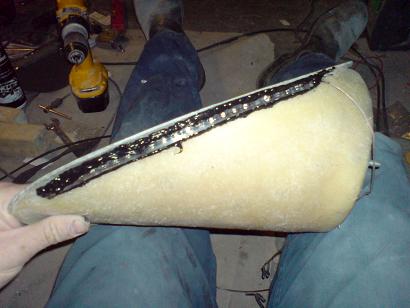
trimmed a pillar panels, just need the tweeters gluing in before fitting
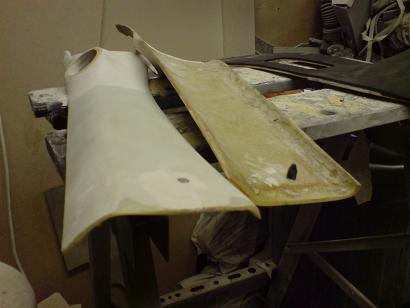
door panel centre section now trimmed.
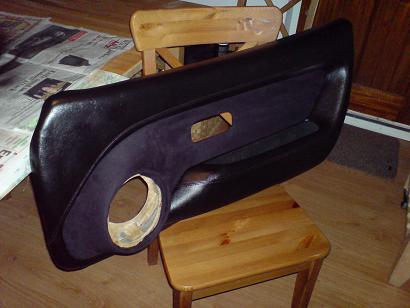
fitted to the door main panel after it had been sprayed with black vinyl paint
Xenons are in and finished finally!

Lots of small progress. Wipers with washer blades and interior quickly painted black and thrown in for the MOT. Stereo is working now too!

I tried with no success to lower the rear suspension so I will probably end up getting a pair of pro-tech dampers for the rear too...
![]()
and the side intake
Now lowered! I ended up taking the coil-overs off the car and stripping them down, didn't take long in the end..
Much better stance now! Not too low for speed bumps which will keep it usable..
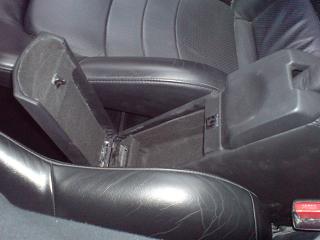
Glovebox gives a more production feel to the interior, hover mouse over the picture to see the glovebox open..

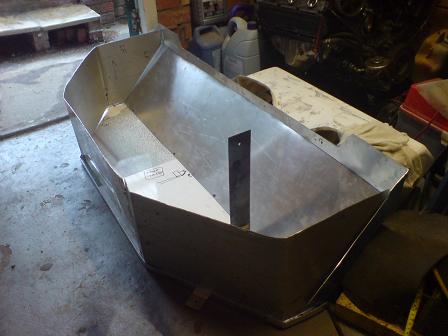
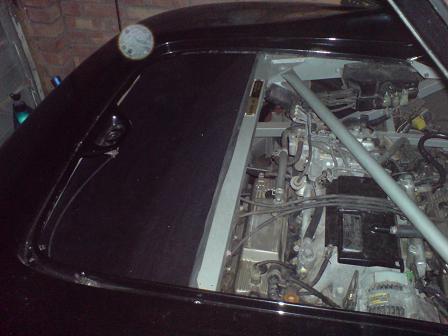
Then cut out a sheet of ally for the base and fitted rivnuts around the base to fix them together. The extra brackets were also welded on to use existing chassis brackets.
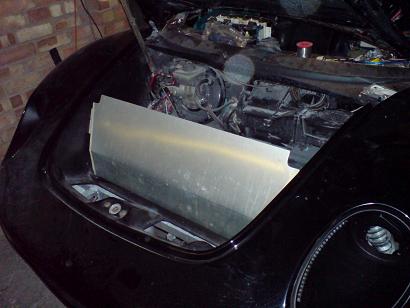
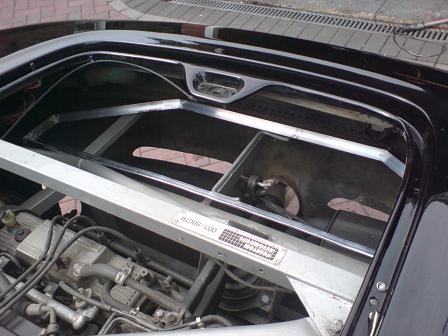
Here's the complete base fitted, just have to make up the rear and front sections, make drain tubes, then carpet it.
The front section has a rubber seal to seal up against the underside of the engine cover
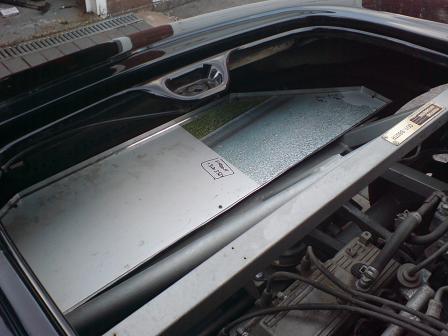
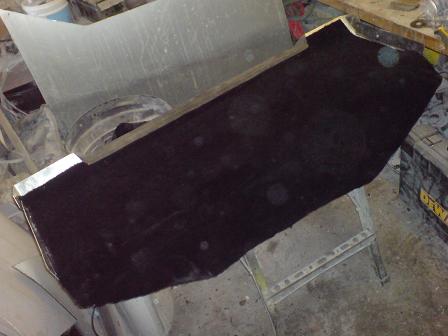
Carpeted in place
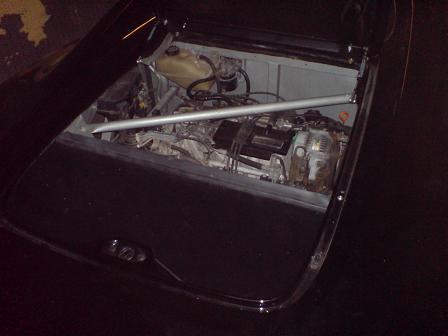
Here you can better see the seal along the rear-most crossmember of the chassis
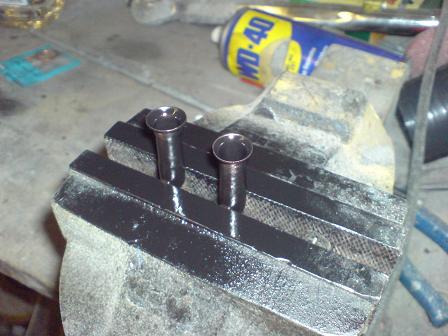
I have to divert the drain water from the existing holes in the channel around the engine cover, so made these two pieces from 8mm copper tubing which I flared using a brakepipe tool
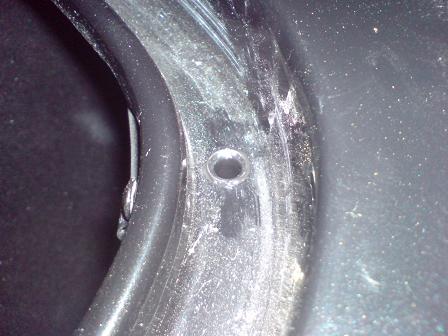
.. glued into position.. I had to redo this with fibreglass filler which was much stronger...
then I'll slide a short length of 8mm rubber pipe on and out of the way, by doing it in two sections it will be much easier to clean any blockages if they occur...
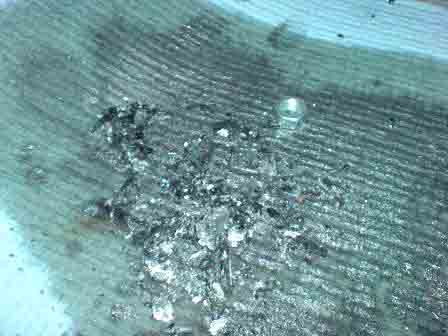
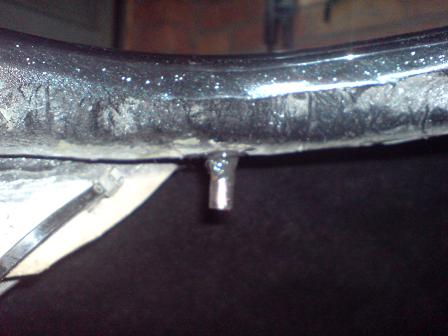
Not very easy to see in this picture, for scale that is an M6 nut, this is what was lurking in the sump of my last engine which 'expired' recently...
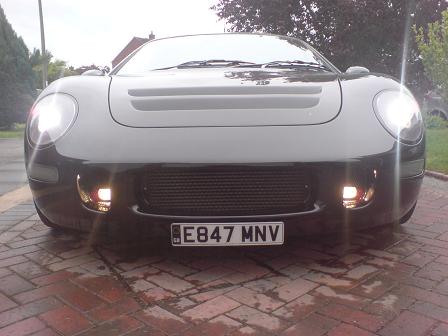
Job done! They aren't for light output, more for flashing when the lights are off, HIDs don't like being flashed.
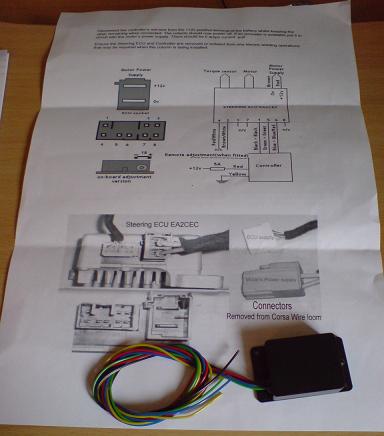
The phantom's speed sender was never enough to derate the corsa electric steering with speed, only enough to keep it from powering down after time. This controller sends an aartificial speed signal which can be adjusted to reduce the weight of assistance so it now feels better with more feel.
It can be bought from ebay for £40 or direct from the seller:
email gary_228@fsmail.net or 01202 470320 6-9 pm
All the other ones I've seen have been at least £100 so this is a bargain! He has a non-adjustable version for less and one with an external adjuster knob for more...

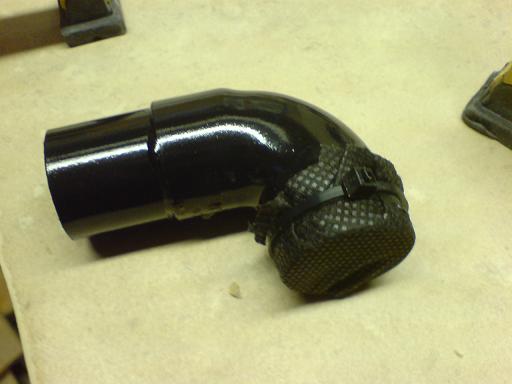
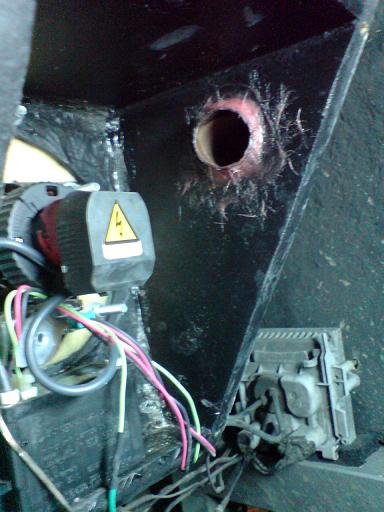
Final fix for steamy headlights!!
28mm copper pipe with breathable membrane over the open end. This allows moisture to leave the headlight volume and works really well. The membrane is actually from a garden centre, it's the stuff you put down to stop weeds!
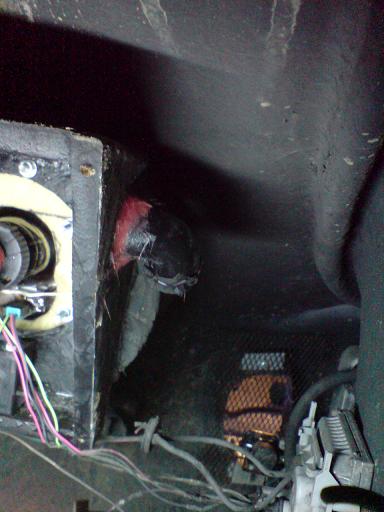
it is fixed into the rear of the headlight housing with fibreglass filler, making sure it points away from any road spray.
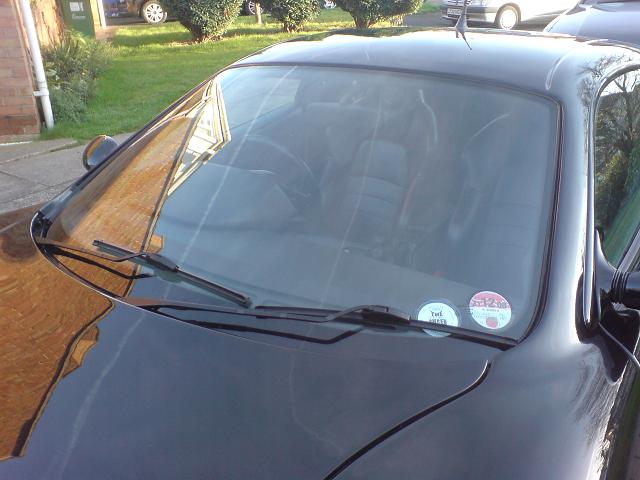
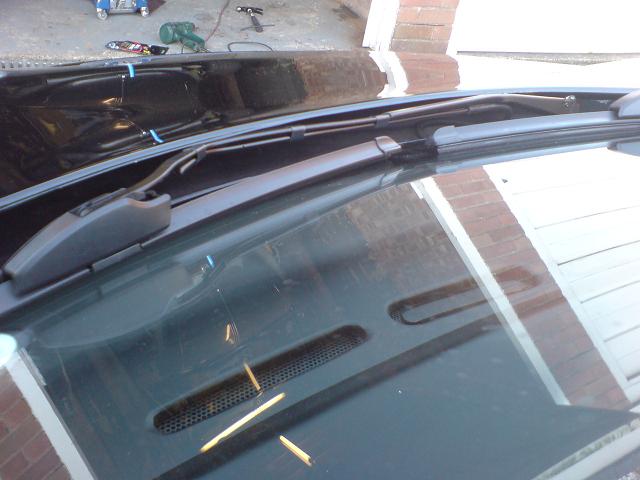
I made up new washer pipes using brake pipe and I drilled some 1mm holes along its length, they are held onto the arms using black heatshrink which looks nice and subtle but more importantly work very well.