As I have decided to go the Alfa route, I have sourced this un-used adapter kit, which came from GB Engineering. It normally costs £204 but I got it from somebody that had changed their minds about the engine swap. It just needs a clean up.
I always seem to get asked for GB Engineering's details so here they are:
Tel: 01270 841081
They are based in Cheshire, no web site I'm afraid
The kit consists of an adapter plate, a new input shaft and an extension piece for the release bearing which wouldn't reach the Alfa pressure plate with the extra distance caused by the thickness of the adapter plate.
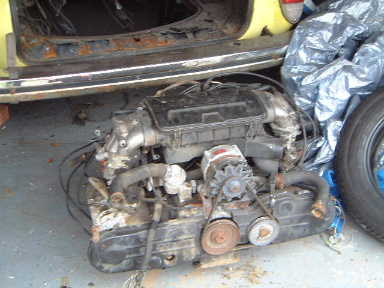
In the end, I found an identical engine to the one I had in the speedster. It will give a useful 120bhp...
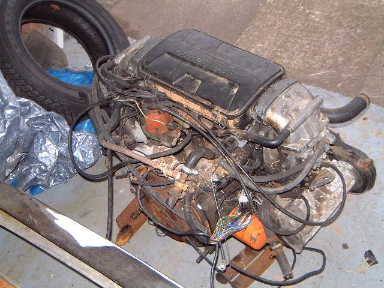
It has been looked after until the car was written off after being rear-ended by a truck! You can tell by hte fact that it has had good quality consumables used on it.
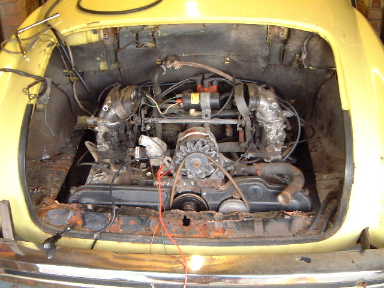
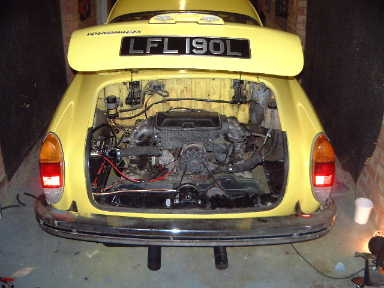
Engine in place...
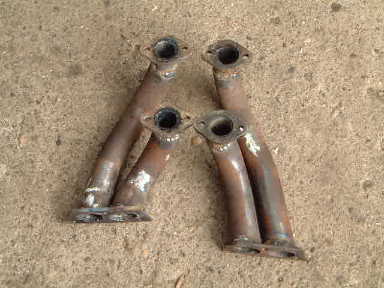
Alfa manifold cut down and welded to new flanges which replicate a type 4 engine, so many aftermarket exhausts can now be used.
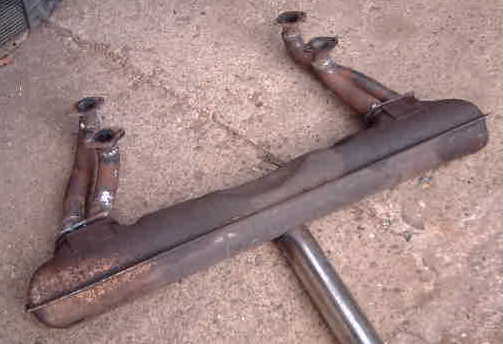
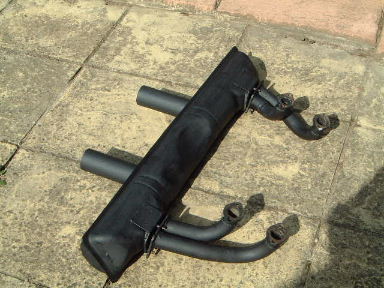
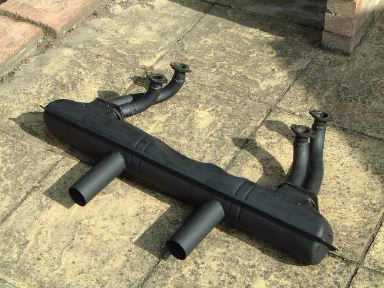
I have a standard type 2 back box which has the standard side exit tail pipe missing. I'm thinking of relocating the pipe ot the rear of the box if this is possible, maybe two like a big bore stock VW system. I'll look into the the internals of the box first but I have seen this done before...
Finally got around to putting pics up!
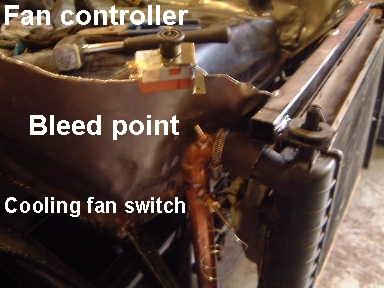
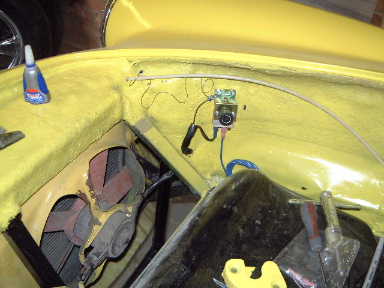
Making a start with the cooling pipework was necessary to make sure I had space for it up front. Here you can see the copper pipework I have made up. As the radiator has no provision for a bleed point, I fitted one here. You can also just about make out the adjustable radiator cooling fan switch and controller
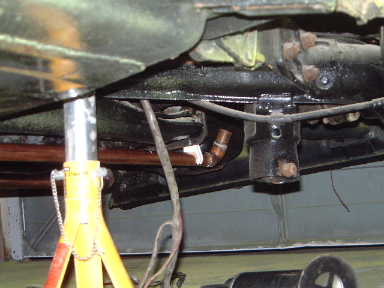
Mid section is kept up high, no loss of ground clearance here.
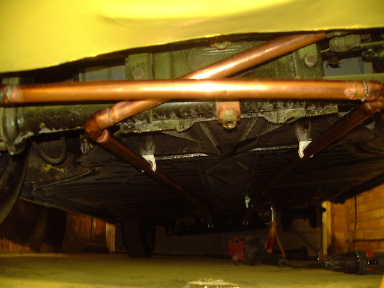
Unfortunately with the inlet/outlet positions of this rad I have to cross over, not too much hassle though...
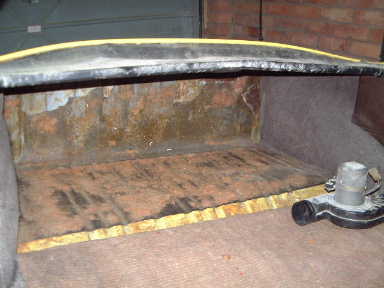
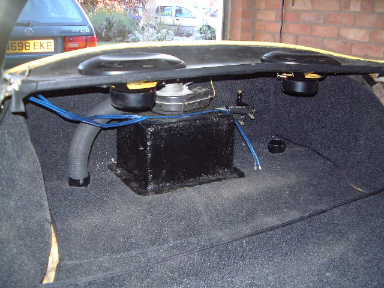
The rear luggage compartment is going to house the heating system.
It is based around a heater matrix I found new at a kit car show with a custom made fibreglass box. A type 2 (camper van) electric fan will suck heat through the matrix and blow down into the heater channels so it will come out of the stock outlets up front without the hassles of fitting the heater under the bonnet and taking up all that space.

I made a box around the matrix (seen in the background) and covered it in tape to make the fibreglass housing.

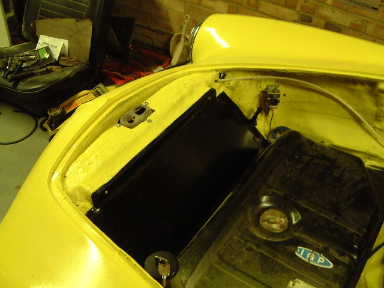
Here the matrix is fitted and the the heater pipes can be seen on the rear bulkhead. I added and extra air bleed here as it is a high spot.
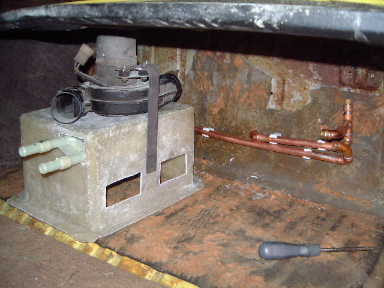
The holes in the back are where the air is drawn into the heater box. This means that there will be some usable space in the rear.
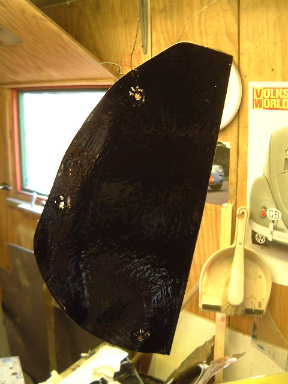
To force all the air that comes in via the 'nostril' grills through the radiator I needed to fully duct the air. I made up two side panels out of sheet steel and welded captive nuts into them...
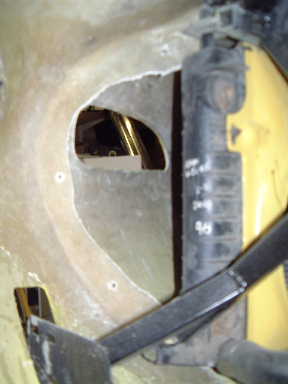
and these then mount to these flanges wither side of the radiator inside the nose. Looks neat too!
Radiator internal cover installed after painting. Screwed in place with a foam gasket.