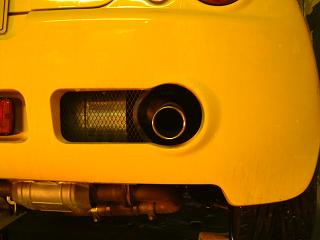
Elise diffuser waiting to be fitted.
I plan to make up some framework that will hang from the engine cradle
and then an aluminium sheet will be bolted to that under the engine,
the Elise diffuser will be fettled to fit at the rear section...
|
Still not got around to fitting it!
In the end I sold it on, I couldn't get a decent amount of ground clearance
with the cable gear change and the diffuser... |
New style door buttons |
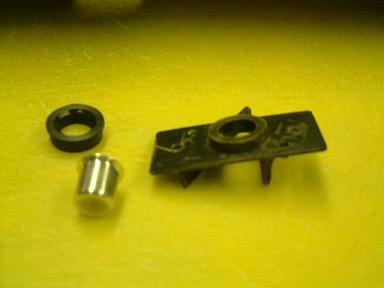
The new style door buttons are a huge improvement on the originals.
But very expensive for what you get in the update kit! Basically a new
button with nylon sleeve. |
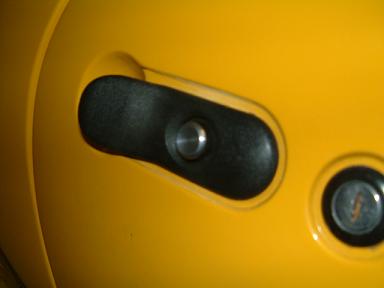
The door has to come apart to fit them, but it does look so much nicer.
I also took the opportunity, while the door was apart, to fit some dynamat
sound deadening which has given the door a much nicer 'thunk' when closing. |
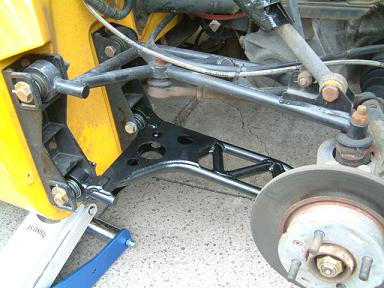
New style rear suspension
The original rear suspension used Land Rover tie rod ends as the pivot
points, after several failures in use and the fact that mine were worn
after only 10,000 miles I decided to upgrade to the new style suspension
that GTM had developed with MG Rover that uses pillow style joints.
Much better! Unfortunately it is not a nice job to fit it as new brackets
need to be fitted to the Libra tub. |

To get access to the bracket nuts, the rear trim had to be pulled up... |

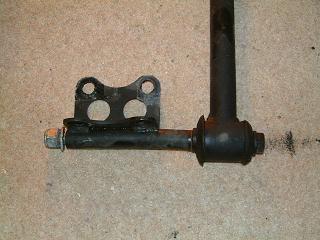
Here's the new suspension. The inner bracket is in a slightly different
position so new holes had to be drilled |

One bolt has to be extra short as clearance is tight! |
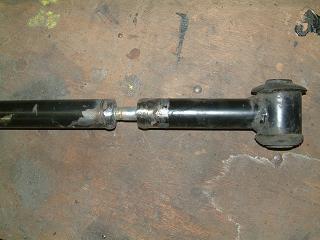
GTM had a failure on a car with the new suspension (lower arm). I
have just received and fitted the modified parts. You can see below
it is basically just a strengthened version with added gusseting.

|
| Broken front anti-roll bar.... |
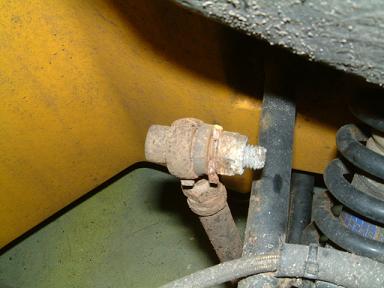
The front anti-roll bar rod ends have seized... This caused the bracket
on the end of the bar to take up the angular movement which inevitably
led to... |
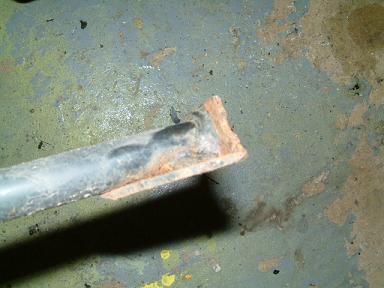
...a broken front anti-roll bar!!! GTM are investigating...
I finally got a replacement set of drop-links from GTM and I repaired
the anti-roll bar myself on the car by welding new ends on. |
| |
|
| |
| |
|
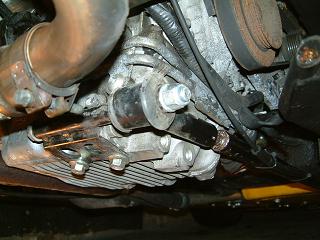
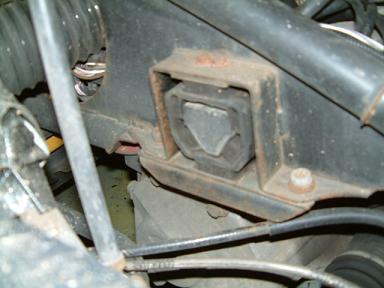
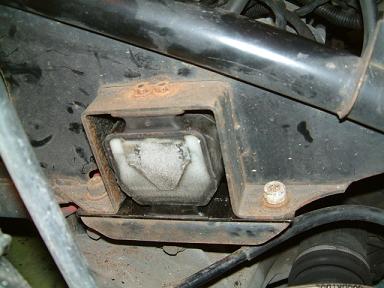
I was never that happy with the gearbox mount as the rubber part
quickly de-laminated and was all over the place.
|
Luckily Phil Green, a new member of the Team GTM club had the same
thoughts but had the facility to do something about it! The centre aluminium
hub is completely encased in new rubber and on his car he reports a
much better shift (old style rod change).
|
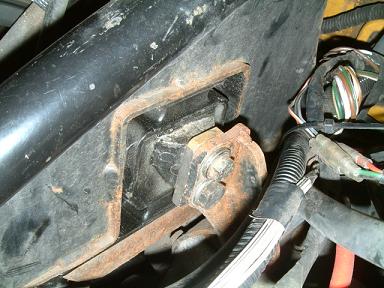
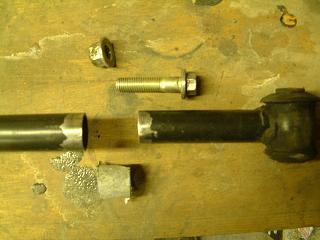
I also fitted a spacer this time around as the gearbox mount doesn't
mate up to the bushing properly. It is 6mm thick. |
|
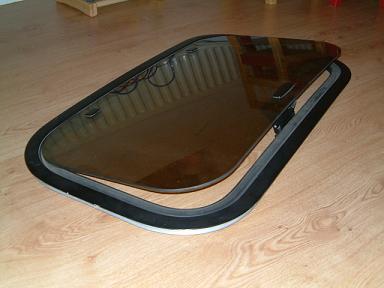
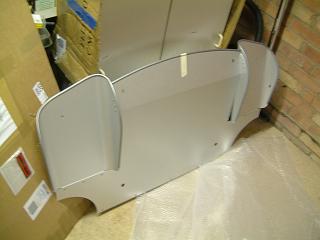
One of the bad things about the Libra design is the lift out roof panel.
It is too big to stow behind the seats and slides around everywhere,
it is also a hassle to take off with ball screw fixings in each corner.
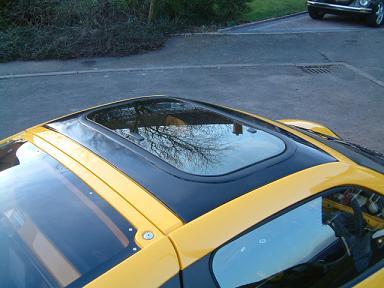
My solution is to fit a pop-up sunroof into a new roof panel, I got
this off ebay for just over £30 delivered and it just fits into
the roof gap. You can get similar roofs which are removable too, but
this one isn't. For me, it is more about letting heat out without having
the doors windows wide open on the motorway than having the roof off
as it doesn't actually feel anything like wind in the hair motoring
with the standard panel removed. |
I made a new roof panel by laying a couple of layers of fibreglass
on top of the original roof. |
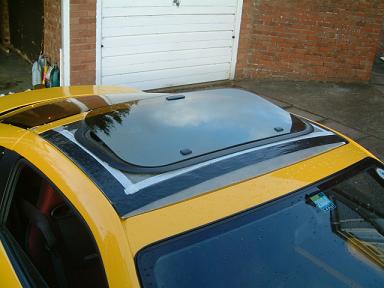
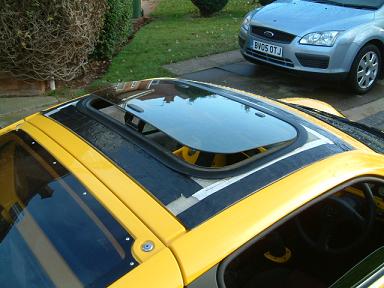
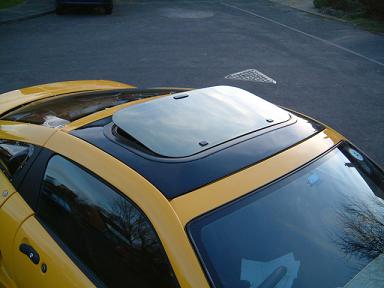
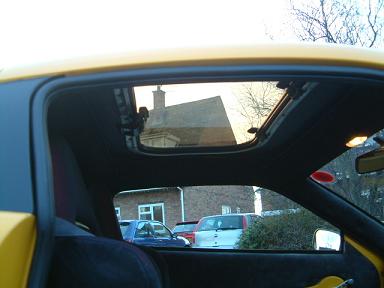
Here's the sunroof fitted, the new skin needs slight re-profiling to
match the shape of the sunroof frame but it is only minor. |
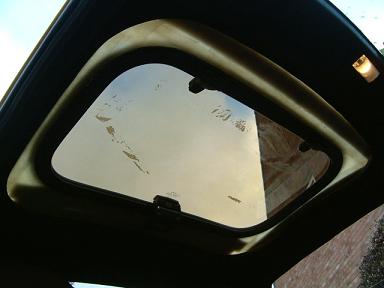
Interior looks fine, will need re-trimming to suit. Cabin feels a lot
more airy with this roof. |

I also blacked out the B pillars as I fancied a change. |
As I will be painting the sunroof surround black, I will also paint
the panels just in front and behind also to give the illusion of two
hoops with a blacked out roof panel like a lot of supercars have with
their carbon roof panels. |
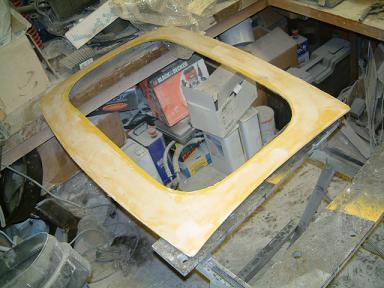
Lots of shaping later and I'm almost ready for paint! Big head fasteners
were bonded between layers of fibreglass to leave studs on the underside
so it will fix to the roof like the standard part. |
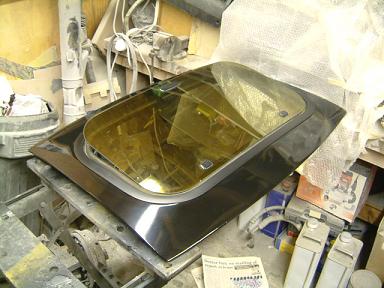
Just about done! Needs fixing in position with Sikaflex and the inside
trimming. Not sure why it the picture makes it look bronze! |
 |
 |
 |
 |
 |
|
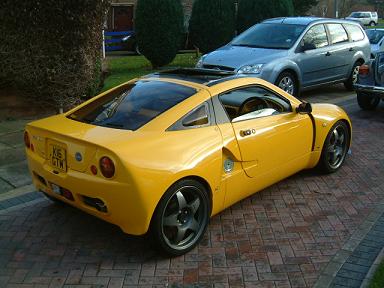
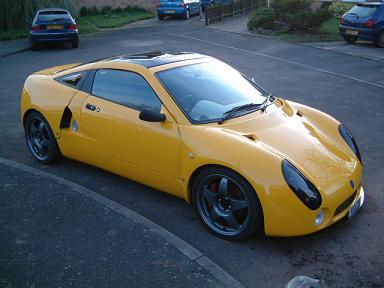
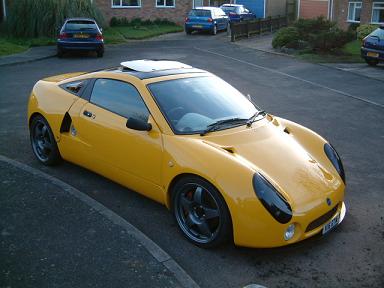
Couple of pics from after I sold the car:

|
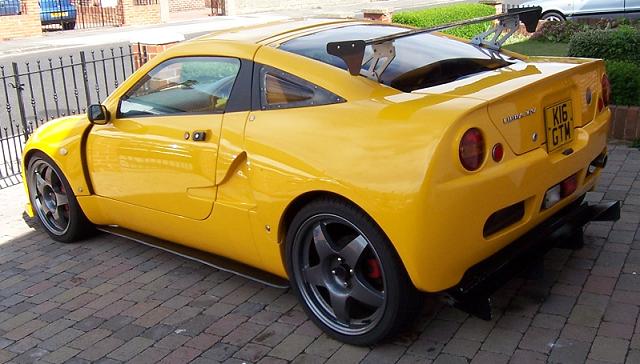 |