Libra Build page 2
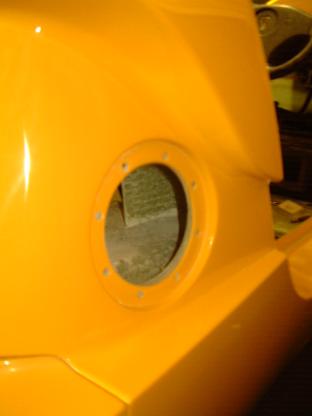
I bought a hole cutter to do these 70mm heater outlets, much neater than any other method but not exactly cheap! |
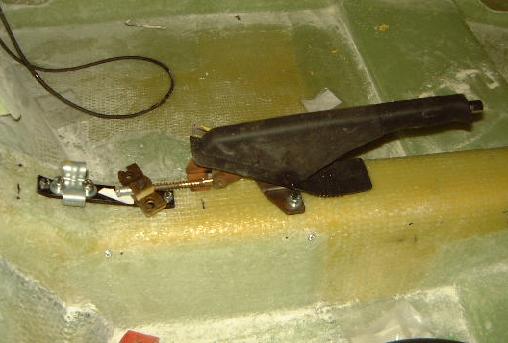
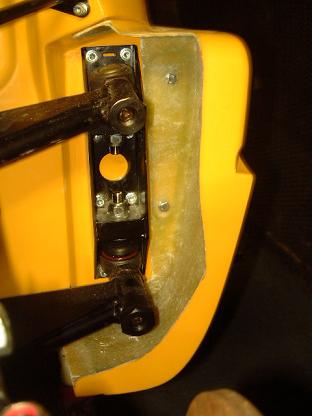
Handbrake assembly fitted |
Hole cut in body for recessed heater controls |
Instrument binnacle fully drilled for the gauges. It's a shame, generally the quality of the body is very good but by far the worst area is around the dash where you look all the time! I plan to do some wet sanding to improve these areas but may need some extra gelcoat. |
New galvanized fuel tank was bought from 'Best of British'. Pipe work modified as per build manual and areas painted where the zinc layer was taken off. |
I bought a couple of tins of rubbercoat at a kit car show last year and finally got to use it!. Not nice, it's like painting treacle but at least stones should now just bounce off the bodywork rather than craze it. Other areas with be painted satin black just to hide the raw fibreglass finish. |
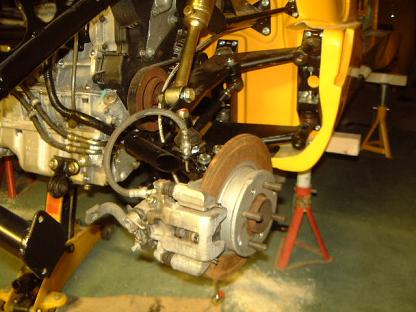
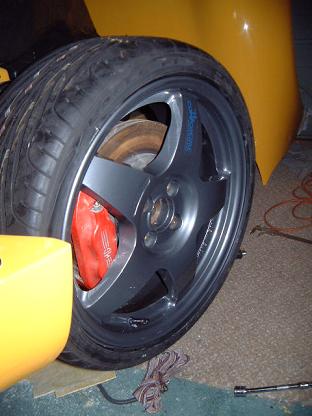
MGTF rear brakes assembled to the rear hubs with all new bearings and joints |
I didn't like the idea of using self tappers for this as it is going to be removed every time geometry is set up at least. Instead I tapped the monocoque for M6 bolts which are much more secure. |
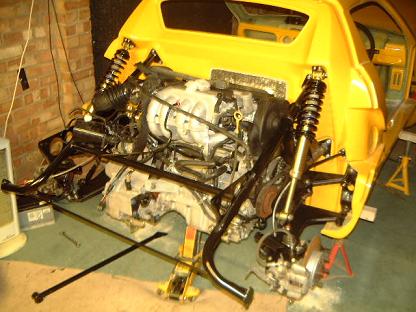
Engine is in! I couldn't resist. Only trouble is that I seem to be missing the engine steady bracket and the metro engine mount I had is knackered. I also had to buy part of the driver's side mounting bracket which ended up costing me over £50... I'm not even sure I have the correct engine steady bar as the part number is fro the standard one not the one listed in the parts list for the 1800 auxiliary pack. |
|
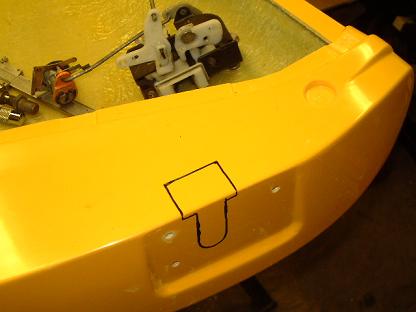
Fuel filler hole cut out. I started it with my 70mm hole saw and then opened it out to size using an old grinding wheel on my angle grinder with the guard removed so I could get in there. It worked really well and gives a smooth finish. |
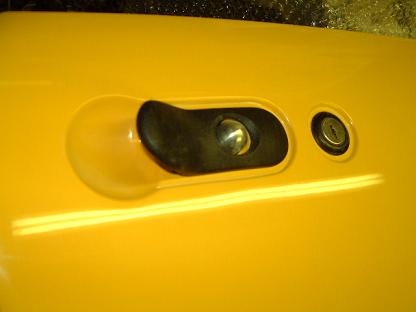
Outer door handle/lock fitted on first door |
Template used to cut hole for latch, unfortunately it ended up being a few mm out for the holes, probably due to varying thickness of the doors... |
Door hinges fitted to the monocoque |
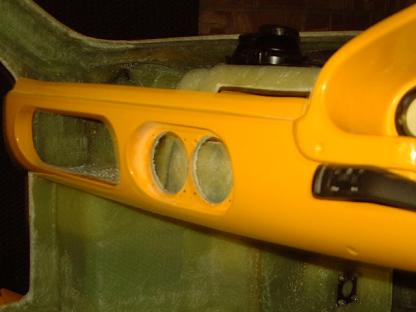
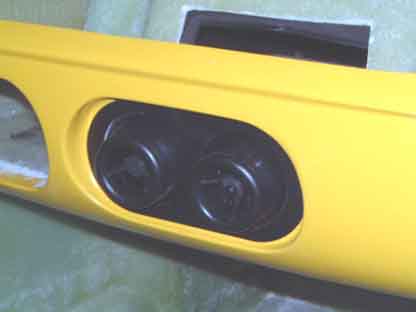
Air outlets in dash. As most people who build these will realise, full adjustment isn't possible when fully open as the rear of the vents clash with the inner moulding |
|
Central locking motor fitted with countersunk screws on door panel mounting flange. |
Complete door assembly. Couple of tips for other builders: Don't bother trying to remove the metro glass from the glass channels, just smash it in a bin bag. Use KY Jelly or some other water based lubricant to get the new glass into the channels then rinse away with hot water, worked great! |
Front of the door tweaked for the glass aperture |
Rear slot extended to 3mm from back edge |
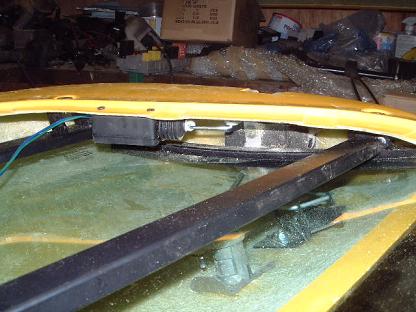
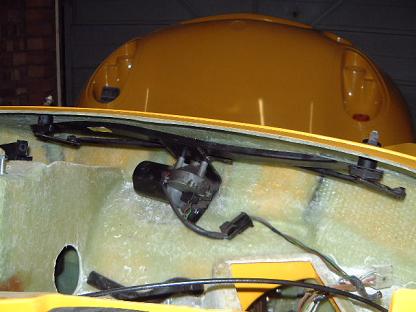
Wiper assembly in position, I cut down the metro rubbers for this as I have heard it is a problem area for leaks getting into the car. |
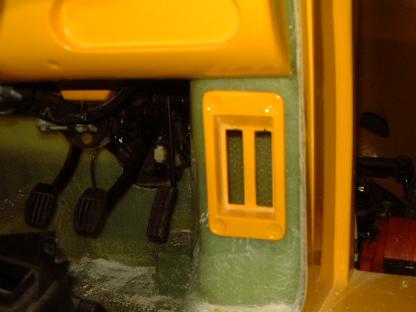
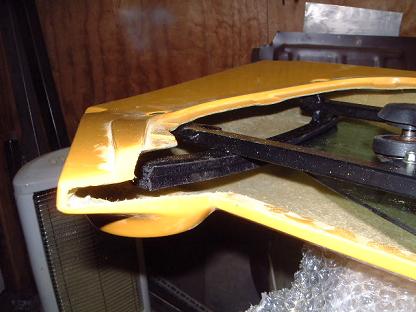
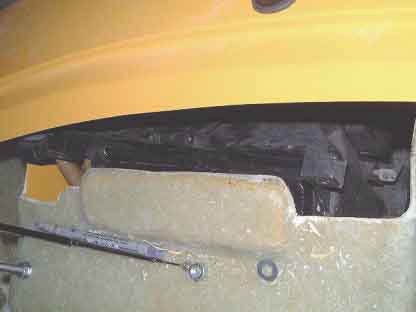
Slight mismatch in moulding to seal off top exit of heater so I also covered the heater outlet before fitting. |
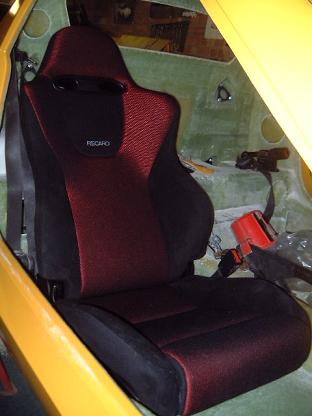
My seats arrived! Fit very easily although the seat runners will need modifying to get them as low as possible. |
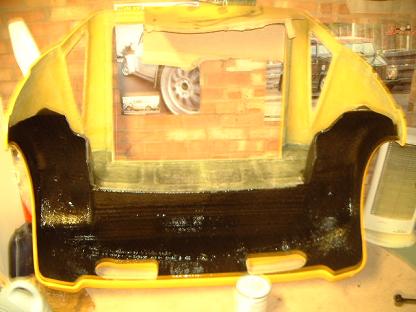
Plenty of space either side of the seats. |