Libra Build page 5
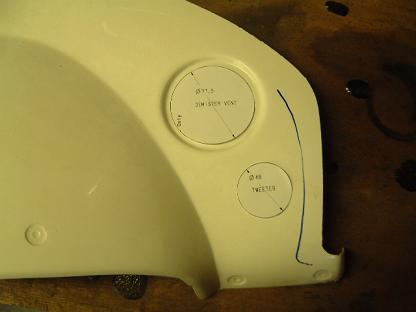
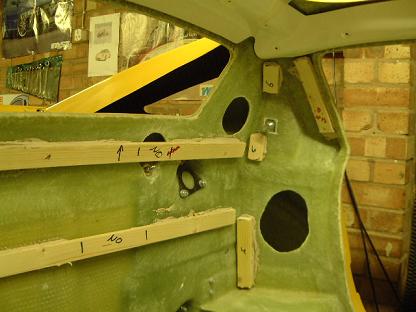
I made some paper templates to get the best position for the tweeters and also the size of the holes needed for the demister vents. I also outlined where the A pillar panel will overlap the dash panel underneath to allow clearances everywhere. |
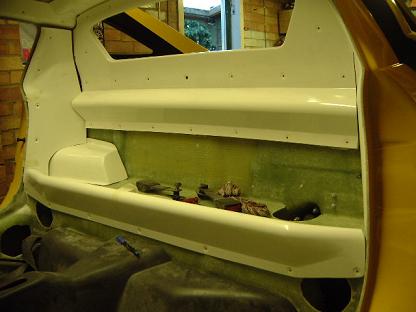
Hard trim panels all resting in place. I have decided not to fit any screws yet in case the positions need tweaking after they come back from the trimmers. I still need to cut the rear speaker holes and seat belt top mount holes. All the wood has been stuck to the body with filler for the screws. |
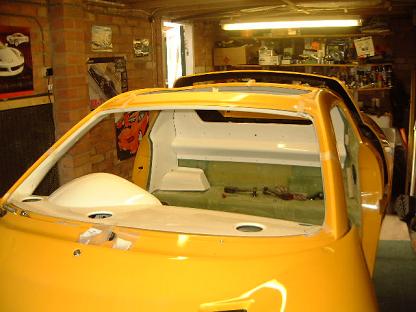
Overview of hard trim panels |
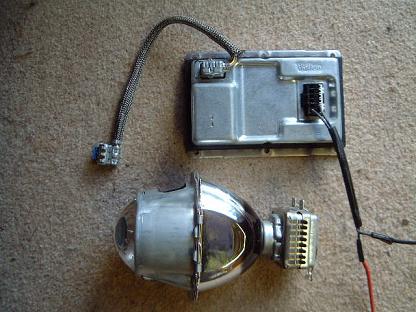
Xenons that I will fit. Actually, these are just for mocking up and to make sure they will fit. I will be using bi-xenons that have the dip feature built in. I think the biggest challenge will be to make a housing for the ballasts on the back of the flip front and for it to be perfectly sealed from the elements. I may also have to make a wheel arch liner to protect them from stones. |
Xenon held in approximate position (wonkily!). I will fix the unit onto a metal plate which in turn will be fixed to a standard light adjusting platform. I then have to make a domed shroud to cover all that and just have the lense poking out of the centre. Just have to decide what colour to have it! |
This gives an idea of how it would look if the shroud was body colour... |
Or black... |
all black light housing? |
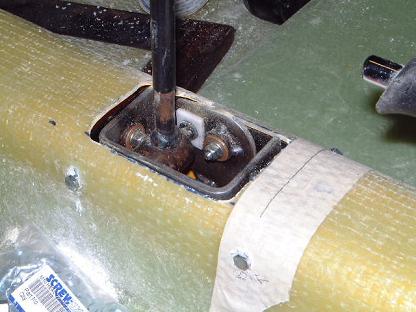
Wood bonded to the body to accept screws for the trim panels where the body is only single skinned |
Hole cut for rear speaker and rear panel checked for clearance |
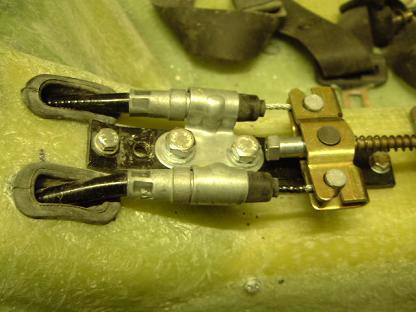
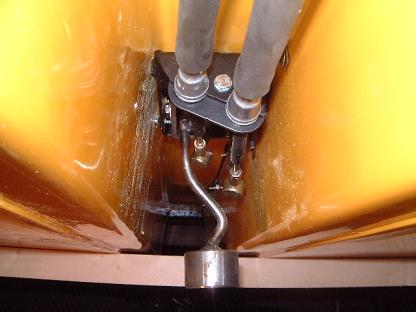
It was necessary to slightly move forwards the handbrake bracket as the cables were a bit too short. |
Handbrake cover slotted for seat belt mounting points to allow easy removal. |
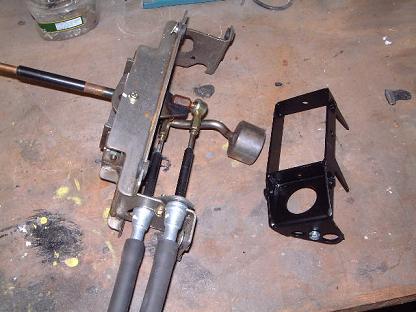
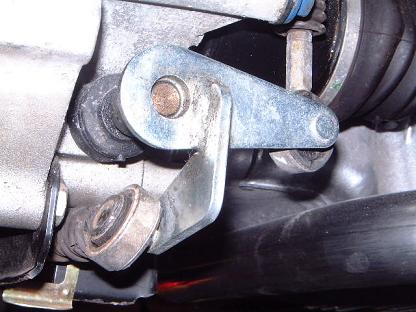
Standard MGF change next to GTM's bracket. The lever assembly swaps over. |
|
You can see that the MGF cables are offset to one side, GTM's bracket brings them to the centre. |
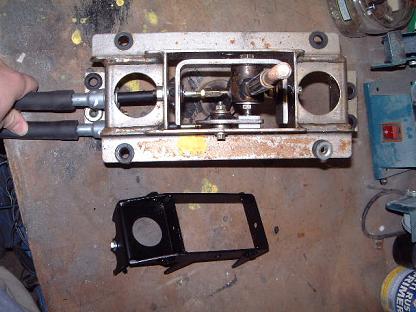
The new assembly fitted together. Note fixing method is from eash side of the tunnel into captive nuts. |
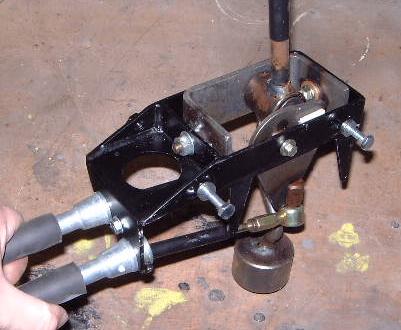
Hole is slightly bigger than that needed for the rod change. I also moved it back by about 40mm as I found the position better. Holes are drilled to get the mechanism as high up in the tunnel as possible. Note that the standard surround no longer has much fibreglass to be screwed into! I will shorten some of the screws so it looks correct |
See how low the weight comes down in the tunnel... |
I will try to cut and reweld in an effort to keep the weight as it normally improves the shift feel by giving it some momentum. |
Gearbox end, standard MGTF. |
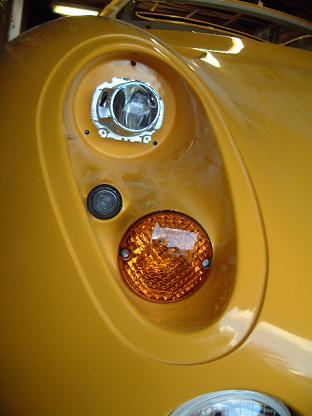
trying out a black pained headlight cluster... |
I think I'll go for it! Just have to find a nice seal to go around the perspex cover to neaten it up (like the Lotus Elise Mk2).. |