Libra Build page 6
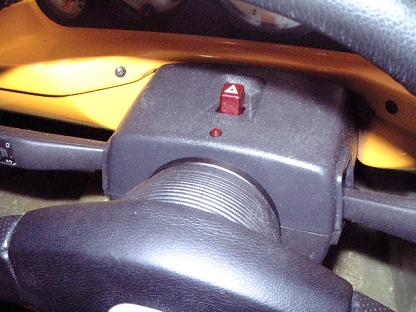
LED for the alarm system fitted in the top part of the steering column shroud |
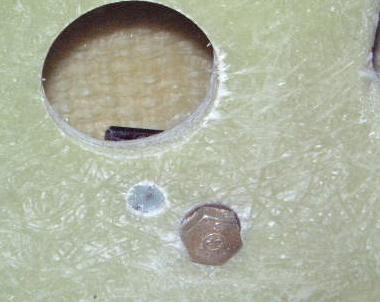
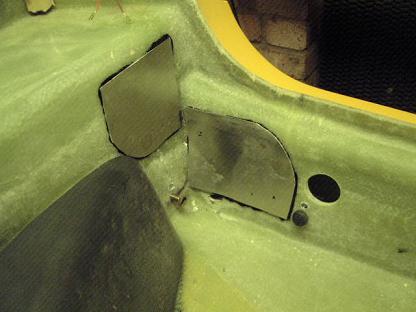
Not happy with other suggestions of fixing the seat belt spreader plates to the backs of panels, I drilled and tapped each one for an additional countersunk screw. So, when the carpet is fitted the plates will stay in their correct positions |
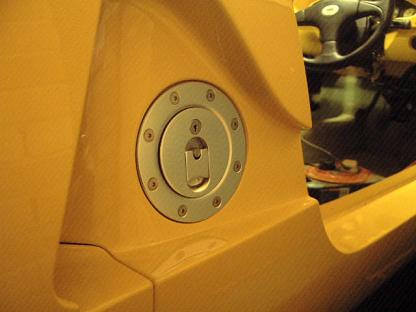
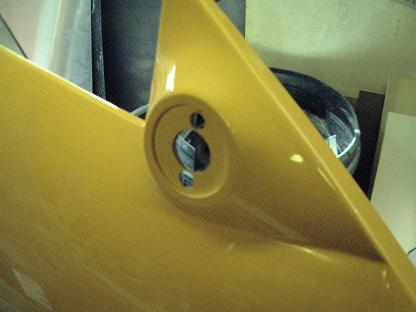
Fuel filler fitted. The stainless screws were all at least twice the length needed, so I shortened them all. |
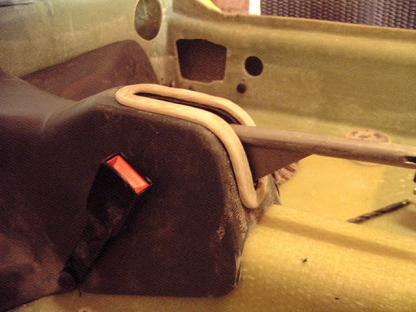
One of my least favourite parts of the Libra is the way the factory deal with the handbrake cover. A standard plastic gaiter is used and a slot is cut into the cover for it to move in. I have made a fibreglass ring similar to that used for the gear stick gaiter and I will make an alcantara gaiter for it which will be sandwiched underneath the ring |
Heater ducting stuck in position with sikaflex. It's never coming off now! |
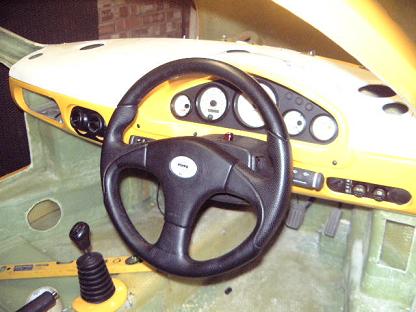
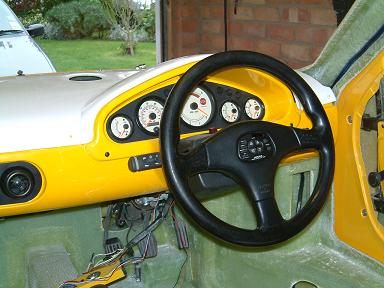
This is how the Momo Runner steering wheel looks with my newly acquired wash/wipe stalk controls. |
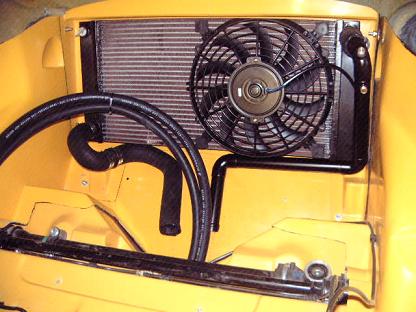
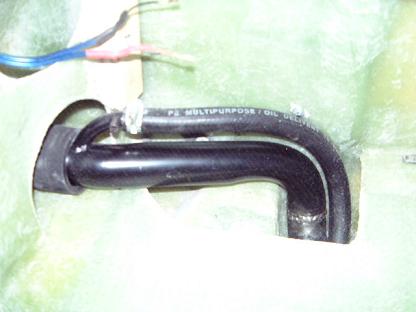
I made up the radiator top pipe out of 28mm copper piping, the less joins the better in my experience! I also incorporated a bleed point and a fitting to take an adjustable temperature fan switch. |
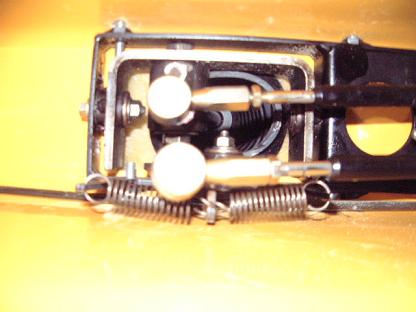
Springs added to the cable change mechanism, just for the side to side movement. I welded on a stainless steel tab that the springs attach to and slightly ground down the shift arm for clearance. |
I wasn't happy with the fit of the rigid part of the fuel line as the top part was horizontal and didn't fit, I didn't want fuel running back out of the pipe whenever I filled up... So, about 20mm was cut out and it was then rewelded... |
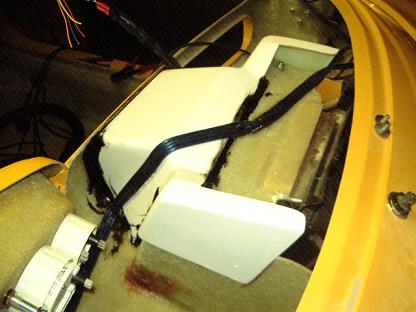
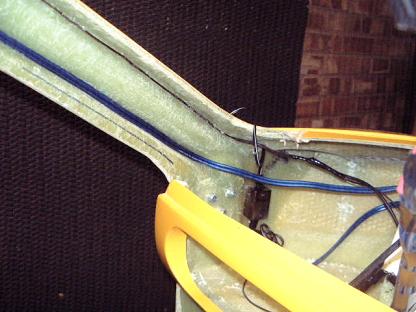
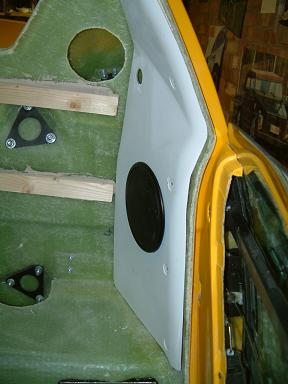
I made up an aerial which is hot glued into the A pillar along with the rear speaker cables. I will make a ground plane for the aerial by bonding thin copper sheeting underneath the dash top cover. You can also just make out the front speaker crossover. |
|
Front speaker cabling fitted inside the A pillar on both sides. Hot glued at top and bottom to stop annoying rattles developing later on. All the speaker wiring had been soldered up to a standard plug so after SVA it will just plug together! I have also decided to fit the rear speakers directly to the monocoque and bond mesh into a suitably sized hole in the B pillar hard trim panels, not only will it look neater, but I can fit them pre SVA with no problems... |
|
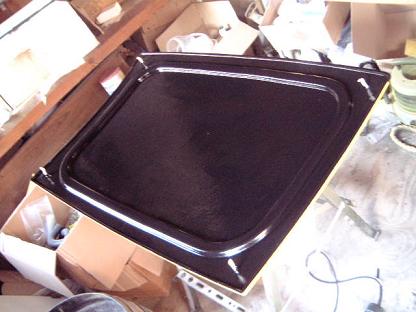
Roof panel underside painted in satin black. I will have the centre section trimmed but painted the whole lot while there is no material to damage. |
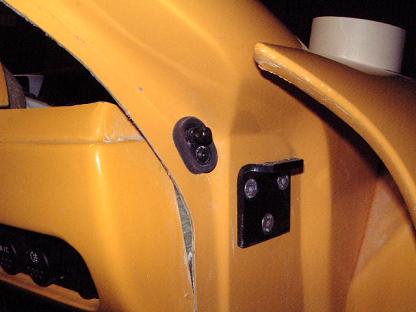
Holes drilled for the wing mirror |
And window seals superglued in place. A bit of filing was required to get enough space fro the seals in the slotted parts of the door. |
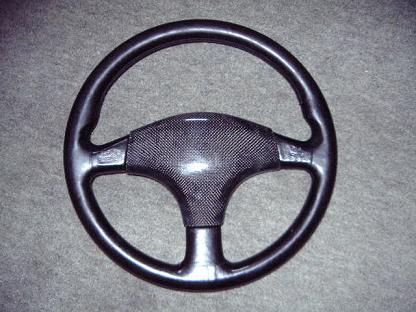
My best find so far on ebay! A very rare limited edition steering wheel done for Alpine by Momo with integrated stereo controls, it will look very good on the Libra! |
Previous owner has had a carbon cover made up to hide the controls from casual observers... |
|
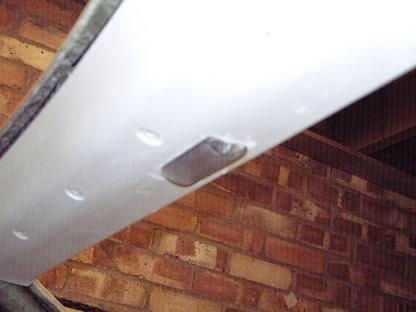
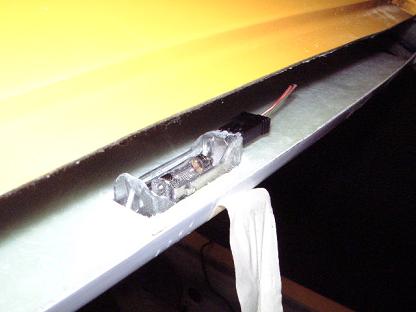
I managed to get an interior boot light to fit flush in the roof panel, unfortunately it doesn't have a switch but I would rarely use it anyway, I'll fit one in the glovebox |
The rear of the light was cut down with the dremel to the minimum depth. |
I was never happy with just drilling holes in the inner door panel for the pull wire, so I fitted some 5mm rivets as neat finishers. You have to be very careful and use a spreader washer behind the panel and pull the rivet gun until the rivet is nice and snug. Then, with a dremel grind off the marks on the rivet shank so it is smooth again and you can tap the shank back through the rivet leaving a hole. This panel is quite thin so you have to do it carefully but the results are worth it. The rear of the rivet may need some dremel work so the wire doesn't snag on it. |
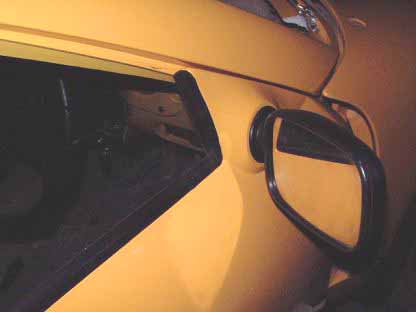
I think this is a problem most people have, the doors are over trimmed from the factory leaving this nasty gap which I had to do something about, particularly as you would see it every time you used the wing mirror! |
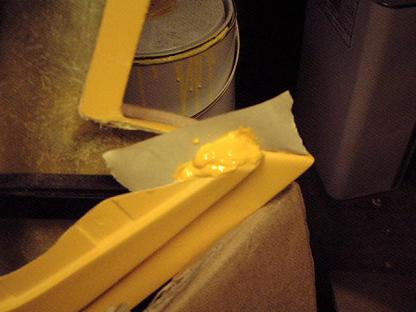
I built it back up with filler from behind and then put a pile of gelcoat which could be reshaped to the correct profile |
Nearly finished, just a couple of minor imperfections to rub out and then a polish. |
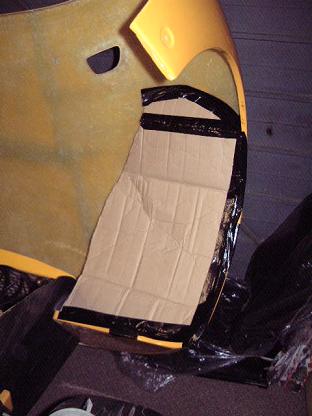
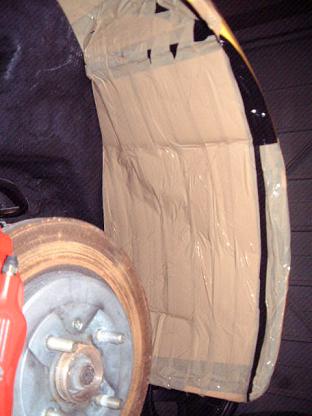
I have decided to make up some wheel arch liners for the front to protect the light assemblies in anticipation of having some expensive Xenons. Some people have made use of plastic bins, but since I have plenty of fibreglass matt and resin I have decided to make some of my own. ?To start off with some cardboard was cut and bent to shape and taped to the bonnet to keep its shape. |
Then it was covered in packing tape to stop the fibreglass sticking to the cardboard. |
|
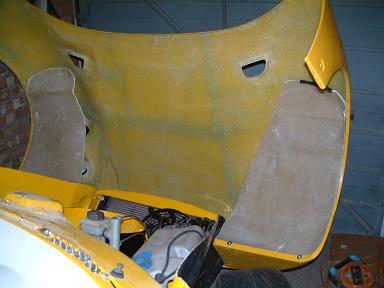
First a couple of layers are laid up. I have extended the top part into a flange for a top fixing, the lower part will bolt into the lip of the bonnet.. I'll work out the other fixings, if necessary once I have a rough trimmed panel. Then it will be rubbercoated. |
|
 |
 |
I came across some flush fitting speaker grills while in the scrap yard, actually from a F#!d Sierra. Looks much nicer than the rather bulky standard aftermarket parts. |
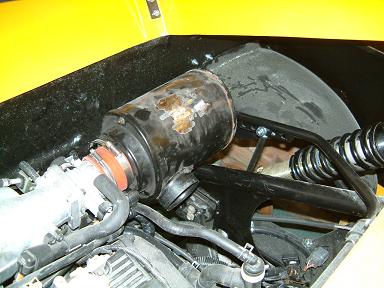
Citroen Xantia air filter makes a very cheap alternative to the usual kits! It houses a big cylindrical element which I will swap for a K&N replacement part. It is fully enclosed I will pipe it up to a side intake to guarantee a supply of cold air. |
|
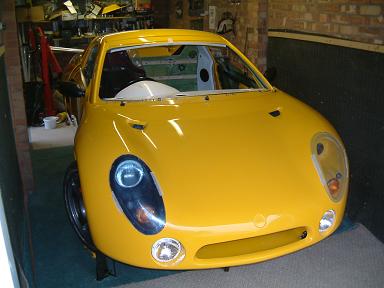
How it looks at the moment, just waiting for the wiring loom and final assembly. Incidentally, my new loom is based on a Rover 100 version so I will be getting a later Rover 100 steering column with the nicer switchgear. |
|