Libra Build page 7
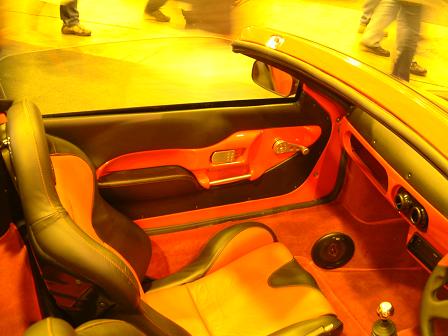
Stoneleigh show has come and gone, here are some of the highlights! Completely revamped old demo car with new interior and a few other tweeks |
Including these door panels which I am going to have as soon as they are production ready. Big improvement over the old style... |
 |
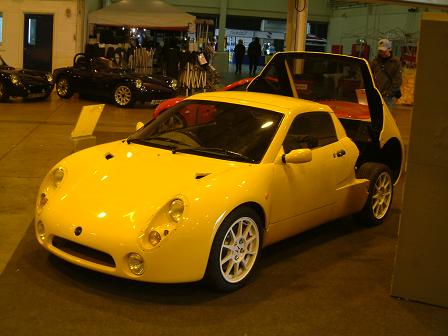
Honda powered demo car. It's amazing how the lighting made the standard yellow go almost luminous! |
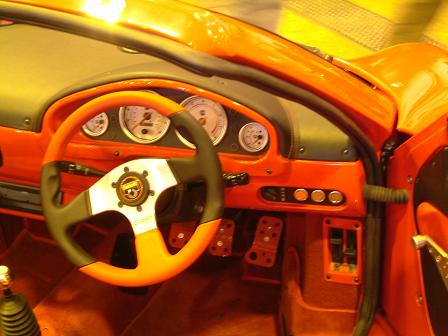
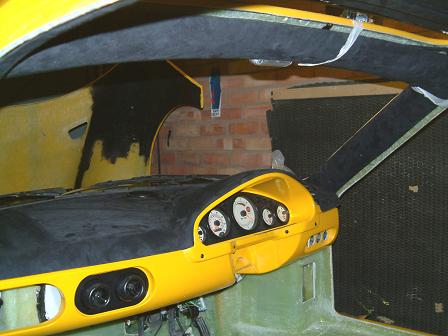
New dial set-up |
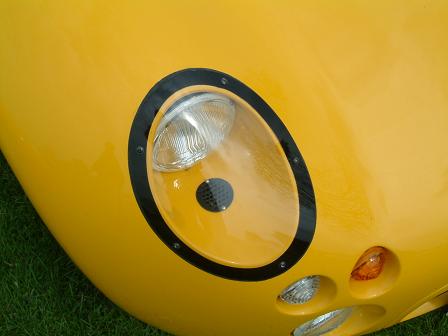
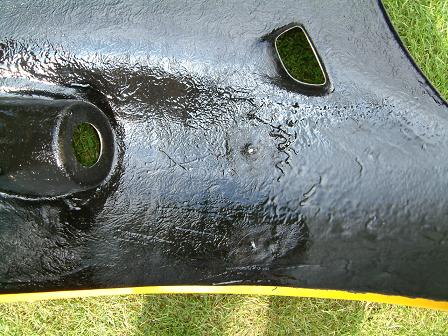
One car on the GTM owners' club stand had these neat little vents so that the light volume can breath and not mist up with the perspex covered sealed with roofing sealant. The breather is connected to the bottom of the car via small bore plumbing pipe and a breathable membrane. |
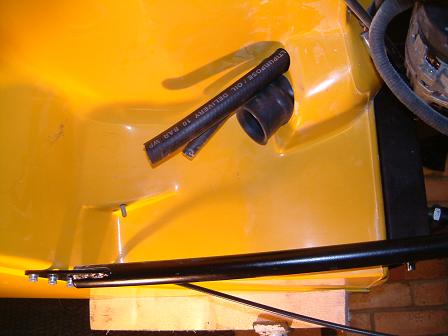
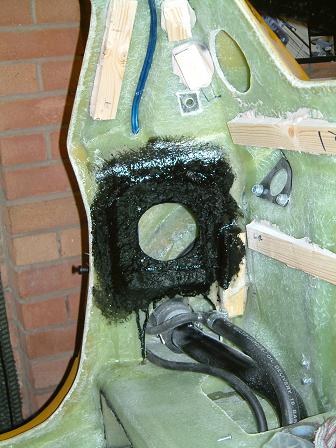
My filter box now finished and piped up to the side vent. Quite a neat solution for £45 all in! |
|
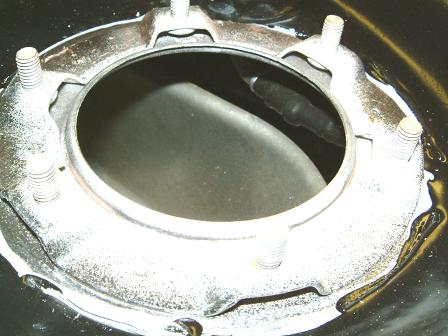
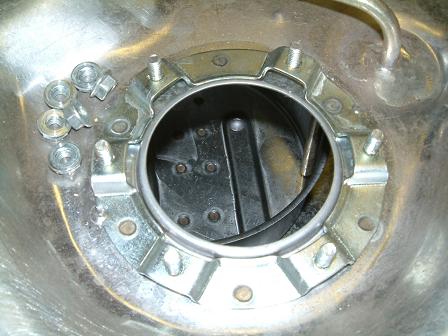
No idea where the return goes! it is fed back into some internal plastic piping. |
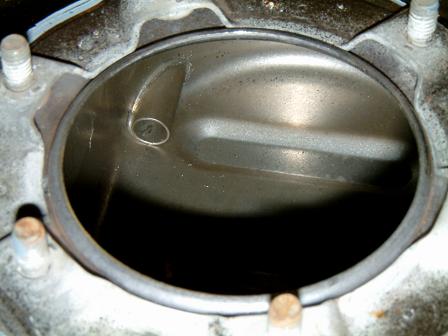
Repro tank has simple swirl pot with holes in the bottom and the return feeding back into the swirl pot. |
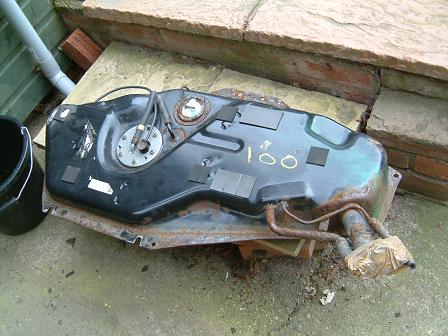
I bought a secondhand tank after being quoted £350 for a new one from the local Rover dealer! |
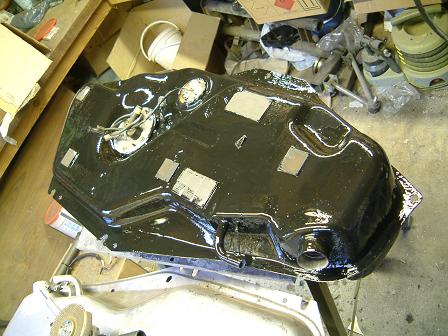
Refurbished and suitably modified tank |
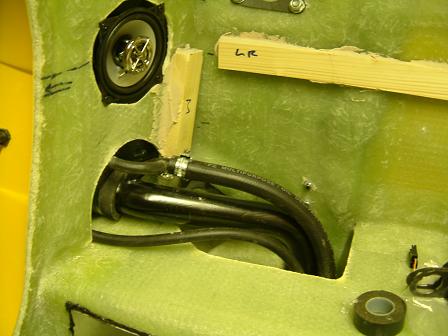
Which will join onto these pipes |
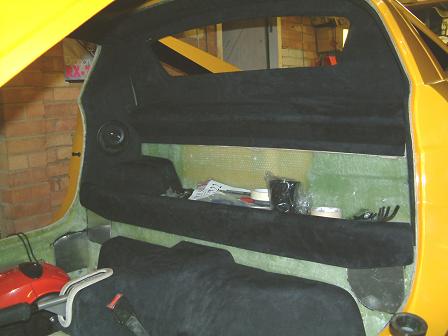
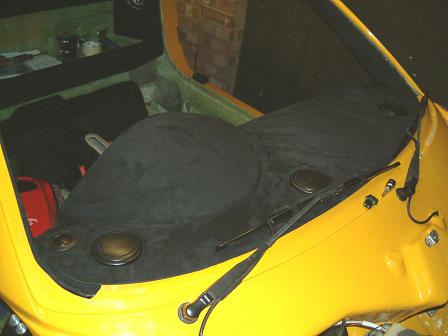
Which look like this inside the car. Notice I have fitted the speaker to the actual monocoque and not the interior panels. I will fit a simple flush fitting grill in the B pillar panel. |
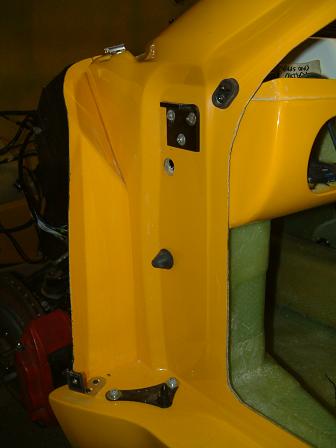
After seeing the new hidden door stops on the show cars at Stoneleigh I did the same using some Triumph Herald (I think) bonnet stops! |
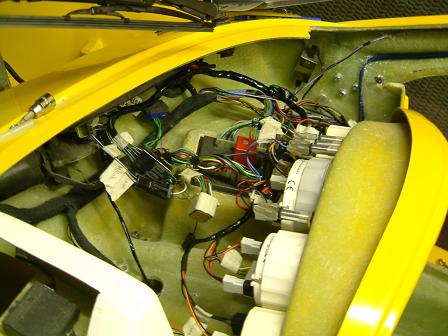
Wiring begins! |
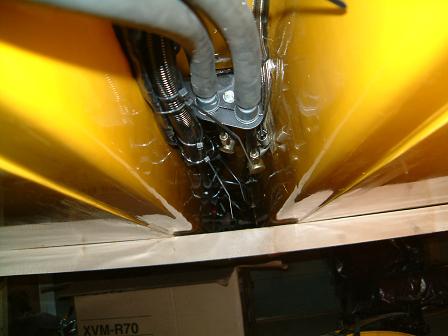
All wiring fitted down inside the tunnel now, including the CD autochanger cable. |
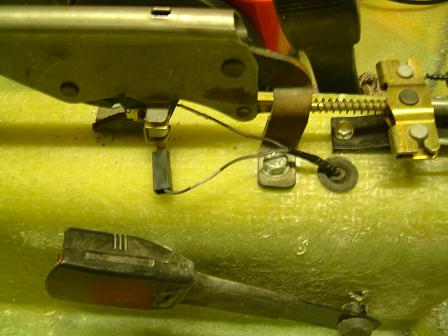
Handbrake switch cable comes up through a grommet in the tunnel |
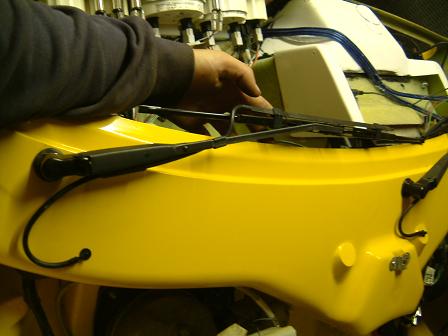
I modified the Metro wiper arms to take this 'on blade' washer system that is identical to that used by the Peugeot 405 and Alfa GTV. I think it will work much better than conventional squirters and will never need adjusting! |
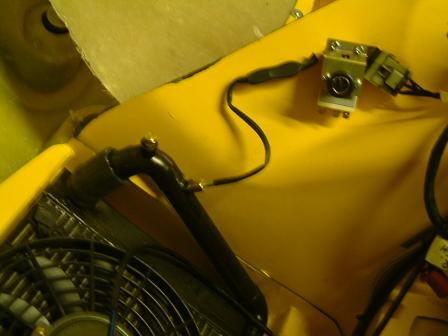
Adjustable thermostat from car builder solutions fitted in place. |
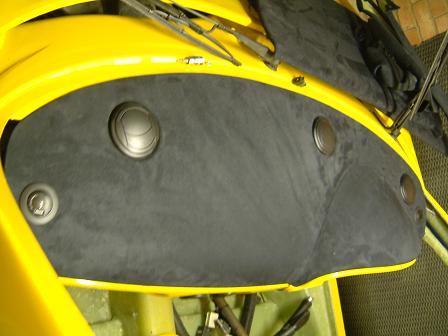
The trim has been done! Here's the dash top mocked up in position... |
 |
I still have to do the final shaping, prep and paint of the handbrake trim ring. |
panels are temporarily held in position with tape to make sure gaps were right! |
After mocking up the B pillar trim panels you could see that the speakers weren't central, so I fibreglasses in a new section with the speakers in their correct positions. Painted black as you could just see the bare fibreglass through the speaker grill. |
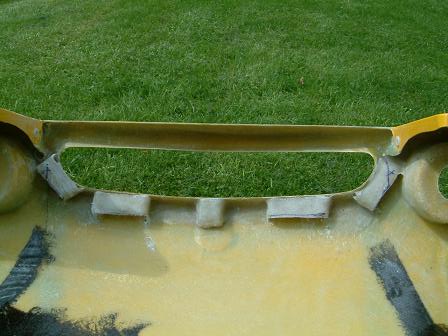
Fixings for the front wheel arch liners bonded into the front end. |
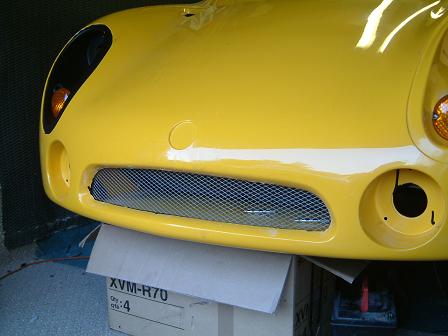
I wanted to be able to remove the front end on my own and the only way to do this was to make the font grill removable. These extra 'lugs' are drilled and tapped and a flat sheet of mesh is screwed onto them to give a flush fitting grill as seen on the right! |
Unpainted steel mesh, I'll trim the rear to shape and paint it matt black. |