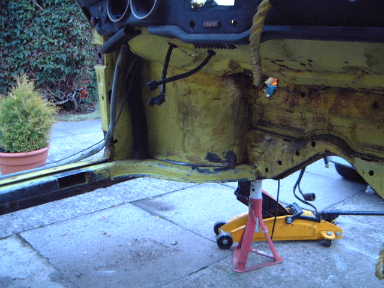
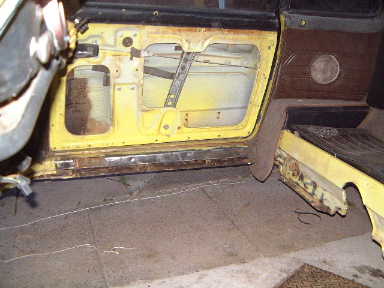
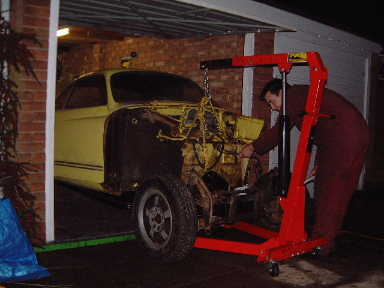
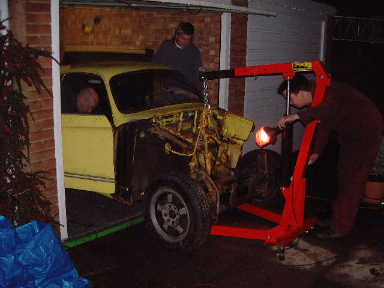
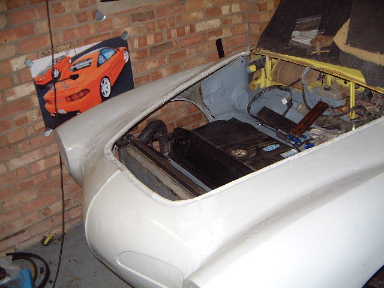
The front of the body was lifted up with the engine hoist, Ben and
Luke picked the rear end up as I slid the chassis underneath.
|
At least that was the plan! We ended up lifting the body over the chassis
as the front discs had almost seized solid and weren't moving.
|
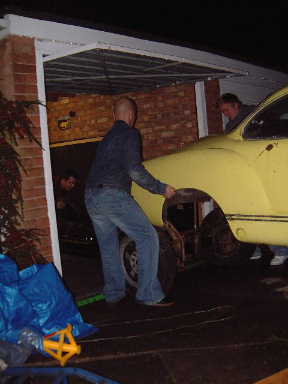
Ben stopping for a breather
|

Luke putting his back into it!
|
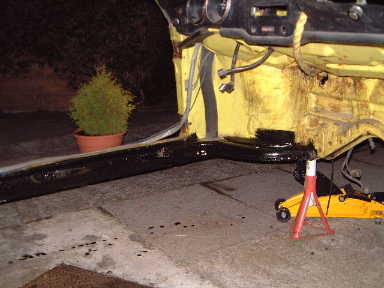
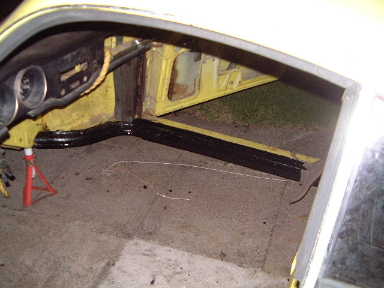
Me lowering the front to its final position
|
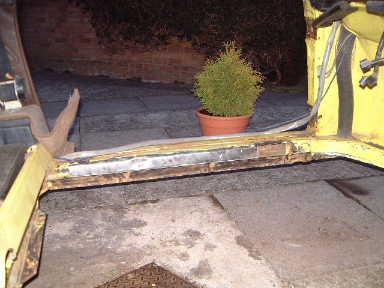
And just checking it's seated properly...
|
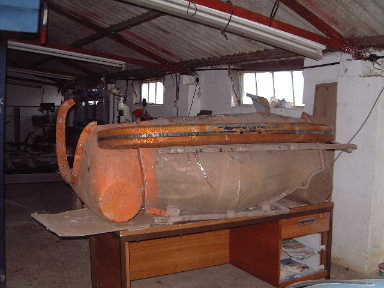
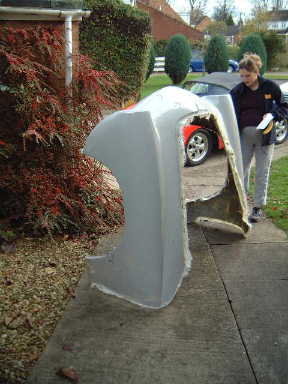
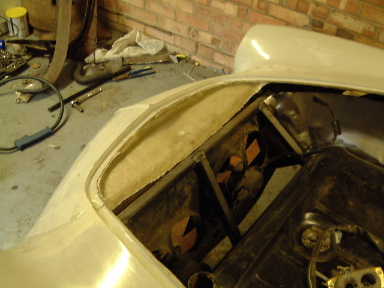
Here's the mould for the fibreglass front end. I was just mocking up
a late beetle bumper for size since Ghia parts aren't that easy to find
locally to me. It actually looks like it will fit quite well. I'll use
one with integrated indicators, I don't like the bulky late Ghia ones.
|
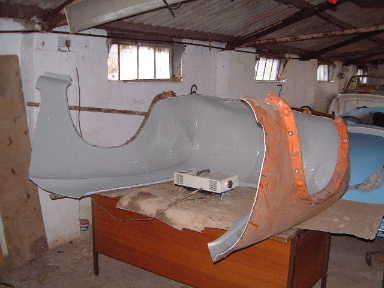
Here's the gel coat layed up and going off. After having polished the
mould, waxing it 3 times and then a skim of PVA to aid release.
|

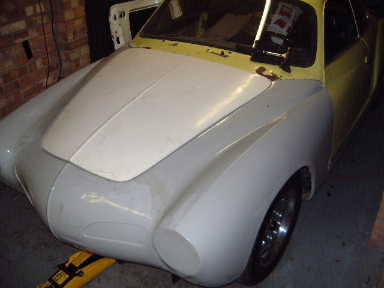
The front end returns!
|
My wife and future offspring looking on at their competition...
|
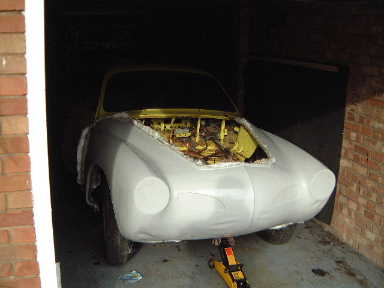
Just resting in place, it has pre=released in a couple of areas which
look like dents, but I'll sort that out soon after it is fitted and
trimmed.
|
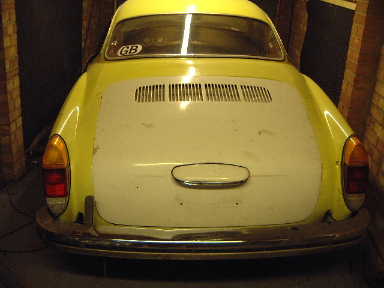
I picked up a few parts from the Slough swapmeet. But no body panels.
I got this decklid from Matty in my local club. Have a look at his Ghia
here. He also has a bonnet stashed somewhere
which I will have off him when he finds it!
|
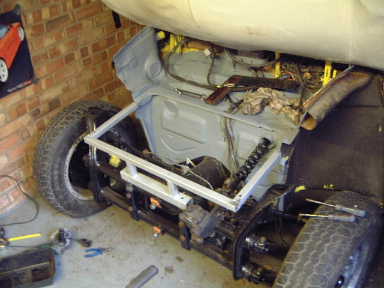
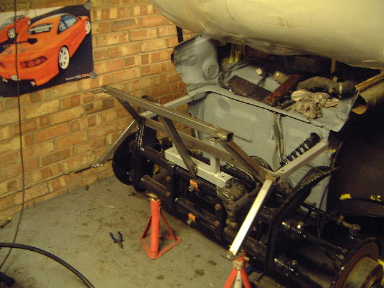
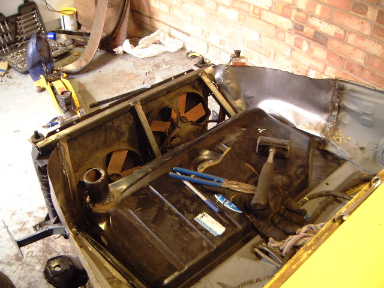
Here is the frame I made which will serve two purposes. Cradle for
the fuel tank, as well as being a framework for the boot space side
paneling.
|
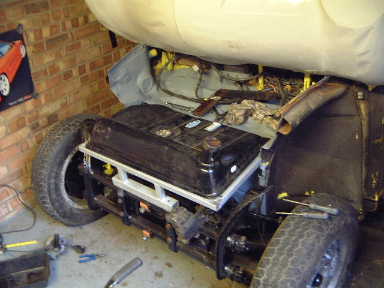
Fuel tank in place...
|
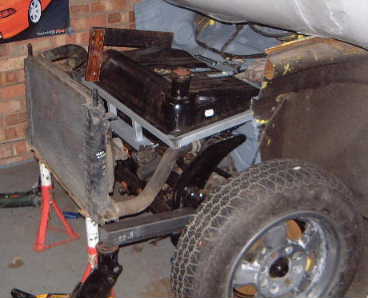
Radiator mocked up in position. You can see the lower square tubing
which I plan to weld onto the torsion beam sides to form the lower radiator
mounts. The top mounts will come from the upper framework.
|
The framework that I had originally planned would have reduced the
steering lock, so the above picture shows the new style with the lower
part welded up, it still needs the top mounts making. All the original
rubber mounts have been kept. Additional cross bracing may also be added.
|
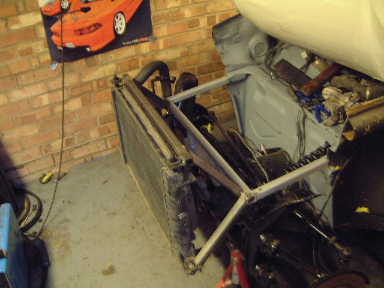
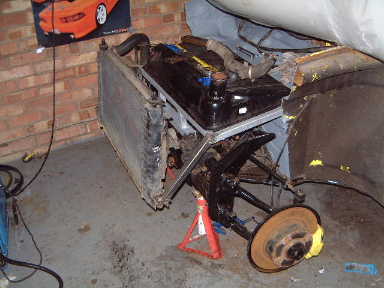
Top frame fitted up with rubber bushings
|
Extra cross bracing fitted once radiator is removed for better access
|
Mocking the front end in place to make sure it is at the right height
to fit within the body!
|
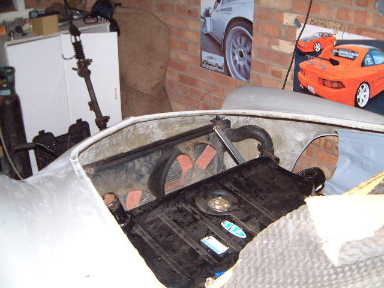
You can see that there will be minimal impact on luggage space, unless
a full size spare is required!
For interest, the radiator is from a Ford Scorpio, twin fans as standard
and probably overkill for the Alfa engine.
|
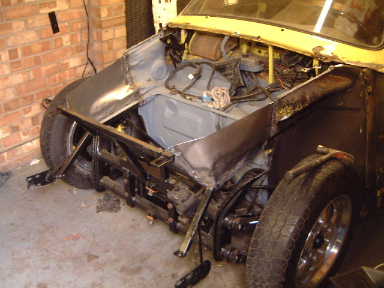
Now I had a template to build the rest of the paneling of the under-bonnet
space, new panels were made and welded in.
You can also see the extensions to the frame for the bumper brackets.
I tracked down a late type 3 front bumper which is the same as the Ghia
one. Now I'll need to find a home for the indicators though!
|
The radiator was fitted to make sure there was adequate clearance for
the pipework against the new panels. A small amount of 'modification'
was required for the top hose.
|
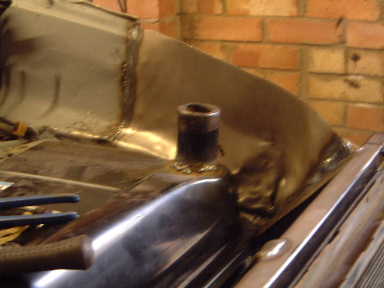
The fuel tank filler neck also required cutting and rewelding at a
different angle to make filling easier.
|
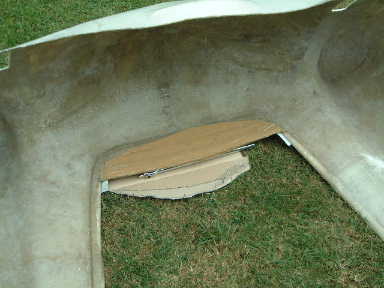
Now the bonnet slam panel was created on the front end. Here you can
see a cardboard template covered with packing tape. This lets you get
het first couple of layers of fibreglass matting down.
|
Once it has gone off, the pattern is removed and further layers are
applied on the top side.
|
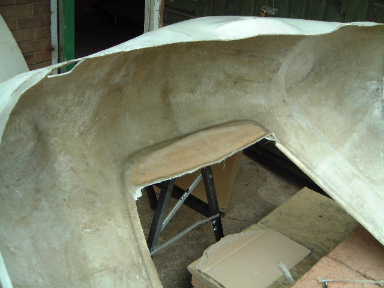
Trial fitting the front in place it seems obvious to reshape the slam
panel so that it sits on top of the new framework. I'll bond it all
together to make a stronger structure.
|
Mocking the front end with bonnet in place to make sure everything
will fit together properly!
|
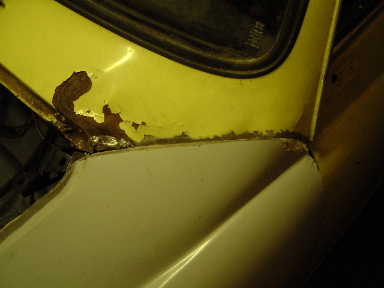
Here is where most of the work will be, I have to feather the edges
together and thin the fibreglass panels right down to they line up properly
with adjacent panels.
|